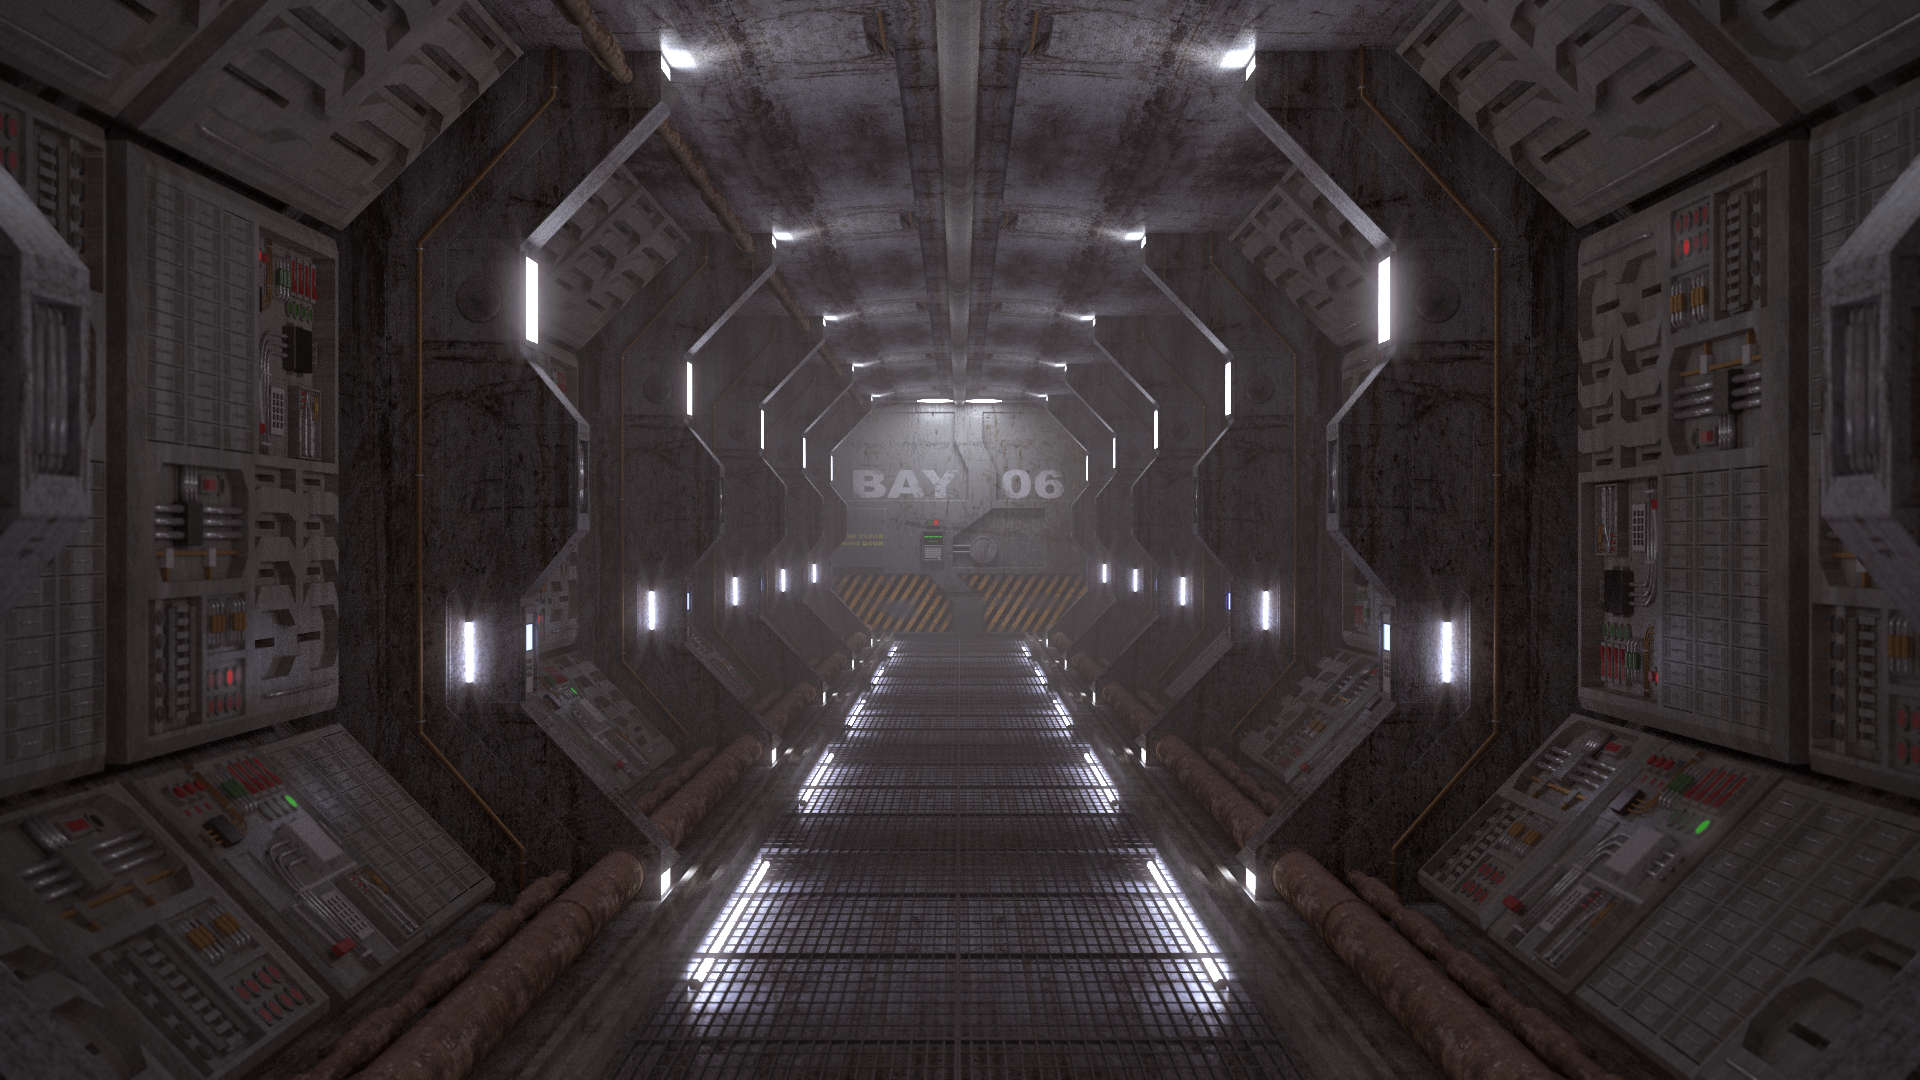
Spaceship corridor. For this one I spent much more time, and did little tweakings and compositing in addition to the tutorial. Not perfect, but quite proud of the result.
I’m not really qualified to critique, but I will say that something looks wrong in the 747 render. I’m not sure why, but the model doesn’t really seem like it is really in the environment the background image depicts.
I really like how the corridor looks. I might check that tutorial out, seeing as it seems to be a very popular thing to work through and the results are usually pretty cool looking.
Edit: Also, is the corridor tutorial rendered in Cycles or Blender Render?
Thanks for your feedback. I agree for the 747. It’s a background image behind it and the plane doesn’t look like it’s really in the sky, but it’s one of my first tutorials Also the materials are not perfect and it lacks some additional texturing.
Yes the corridor tutorial is very useful, I learned a lot of tricks. And it looks good most of the time indeed.
Both are rendered in Cycles (1000 passes for the corridor).
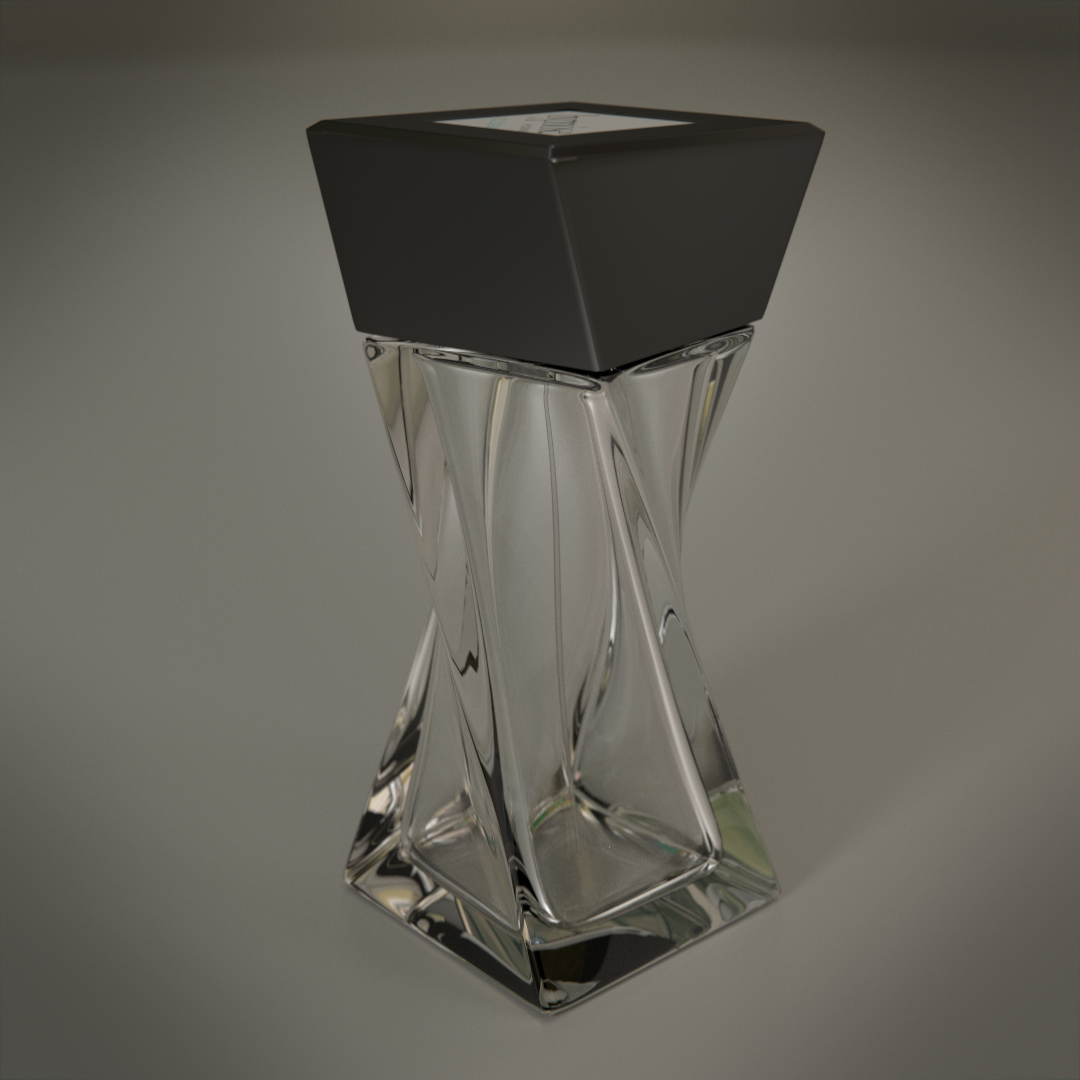
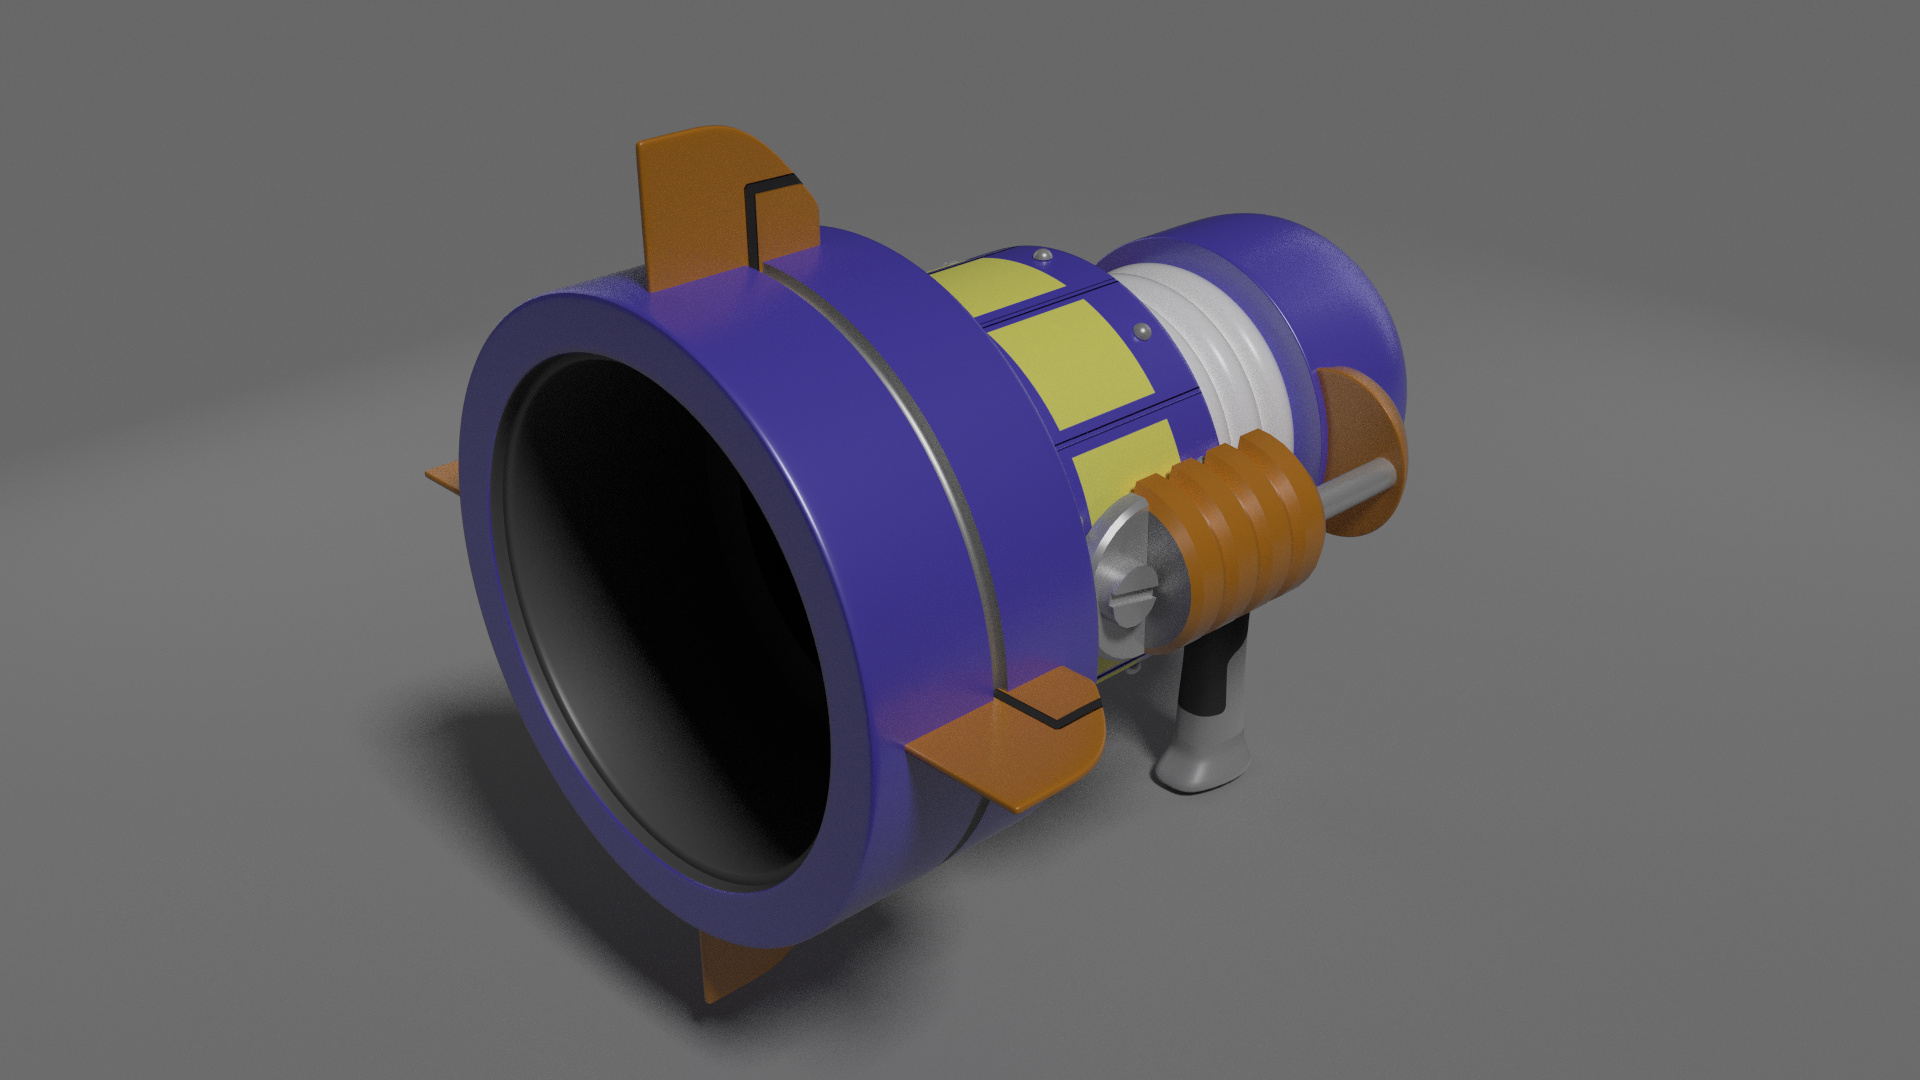
A little project I’ve been working on the past week.
I tried to replicate as precisely as I could the existing one. The only ‘obvious’ missing thing is the perfume inside, I don’t know how to do liquids, yet :D. But maybe I used all of it :rolleyes:
Some loudspeakers I did yesterday and finished today. I struggled a little bit with it at first, but I’m quite satisfied with the result :RocknRoll:
Those are my real ones, so I had them in front of me as reference and took some measurements. There are little imperfections, but only to someone who knows exactly the details I think
It normally is a 2.1 system, but I didn’t do the subwoofer (maybe later ?).
As I said, hi-fi speakers now I started that sooner than expected… This afternoon I spent 2-3 hours on it.
For those interested, they are Focal Aria 906 bookshelf speakers. I took some pictures and the real dimensions on the Internet as reference. I’m very interested in hi-fi but I cannot afford a real system, so I created it
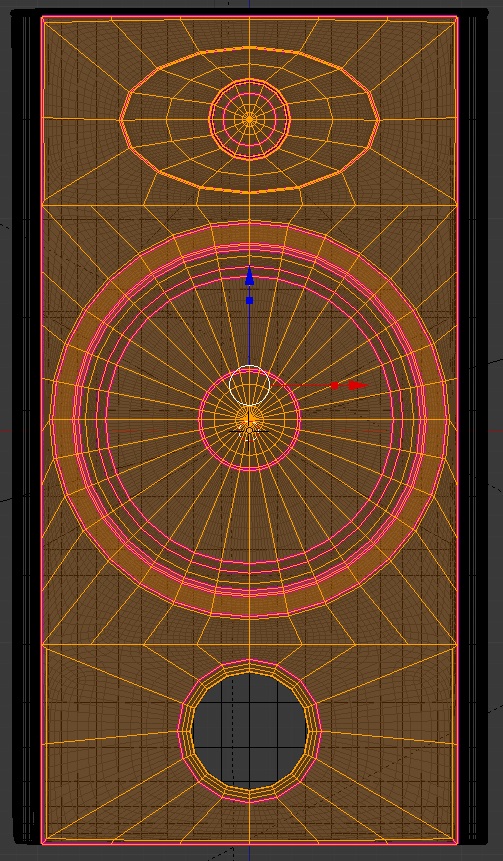
Here is the wireframe, any comments will be more than welcome, I would like to know if it’s the right way to achieve that sort of round shapes inside a rectangle. There is 4 places where I have pentagons near the tweeter and bass-reflex port, due to miscalculations and to the fact the ‘big circle’ of the boomer uses 32 vertices and the little circles only 16. As the front panel is totally flat, I think this is not a serious issue, am I right ?
Anyway, I’m satisfied with the result, but they lack the real ones realism because they aren’t textured yet (I think). I want to add bump mapping for the leather front panel, and wood texture for the outside of the speaker. And for the membrane, it is made of flax but I don’t know if I will make it that way, depending of the textures I will find.
It’s quite hard to try to mimic real objects as I always end tweaking little things, dimensions and locations of the different parts, to have my model to look like the real object. But it’s a nice training I guess. I want to try to create non existing objects later, maybe when I’ll be a bit more experienced, I think I need ‘real’ references before beginning to design things from my imagination. For now these modelings proved to be useful for me.
Did you use Cycles for the perfume-bottle, and if so, how does your glass-material-nodes look? It looks so clean. I have never been able to make glass look so realistic and smooth in Cycles.
@Monsaki
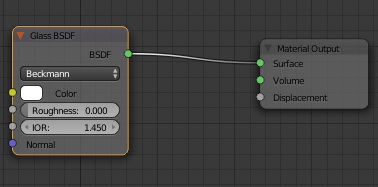
Yes I use Cycles for all my renders, and I have indeed an overly complicated node setup for my glass material :
Thanks for the nice feedback. The subsurf modifier creates a nice smooth surface… You need to put the subdivisions to a relatively high number, 4 in my case, to have a highly subdivised surface. Also note that the inside surface of the bottle is very round thanks to the subsurf too.
Maybe it’s a question of lighting, I used an image texture for the world, which makes nice reflections and colors. That greenish tint is entirely due to that texture too.
Leather bump map for the facade and rear panel (zoom in)
Fresnel node to get the glossiness more important when viewed from a small angle, giving a varnished look.
Please don’t hesitate to compare to pictures of Aria 906 to tell me what could be wrong (except the boomer membrane, details in the tweeter, and rear details)
I took a small break from Blender but I’m back with an update of my speaker.
I realize I could have created a dedicated WIP thread because the level of detail and time spent on it are more important than expected, but now that the end is near, it’s probably too late
Here are the changes :
Bump mapping for the tweeter (small holes around it)
Better material for :
[LIST]
The leather
The rubber ‘joint’'s material around the driver (not sure how to call it) with slight bump mapping, and small change of its shape
The metal around the speaker.
Obviously, a texture for the flax membrane. I could not find a perfect one, so I took this one (same speaker as in the 906). It’s hard to find a good quality photo. For a close shot it’s not sufficient, but maybe I will include this model in a lounge room so it will be ok from further.
[/LIST]
Today I did the Back of my 906, including the little ‘plugs’ (don’t know the right english name) and the label texture in Gimp (I have a lot of time to spent I know :D)
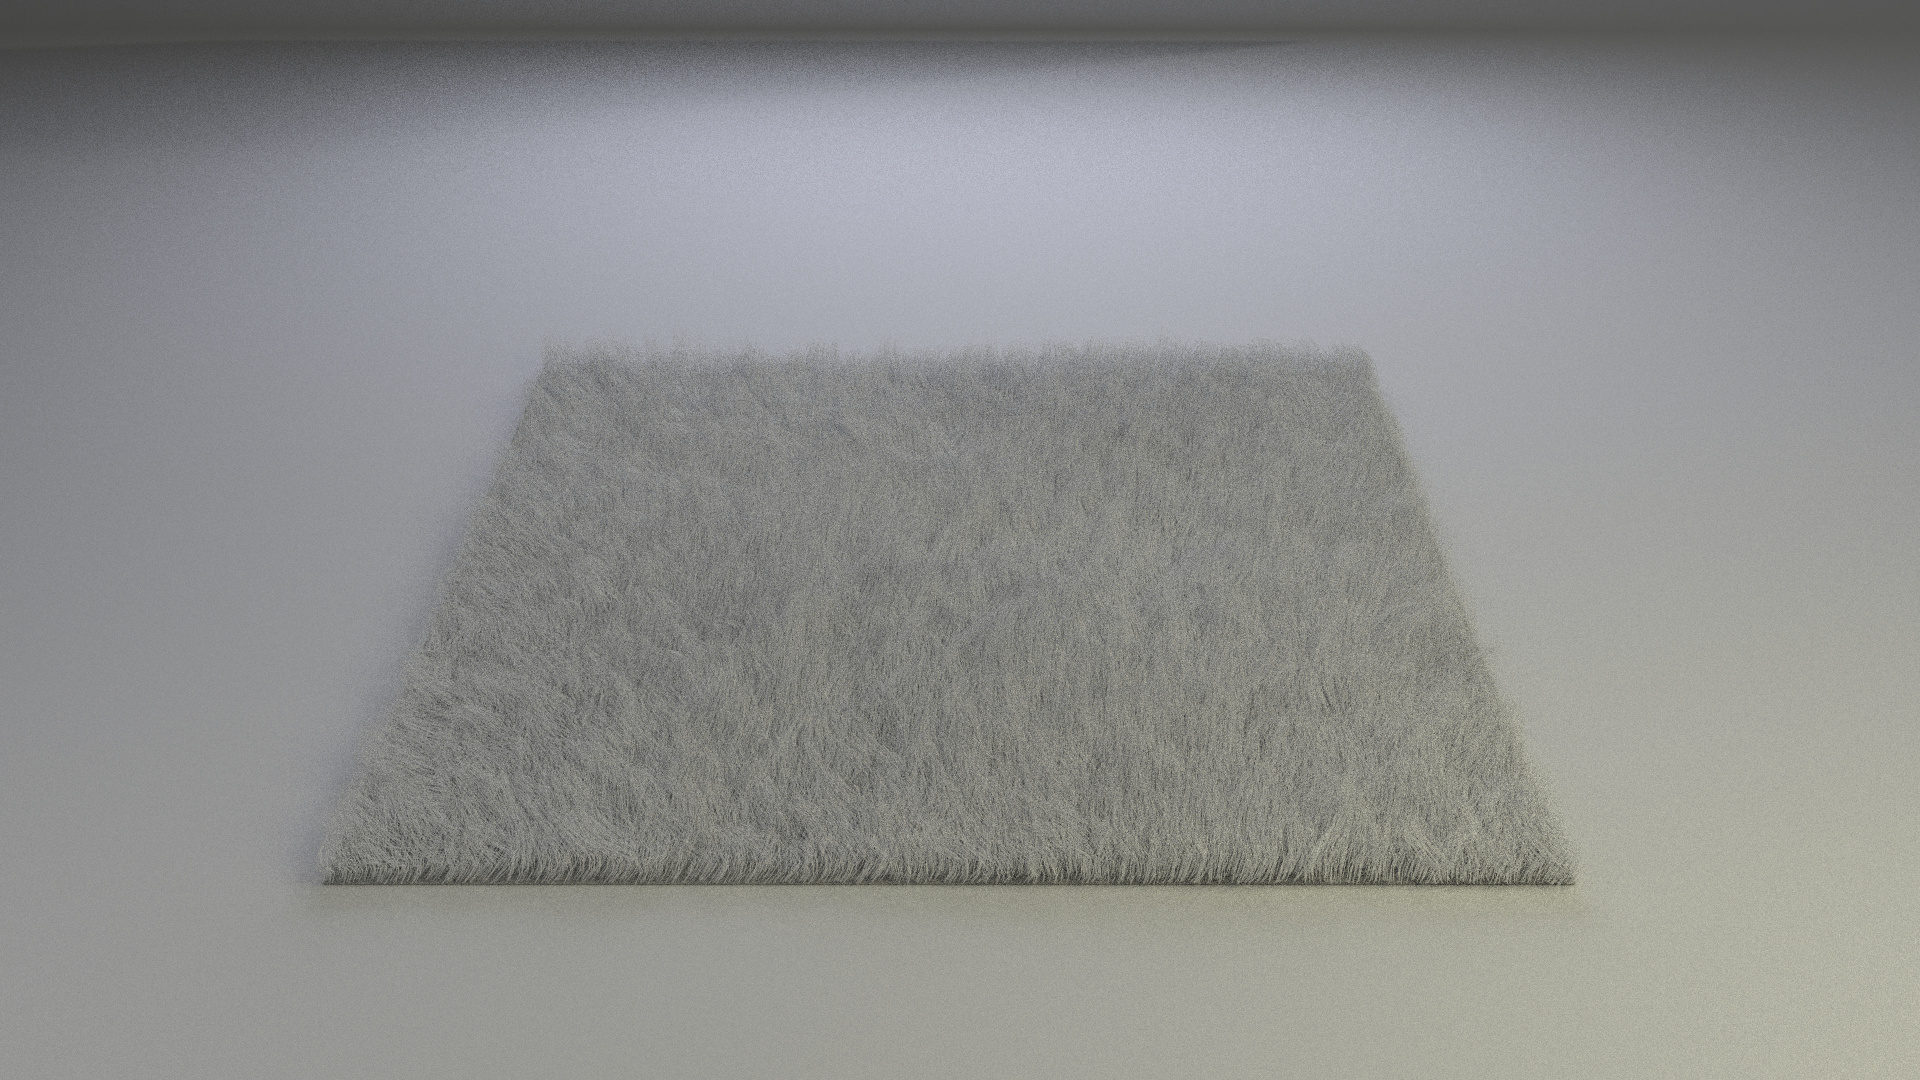
Edit : a few changes. The carpet is horrible lol… It uses bump mapping and displacement mapping but I think it’s possible with particles. I’ll have to see somme tutorials on the matter… Or remove it ^^
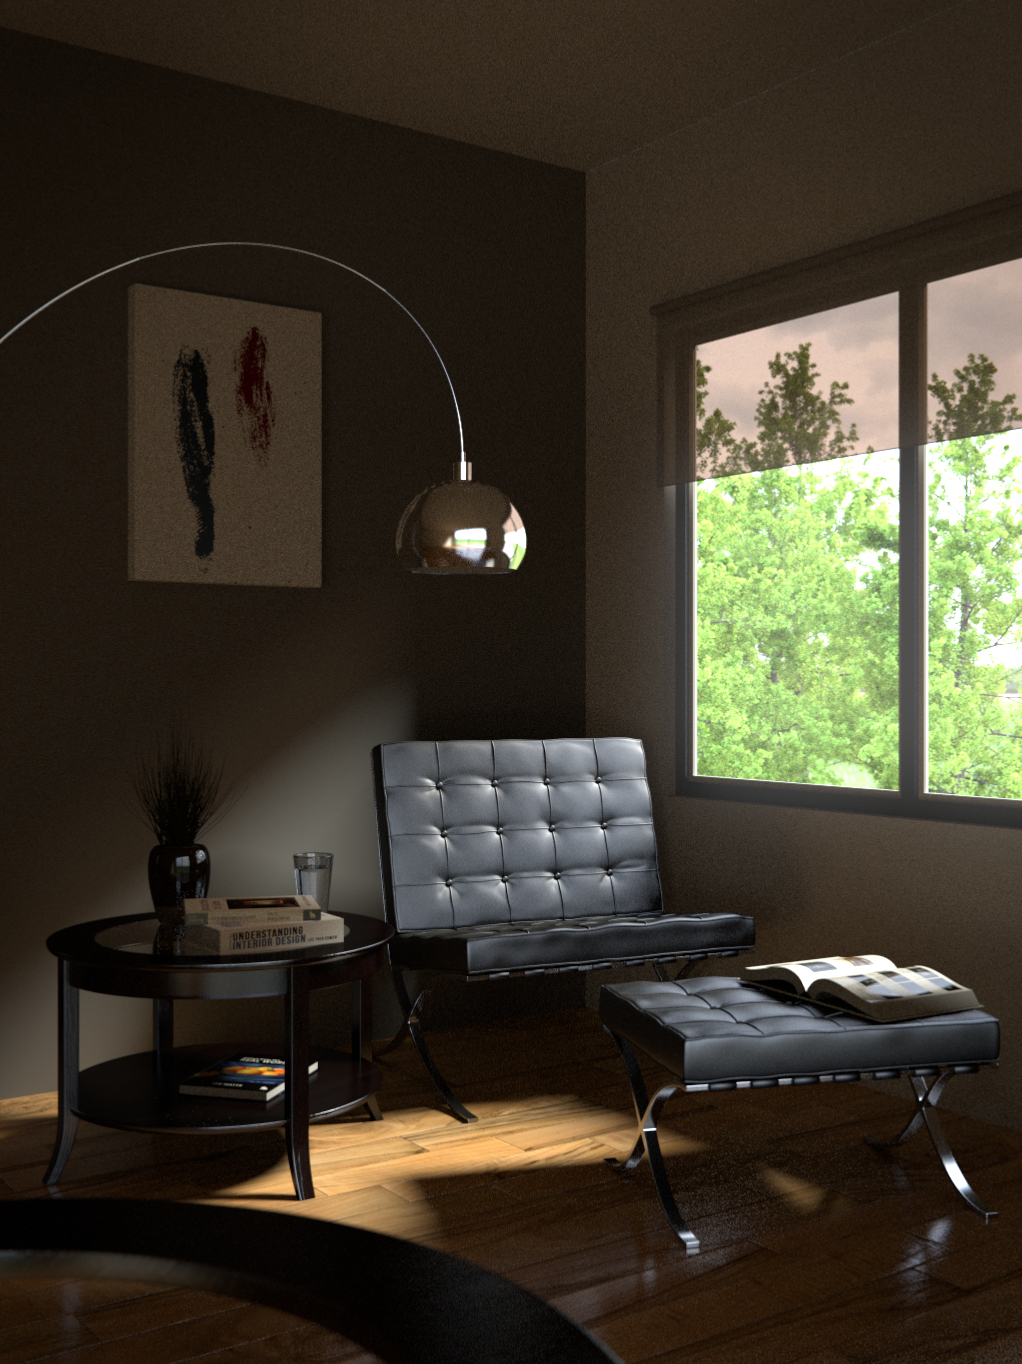
Andrew Price’s tutorial : Lounge room. The furniture models come from his Architecture Academy starter pack.
I’m satisfied with the result (well it’s a tutorial with already made models, it helps…)
Technical info : Cycles Render engine, 400 passes.
Unfortunately, I ran into some issues rendering with my GPU (AMD R9 270X). I did my test renders with the GPU while doing the tutorial because it’s much faster than my CPU but noticed something was wrong near the end. So I had to do the final render with my old CPU (Intel Q9400) which took more than one hour.
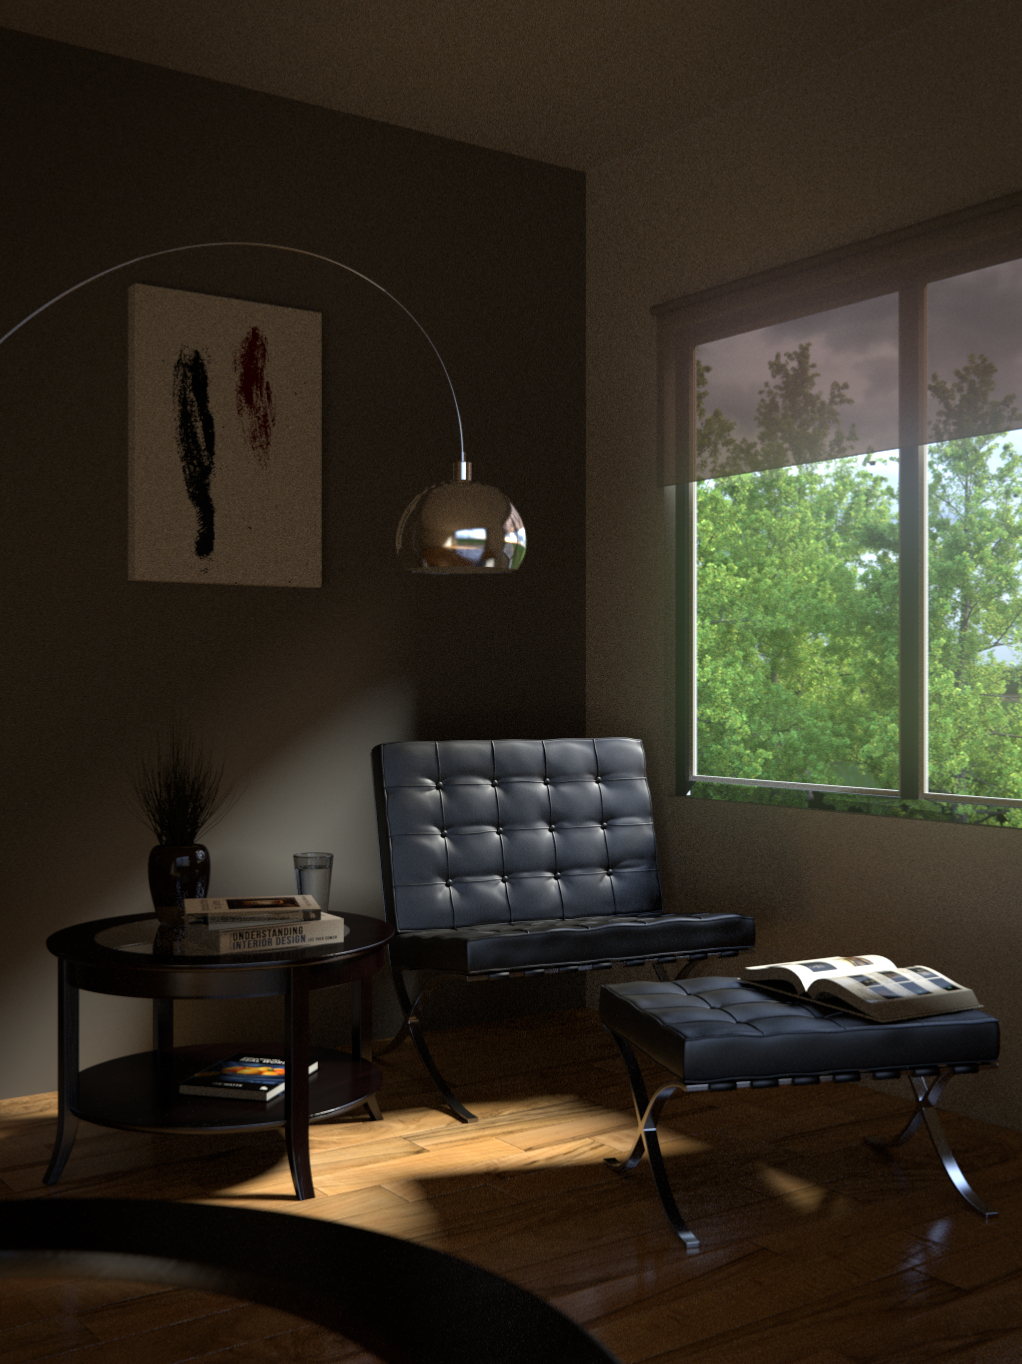
The HDR image is darker (maybe the HDR isn’t well supported). The glossiness was different with the GPU but this is probably due to the brighter HDRI, the window bottom was transparent (only when the trees were behind o_O) and I couldn’t use the ID mask for compositing (I had to use a little trick to make the window glow without id masks but that wasn’t totally convincing).
Small precision : the transparent part of the window appeared normally in preview render…
Here is the GPU render for comparison.
I did it hoping it would help me for my speakers room. The tips about composition are indeed very interesting. Going to continue my own room soon
There are many things to do. First of all, it looks very empty, I’ll make some objects to make it look like an inhabited place. Books, more discs, photos or paintings… Maybe a couch or some armchairs, but I’m a little bit afraid to try that, it seems difficult. I want to model myself all the objects, no imported models.
The aim would be to have the right mood, a place where you feel relaxed and you would like to be to read and listen to music (obviously, because the loudspeakers are what motivated me to start this room). So, a lot of work ahead of me, but the previous lounge room tutorial will come in handy
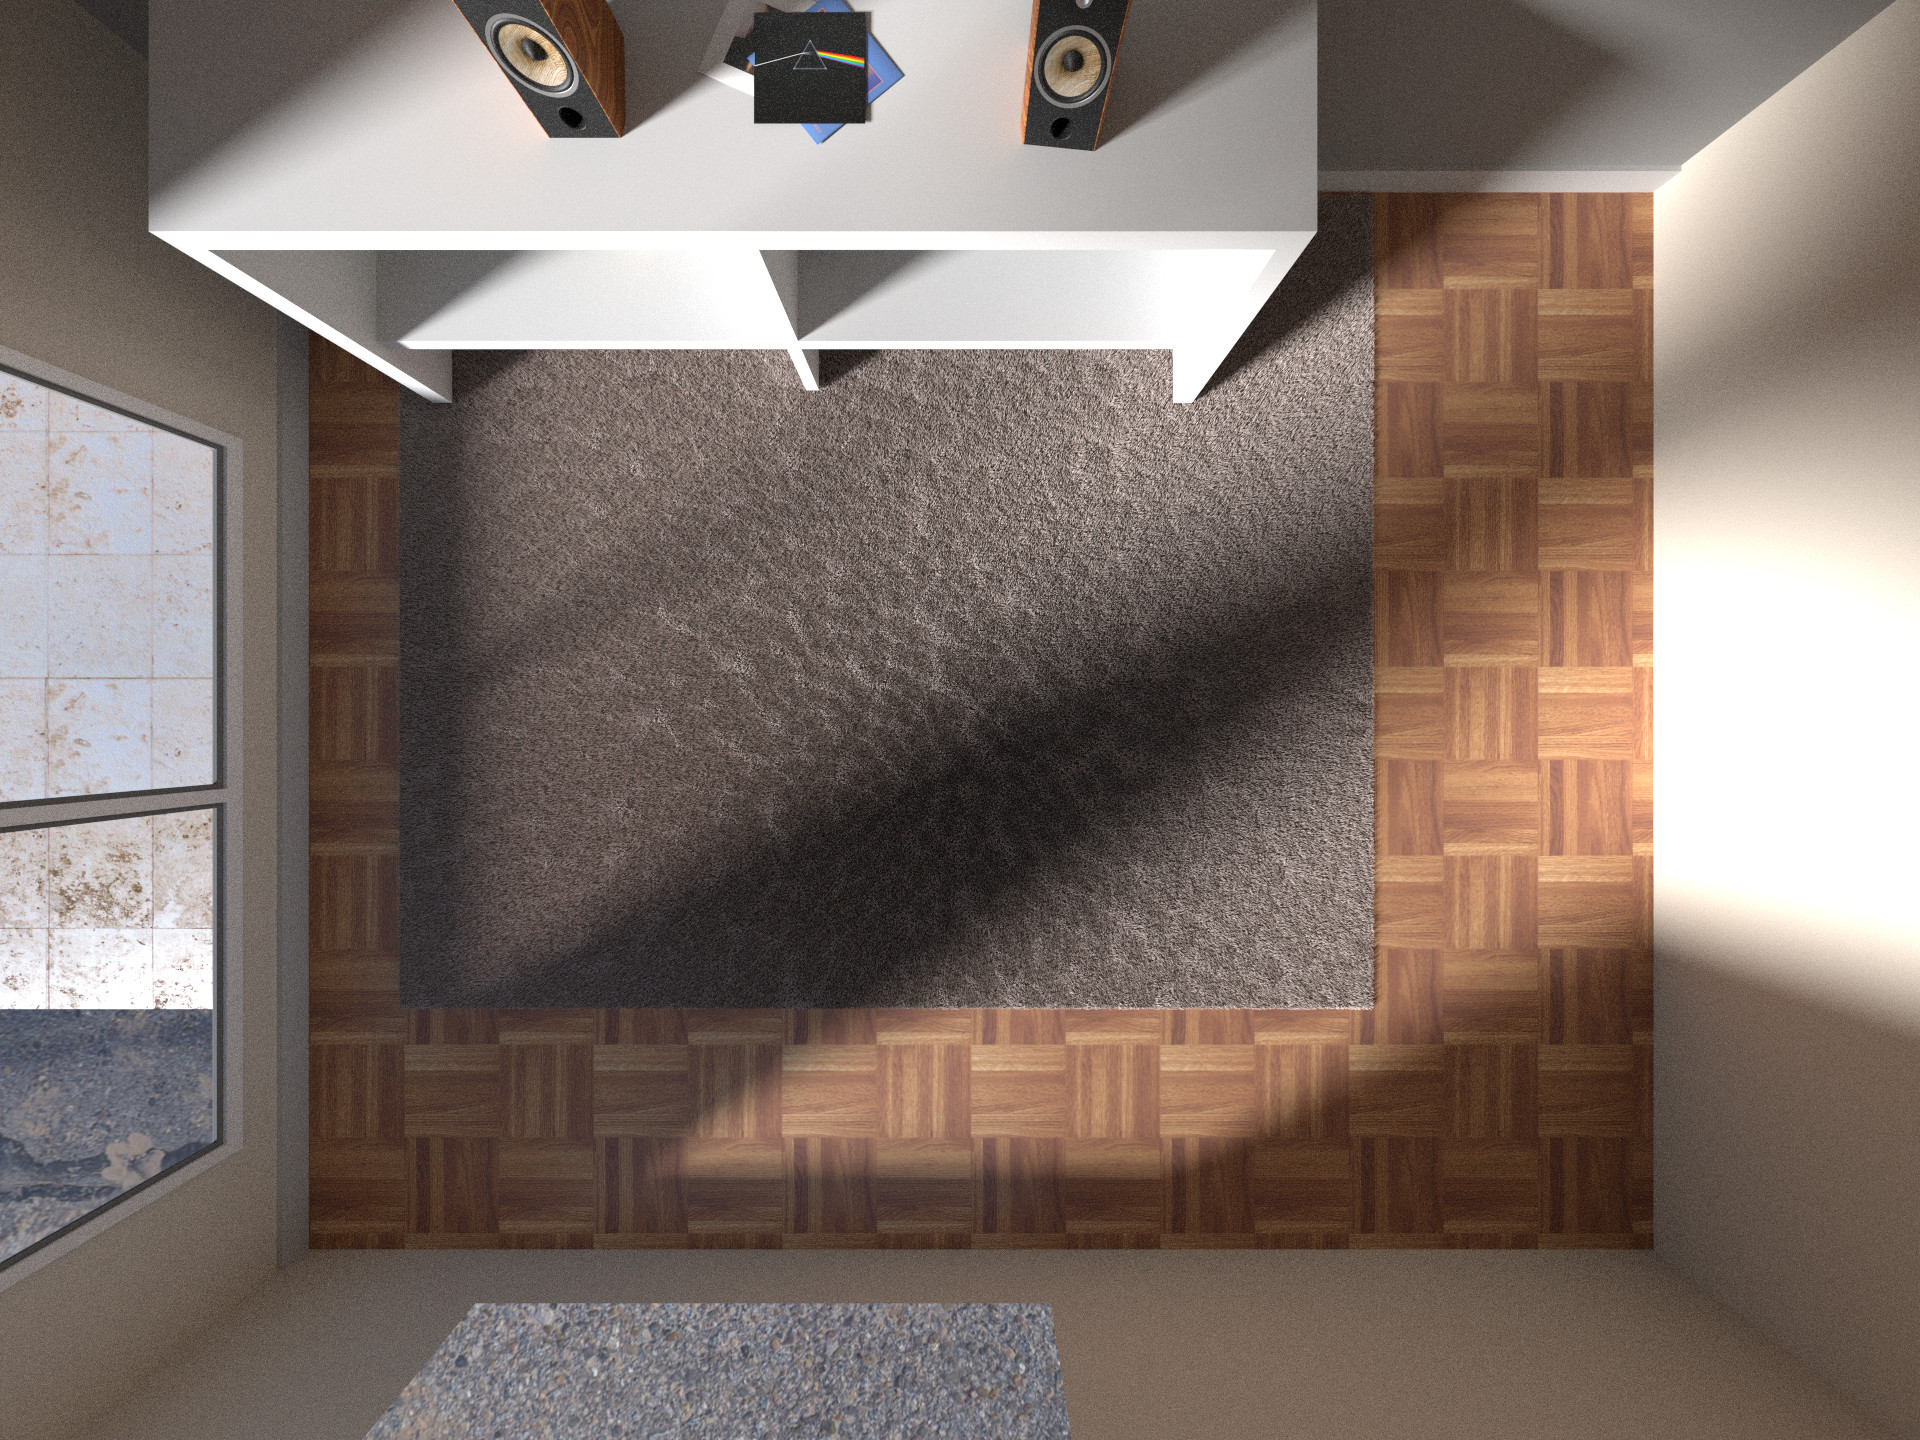
Technical note : The particles are not rendering at all in GPU mode (with my AMD card and OpenCL). One additional thing I can’t do with GPU. I’ll have to render with the CPU, much slower… This one took one hour with 200 samples in 1920x1080.
One last post here and I think I’ll create its own thread, to have more feedback (I feel alone in here :eek:). Is there anybody? …there anybody? …body? (echoes in the inifinite depths of the most obscure threads of BA)
So… I added :
a wooden floor instead of the marble which did not stand out against the carpet. Moreover it reminds the speakers cabinet wood.
a terrace, (basic) grass and a hedge for the outside (with particles)
new wall and ceiling colors (it was the same as the left wall)
painting on the wall (because I like it, and it fits the music theme well, in my opinion)
some (basics, again) books to fill the emptiness of that piece of furniture
an amplifier for the loudspeakers (Marantz PM6005, for those interested, I chose it after googling). I may add some more hi-fi equipment later (after all I put some vinyl discs)
DOF to improve the outside / background image transition
It’s not totally finished (no textures) and I’ll do some more in the future, I like that I’ll probably try to create my own design if I get something cool.


 Also the materials are not perfect and it lacks some additional texturing.


 (in R&C: Going Commando)