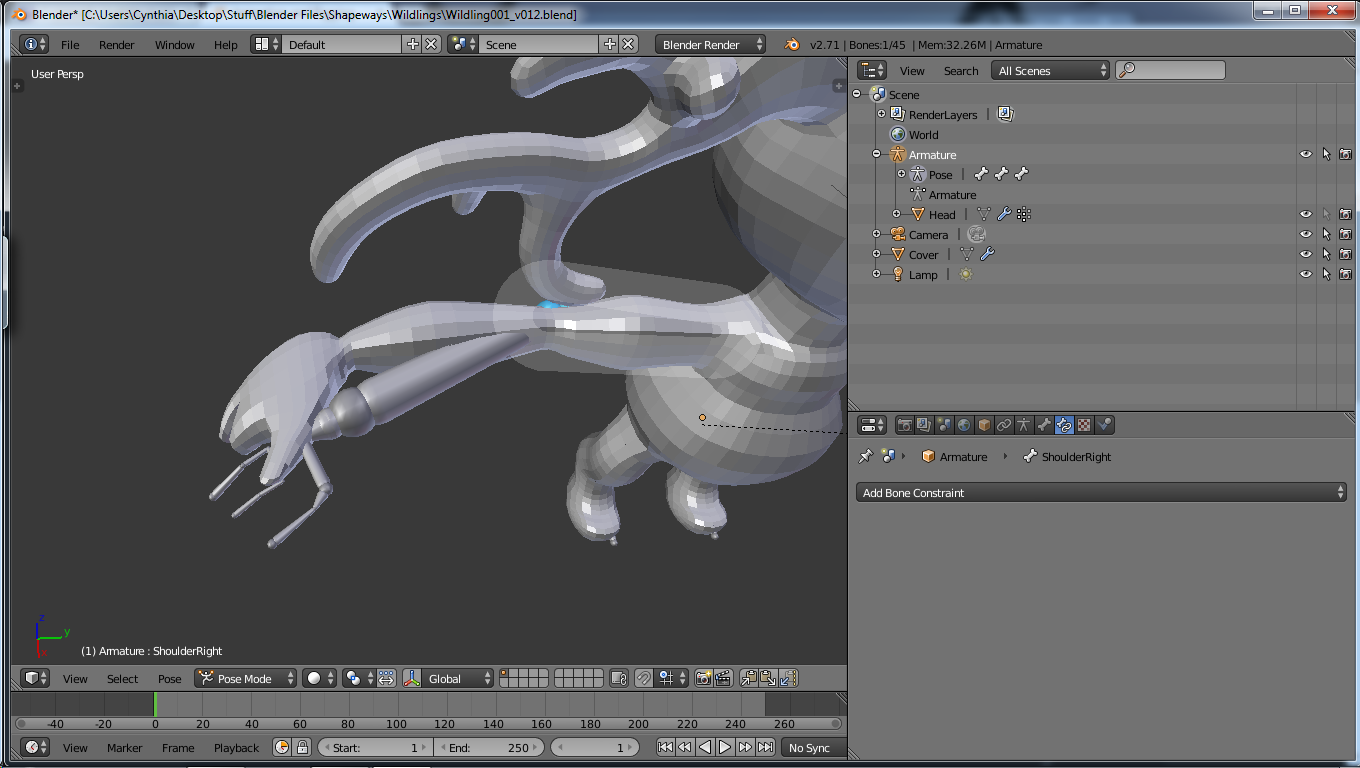
I’m having this issue with only the arms, but it seems that the rig doesn’t like living inside my mesh. I’m by no means, a rigging expert. I think this is only the second one I’ve made in Blender, and the first arm/hand rig I’ve built. Whenever the bones are rotated, the rig slips out and starts deforming the arm, or “squishing it”, if I may use the technical term. Here are some screen caps of the issue…


Can you post the file here? I would like to take a look at it.
In your second picture it looks like you have the upper arm selected. You should not have 100% weights all the way down the forearm and hand. Reduce or eliminate those weights.
In the last picture, you have 100% weights on your hand. Again, eliminate those weights and have the weights only on the forearm with a slight transition to the hand.
These of course are guesses. Without the file, that’s all I can do.
Right now it looks like your upper arm and forearm are both fighting for control of your arm mesh. That is why you are getting the weird bending.
Good luck!
I tried your suggestion, but it only seemed to make the deformation worse. When I tried moving the arm around, it got spikey and squishy. 
With the mesh in edit mode, select a vertex in the area and look at the “vertex weights” list in the properties panel.
You will see that there are multiple weight painted vertex groups assigned to the vert with a value <= 1 for each group, so when you rotate the bone the verts are trying to average their distortion to match all the bones they are assigned too.
Removing all but the proper group will solve your problem
You will probably have to edit the vertex groups manually, which is fairly easy on a model like this.
http://www.pasteall.org/blend/33451
Your mesh had a major issue with it’s origin point and scale. First, it is huge. I rescaled it to a more normal size. Second, it’s origin was not at the base of the mesh. I reset it’s origin to the center of the scene. Third, your mesh was rotated on the z axis. This would not allow me to use the x-mirrior tools. I rotated the mesh to align with the camera.
Ctrl-a will get you to the menu to apply scale, location and rotation. Always do this before you start rigging.
On the second layer, you can find my revisions. I did not do anything to your original mesh or rig. I duplicated them and re-rigged it using Rigify. I placed the metarig on the last layer with the Rigify’s custom bone shapes in case you want to regenerate the rig. I would suggest that you do. I did not spend a lot of time on the bone roll of the fingers. Also, you may want to add three concentric edge loops around each finger joint. (Actually, all major joints.) This will help with deformations.
I used automatic weights when I parented the mesh to the rig. You may want to fine tune them, but they seams to be close now.
Any questions, feel free to ask.
Good luck!
A couple of other things that I noticed: You need to revisit your naming conventions for your bones. For example ShoulderLeft should be Shoulder.L and Shoulder.R. This way you can take advantage of Blenders x-mirror tools. You would then only have to edit one side of your armature and the other will pop into place automatically as long as the bones are named correctly.
I just noticed this character has a satyr/goat type of leg. By rigging it with Rigify, I messed that up for you. Sorry about that. You can still use your original armature and leg set up when you get the mesh and armature origins sorted and in the same location. You should be able to weight paint without issues.
I case I did not explain the origin part very well, the origin is the little yellow or blue dot that is displayed when you select an object. For your rig to work, the origin of the mesh and the origin of the armature should be in the same location.
Type shift-s to set your 3d cursor to the center then select your mesh or armature. In the tool bar>tooltab select Set Origin. A new menu will allow you to set the origin to the 3d cursor. As I stated above, you will want to rotate your armature and mesh so they align in the front view and centered on the x axis before you set teh origin and apply the rotation, location and scale.
Good luck!
I know this is a very old post but the answer is simple. Only heat weight one bone to one part (E.I. Left eye with left eye bone, Right eye with right eye bone). When you create add on parts like jewelry you create a new bone such as for earring left, right, whatever. If you character has something like a pipe or a cig for their mouth you need to create a new bone for that and link the bone to the jaw bone but not heat weight said pipe or cig for both the jaw and the bone for said pipe or cig. That will keep items from slipping or not staying aligned with mesh during movement.