Yo. I haven’t been here for a while. This is my second thread I have set up. :yes:
Ok, I have a new problem here. I posted my first topic on distorted meshes when using automatic bone weights, which was resolved by using vertex groups (massive thanks and shout out to BornCG, and those who helped me out earlier).
Ok, setting manual vertex groups has helped at least 87.5% of the distortion on certain areas of my model. Now, I think whats best is if I post two images then explain it because it’s gonna be very hard to describe the whole thing before so…
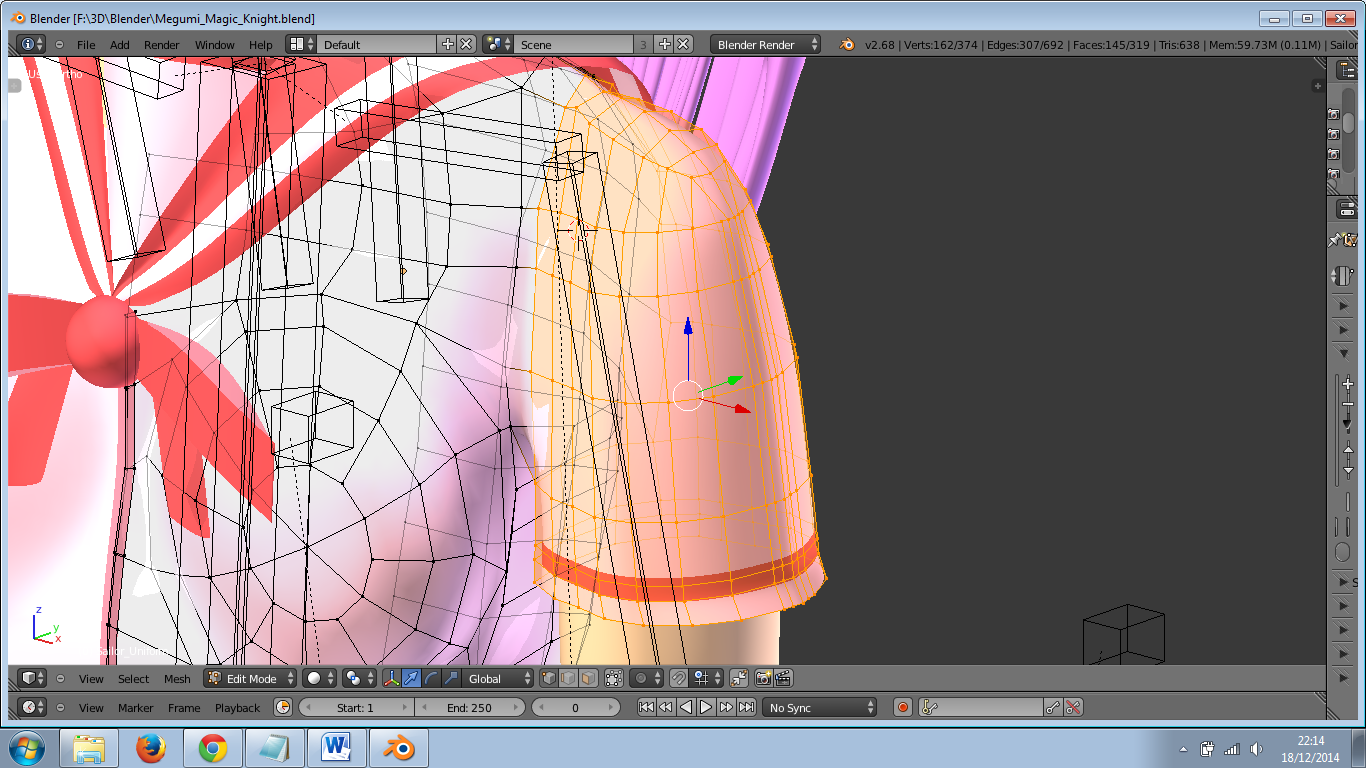
The highlighted faces are what are binded to the upper arm bone. Now for the other image…

I have had a good look at BornCG’s channel to see if there are any really good solutions. And yes I tune into his channel A LOT and his tutorials are so awesome! I did check out one of his called “Blender 2.6 Tutorial 22 - Cloth (T-Shirt)” but he mentions cloth collision can slow down the computer a lot (my laptop already does when I display cycles render) and cloth collision on his videos has this issue of have the body faces underneath peeks out. But he did state And also, the face count of his model is very low whereas mine is 170000 faces, so using collision cloth literally doubles the face count and my laptop isn’t strong enough to headache that.Oh and, as you can see in the 2[SUP]nd[/SUP] screenshot, the very top of that shoulder joint is slightly distorted. I think there may be something wrong with the actual mesh itself. Ages ago, I used a really good modelling tutorial series by an awesome Youtube user called “Alexandr Khodanov” and I followed the modelling structure of how he did a character we both know called Musubi from this anime. I followed part 5 of his video as close as I can get to for making the shoulder area but because the clothing on my character is different, there’s bound to be a problem here.There was another solution I tried for myself. I tried separating the sleeve from the top by making a very tiny gap between them so it looks like they were connected, but that just makes the sleeves float when I raise the arms up when moving the bones.My apologies if this post is very long. Can you guys please tell me how to at least get rid of that armpit area.