Hello everyone. I’m relatively new to Blender, ten weeks, but spend about twelve hours a day working with it. Anyway, I’m working from a video: https://www.youtube.com/watch?v=e_aRzQWhNwY. I have everything done and now I’m down to the wings. I’ve scoured the forum for ideas on how to model them and have come across a few examples. But the only thing I’ve come up with is the OP stating he used an image texture. I’m not quite sure about how to edit it if it can only be viewed in the rendered viewport. Have also tried Images to Planes, Bezier Curves and Knife cuts. I’ve tried using Inkscape to get a vector .svg but there are so many nodes in the file and simplifying the vector makes it useless.
My process, so far, has been to extrude a circle out to form the veins. There must be a better way of doing this. i
I’ve been trying to upload a compressed .blend and get an Error that upload failed. And PasteAll doesn’t give me a link to copy and paste.
So this is what I have for you now. The best I can think of at this time.
Thanks Bloodhound. I’ll get right on it. I guess it’s back to class then at YouTube University. At least now I have a path to pursue. So far, I’ve just been wingin’ it.
Thanks Ricky. I had also found a thread on here that included a .blend and a suggestion to use the skin modifier. I played with that for a while and the ribbing looked great, but, the OP was using a plane. May try that with the half-circles that I’m using now or change over to extruding a plane. I’ll just keep experimenting and learning. Doesn’t cost anything to try.
Right now i’m trying Bloodhounds idea by following Sardi Pax’s tut on Normal Maps. Need to learn that also.
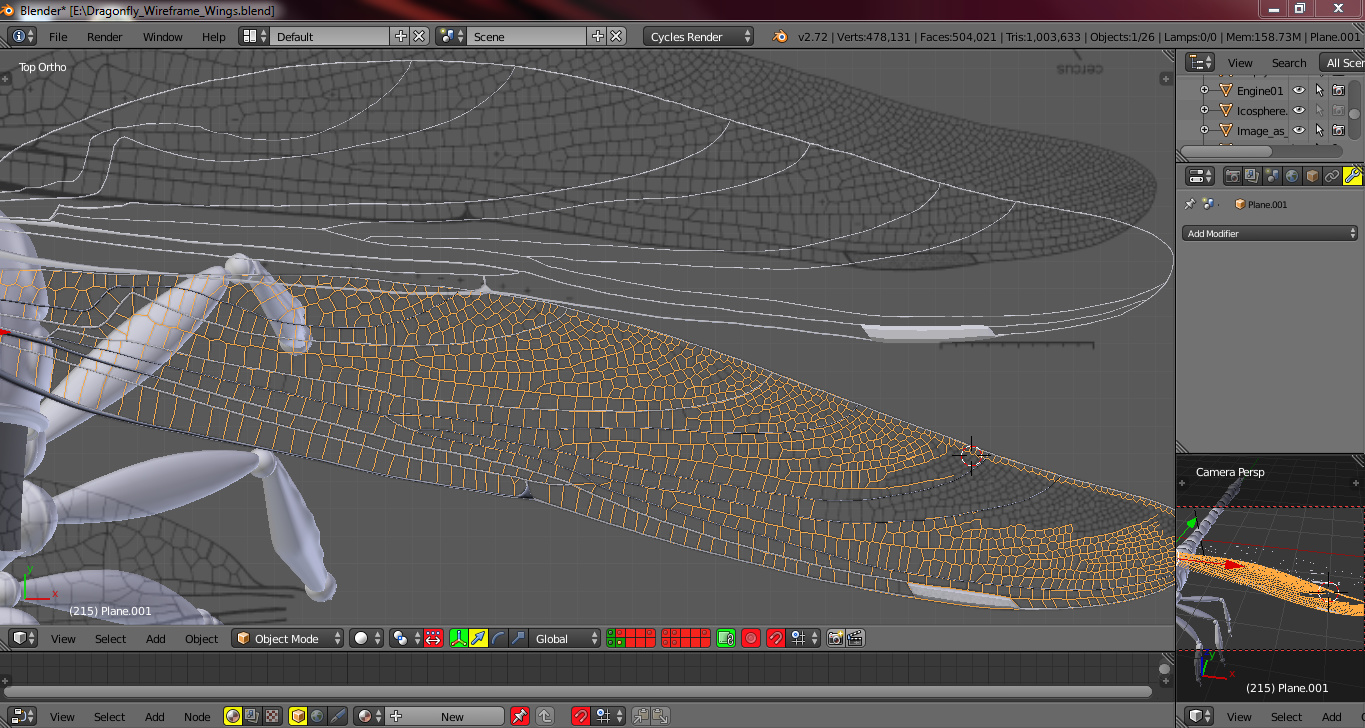
While waiting for a response from yesterday, I just kept plugging away at my current method. This is where I stopped at 2 a.m.
There is so much to learn with Blender, but, it is sooo interesting. I feel I’ve come along way since my first tutorial on the Pool Balls by tutor4u. My thanks to him also. At 49 years of age, I’m proving myself wrong that I was too old to learn this younger generation computer stuff. :yes:
Thanks guys.
EDIT: As an extra note…by using my current method of half-circles and the skin modifier…Blender went…Kaputz. :no: I think I’ll try using a plane.
Thanks Ricky. I see you started a .blend to check out. Looks like you started off just extruding an edge or two from plane leaving no faces. I had tried using a plane but left the faces. No wonder I wasn’t getting the results I was thinking of.
I’ll take a better look at it after work in the morning. Breaking it up into bite-size pieces is probably a better way to go with my laptops.
Thanks again. I 'll work on it some more tomorrow afternoon.
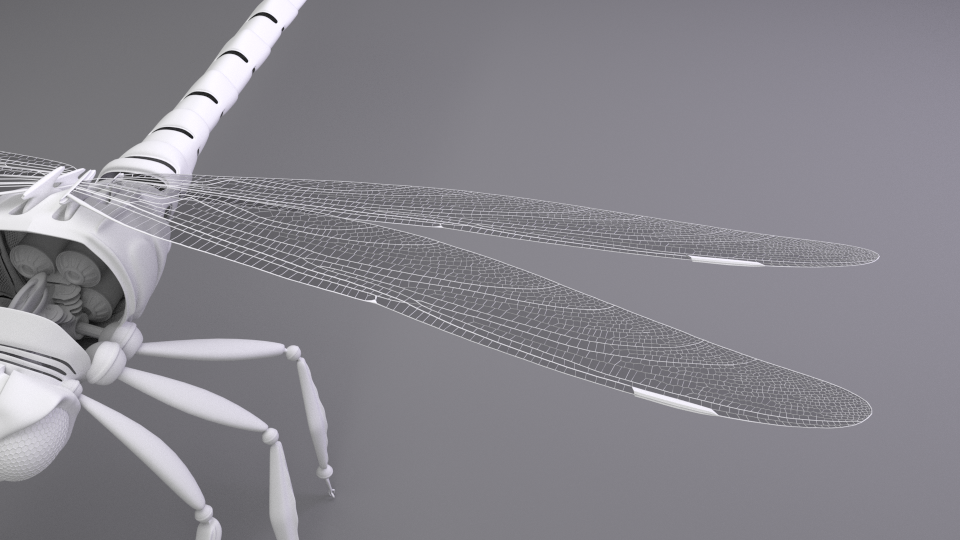
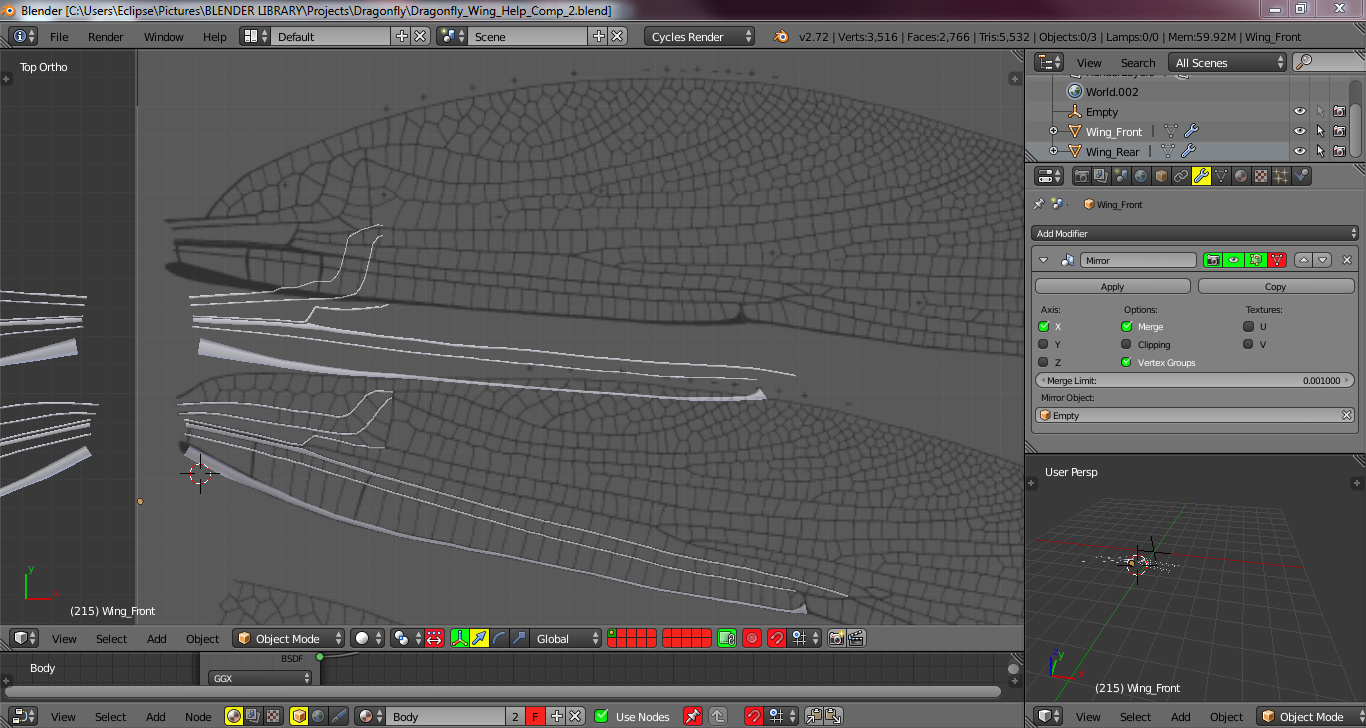
Thanks again Ricky. Here’s an update for you on your second suggestion. I did some experimenting with a small portion to see how to go about doing this. So far this method seems to be coming along at a pretty good pace. Still have about fifteen minutes left to finish the front wing. I like the look of my previous work with the extruded half circles [I’ll try adding a mirror modifier to make them full circle, scaled on the Z-axis] so, I thought I would incorporate those with the mesh lines.
So far, I haven’t extruded or set the Solidify Mod. During my experimenting I added a Subsurface also, and that added a nice organic look to each cell of the line mesh.
I’m still not quite clear what scaling by Alt+S does yet. I entered .002 for the scale, but, I wasn’t zoomed in close enough to see a difference. I’ll do some Googling around and find out.
Anyway,…Thanks again. I’m quite pleased with the results so far.
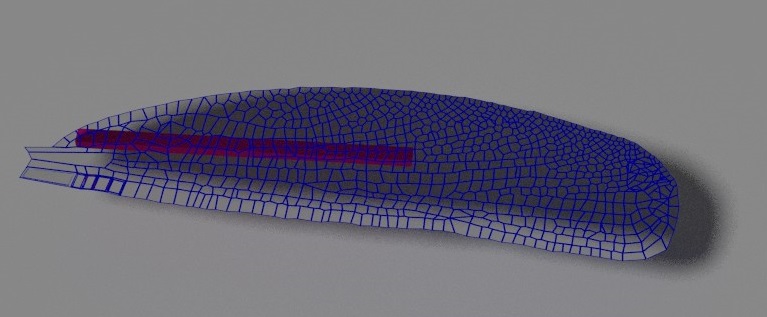
Yes. That’s been my thought on filling in the membrane. I’m just now realigning some of the line mesh to the center of the previously finished ribs. About to extrude, scale and add the Solidify Mod.
With everything having a thickness and being built on the same plane then I can just extrude a plane right through the middle of it all. Then give that a transparent material to match the canopy cover…
Still needing to check on baking any kind of map. Started following the tutorial by Sardi Pax, but,Blender tells me “no object found to bake to”. I was in Blender Render mode like him, but the tut is done with 2.65 and I’m using 2.72 so the screen doesn’t quite match up. Otherwise I use Cycles for everything.
Will be posting again with the results of my progress shortly. Crossing my fingers this works.
Thank you for the suggestions, you put me on the path to completion. I hadn’t thought of starting off with a mesh line from a plane. That did the trick. Pretty much done now except materials/textures. I haven’t worked much with textures, but, it’s time to start.
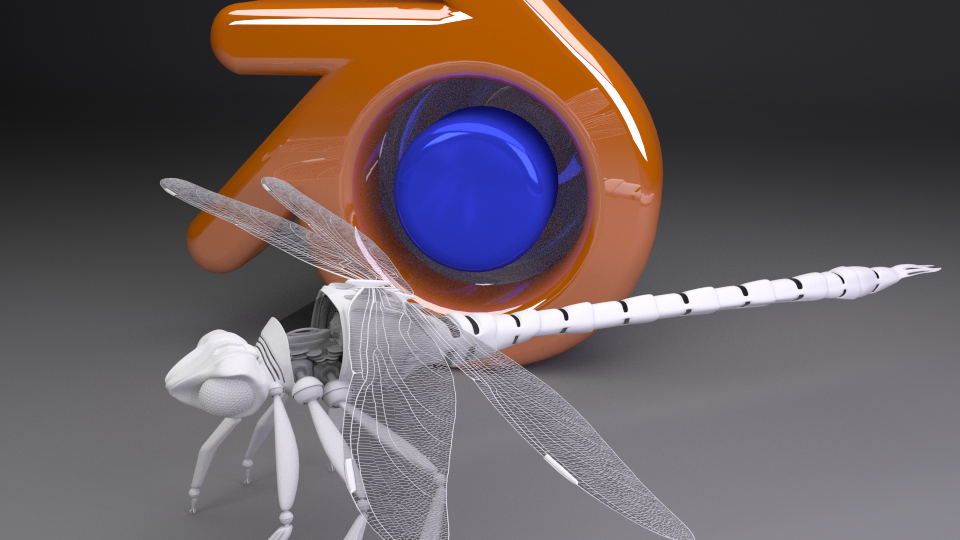
I’m trying to recreate the original video, so, this is the final progress render. I’m planning on using the video editor to fade each shot into the next and add a Build Modifier for the build animation. If this is possible with the video editor. I’ve seen one post on here that suggested to the OP that he try a Dynamic Paint Mask…though I’m not quite sure how that is set up.
Thanks for the suggestions Ricky and Bloodhound. Very much appreciated. :yes:
with the mesh with edges
F to add faces all over
set pivot to multi
select all faces
Mesh menu and select extrude then select faces
and adjust size of faces !
then add a new mat and assign faces to this new mat
select all faces again and then scale Z to flatten the extruded parts
try it let me know if it works !
here is another way with inset
add faces
select multi face pivot
then inset but use it in local mode = II = 2 X I
adjust size of inside faces
then assign new mat for selected faces
done!
Is that the F2 Spider Script method? I played with that last week with not much luck. User Malfunction I’m sure.
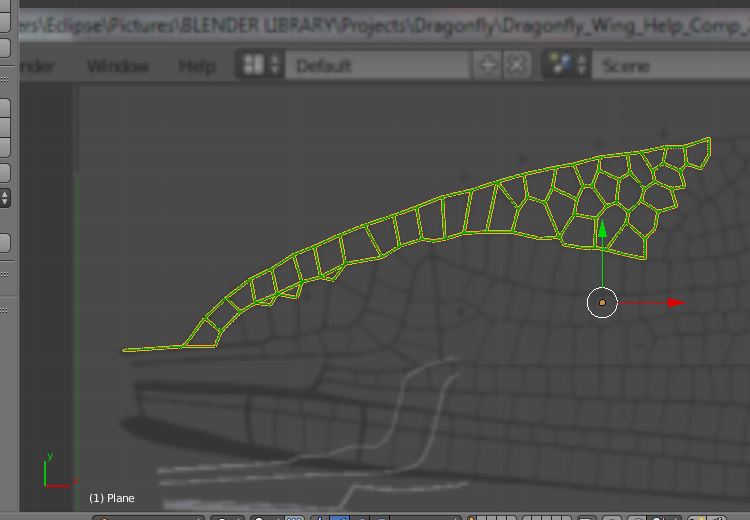
I just extruded a plane out several times and adjusted the vertices to align with the centers of the original framework surrounding the wing. Don’t know if that’s the right way, but, it took about fifteen minutes and that was what I knew how to do. :spin:
If I could just figure out how to send a .blend without an error, I would post one.
That is cool. Did’t even think of Inset and I used it many times before on the JackAngel Robotic Lizard video. With so many tools in Blender it’s hard to remember what is available to use. I may tend to over-think things and make them more complicated in my head than they need to be…ie. KISS. I’ll catch on.
Nothing is written in stone yet, so, I’ll give these other ideas a try tomorrow. I’ve been at this for twelve hours today already and I’m still not finished for the night.
Ricky,…would then inset still work even after it has been extruded and scaled? I haven’t Applied the Solidify Mod yet, and probably won’t. Then it would be set in stone.


 I entered .002 for the scale, but, I wasn’t zoomed in close enough to see a difference. I’ll do some Googling around and find out.