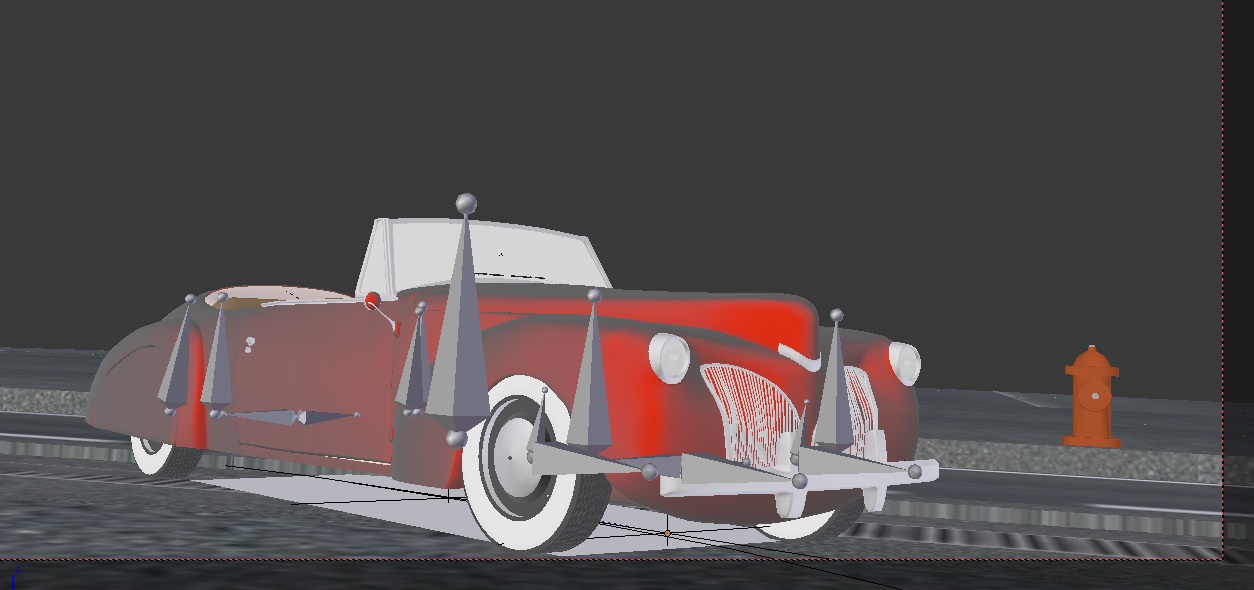
Hi there, Iam facing one problem. I tried to follow the great tutorial from blazraidr. I enjoyed it really much, done everything as he did and put the car on the curve. And at the end of the curve it just did crazy stuff - the wheels flew off the model and just then stopped. So I deleted it and tried to follow the whole tutorial again. Step after step to absolutely be sure I ve done the same thing. And now, it is still the same.
Don’t drive the car off the end of the curve - you armatures have no idea where they should be in space! Extend the track curve if you want the car to go further. Try this and let us know how you get on. I will look at the blend file later - too busy just now.
You gave me hope, I tried it, but it didnt work. Even if I let him to go at a distance 0,3 from 1 It always does the same thing. The wheels fly away. It is funny.
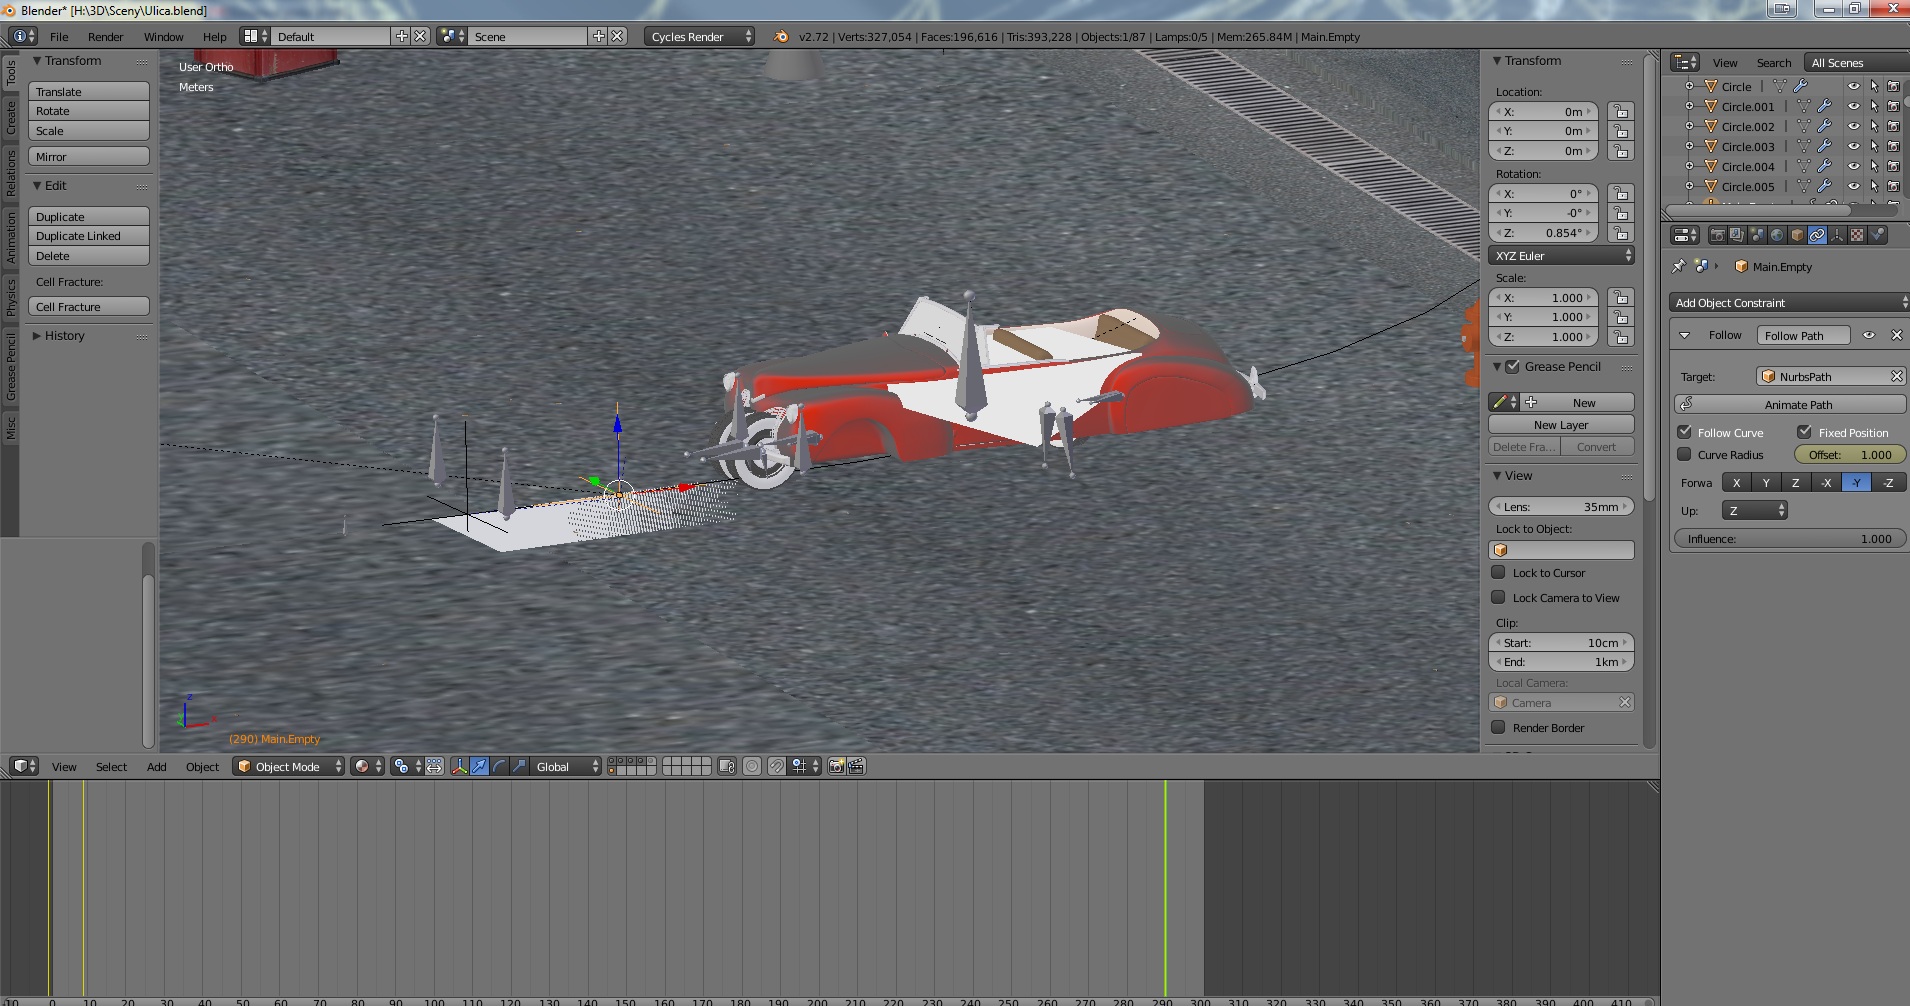
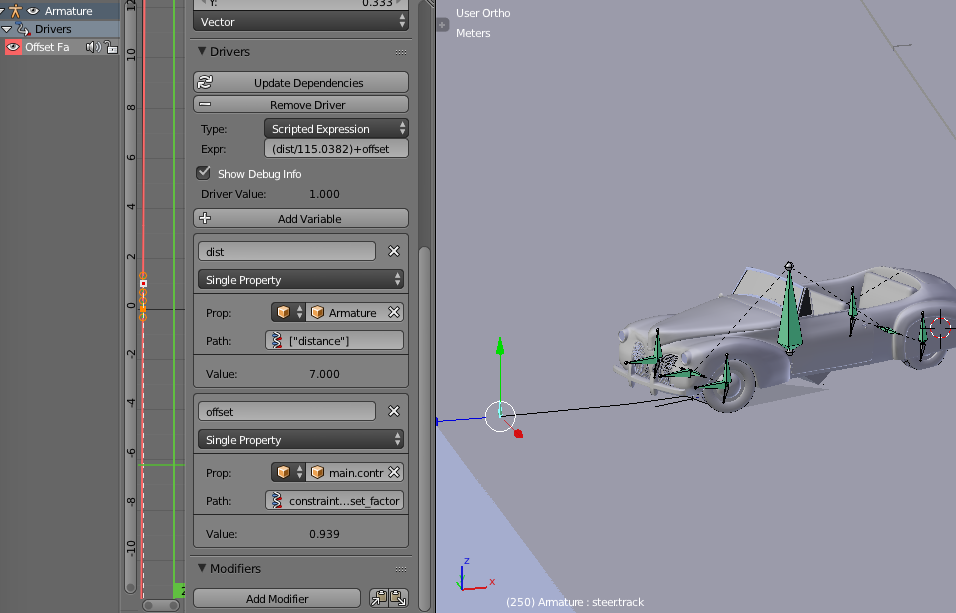
OK young fella, I have an answer. At precisely frame 250, the armature “steertrack” gets to the end of the curve track (“nurbspath”) used to control it - and everything that it controls. This is where the problem lies. After frame 250, this armature has no idea where it is supposed to be in space, so just to p**s you off, it throws a huge wobbly and messes up the other armatures and plays hell with your wheels! This armature is controlled by a driver, which keeps it 7 units in front of the other armature, see pic below:
You just ran out of road at frame 250. Go into edit mode on the curve “nurbspath” and extend it a good few units, so your animation completes up to frame 300 - I did this and it works fine.
Voila!!! problem solved - I hope - nice model - well done!
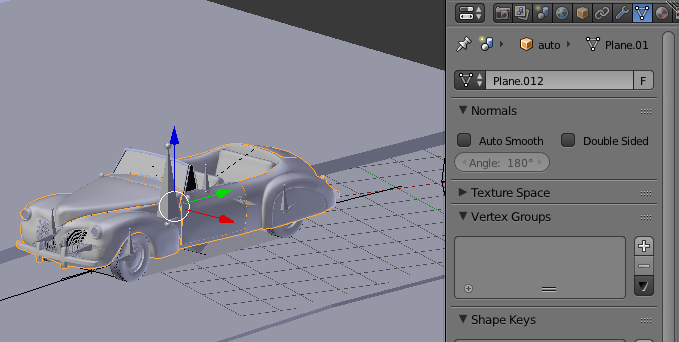
LAST point - You need to sort out the parenting of the car to the armature - you should use “With Empty Groups” parenting and then assign the vertices to the correct bone in Edit Mode. You just did a Bone or something like that parent - Not right! That’s why the car body does not keep up with the wheels when you extend the “nurbspath” track. Check the manual for how to parent meshes to armatures “With Empty Groups” basically you select the mesh, SHIFT select the armature and CTRL-P - chose “With Empty Groups” Then go into edit mode for the mesh, select all vertices - go the Vertex Groups pane, select the correct bone and click assign. You have no vertex groups for your meshes so you will get problems.
Just noticed something else - you have a Custom Property on “steertrack” armature with a path length of 115.0382 - this is the length of thee nurbspath I think - if you increase the length of nurbspath you will have to increase this as an optional way of correcting the errors when you edit nurbspath. I still would look at proper vertex assignment to cure the evils - more later.
And something else - bone “car.roll” is a child of “suspension.sim” which has been baked for 250 frames - you animation will not work for more than 250 frames unless you free the bake and redo it for 300 frames. - phew! I think that should about cure all the ills. It works now without having to do a proper vertex assignment - you’ll be pleased to know!
One more comment to make - Why don’t you base the offset driver on frames rather than length of the curve. You could use a driver script such as " (frame / 300) + offset) " that way it uses 300 frames to get the length of the track. You need to make sure that your expression equals nearly 1 at the end of your frames. This may help you if you want to change the length of your curved path.
And finally, maybe finally, you could also keyframe the offset factor for one object and gap the next ones to it. I enclose a blend with some examples on layers 1 and 11 and with a very simple implementation of the principle on layer 2. Watch it either in the screen I have left you in, or Camera Mode :spin:, just press play (ALT-A). To see the various drivers/keyframes, select one or all of the car objects and look at the graph editor in either Driver or F-curve mode as appropriate to see the method.
Wow, thank you. When it comes to the car, Iam kinda lost, but this roller-coaster is a great way how to learn new things and it even looks entertaining
-That’s why I posted the file. If you are practicing rigging - use a simple model. If you are practicing modelling - use a simple rig.
Learn to crawl before your walk.
Learn to walk before you run.
Learn to run before you ride a pushbike.
Learn to ride a pushbike before you ride a motorbike.
Learn to ride a motorbike before you fly.
Learn to fly before you die.
Think about it - I got my most treasured material possession - my Pilot’s License - just before my 56th birthday.
Hello and thank you again,
So I can continue in my scene again. And just to be sure with the rig, I upgraded mines with some things you posted here and to be even more sure I put bones behind the bones that were controling the wheels and applied modifier - Limit distance -
Nice quote and WOW, I could not imagine that a pilot would help me with this - since I know just one or two