I felt inspired by my buddy Tor Frick to start doing some speedy environments. He usually does 1hour shots, but I’m not quite that quick yet Here I’ll post my 2 hour(ish) scenes. Everything has to be made from scratch - no reusing stuff or any concept art.
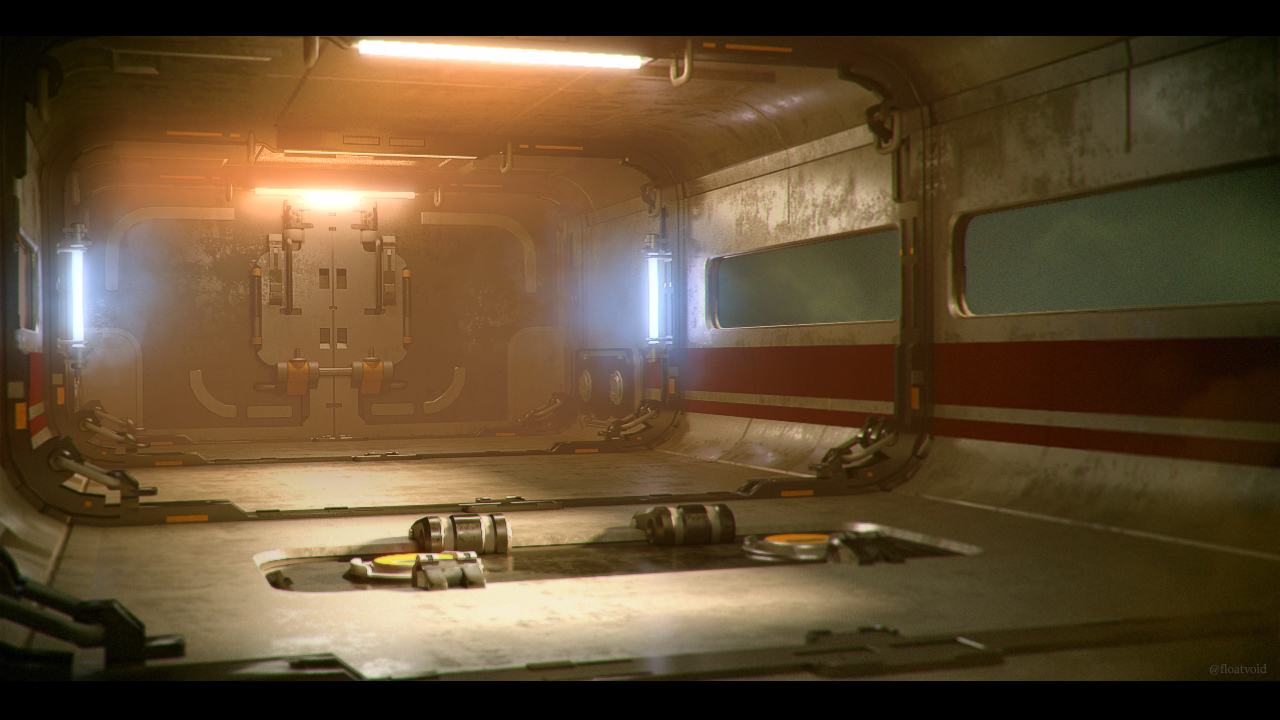
First one from last night, some kind of space station corridor. I’m thinking it’s an asteroid mining facility somewhere in deep space.
(I hope this is the right spot. They’re not ‘in progress’ because after they’re done, I won’t come back to them - but they are also maybe not super great fidelity. I’m kinda new on these forums, so apologies to the mods if this needs to be moved I guess!)
This is awesome, floatvoid! Great colors, lighting, materials, atmosphere- all around, a really nice look to the environment. That you did this quickly is even more impressive! Do you have other work posted online? I’d love to see more!
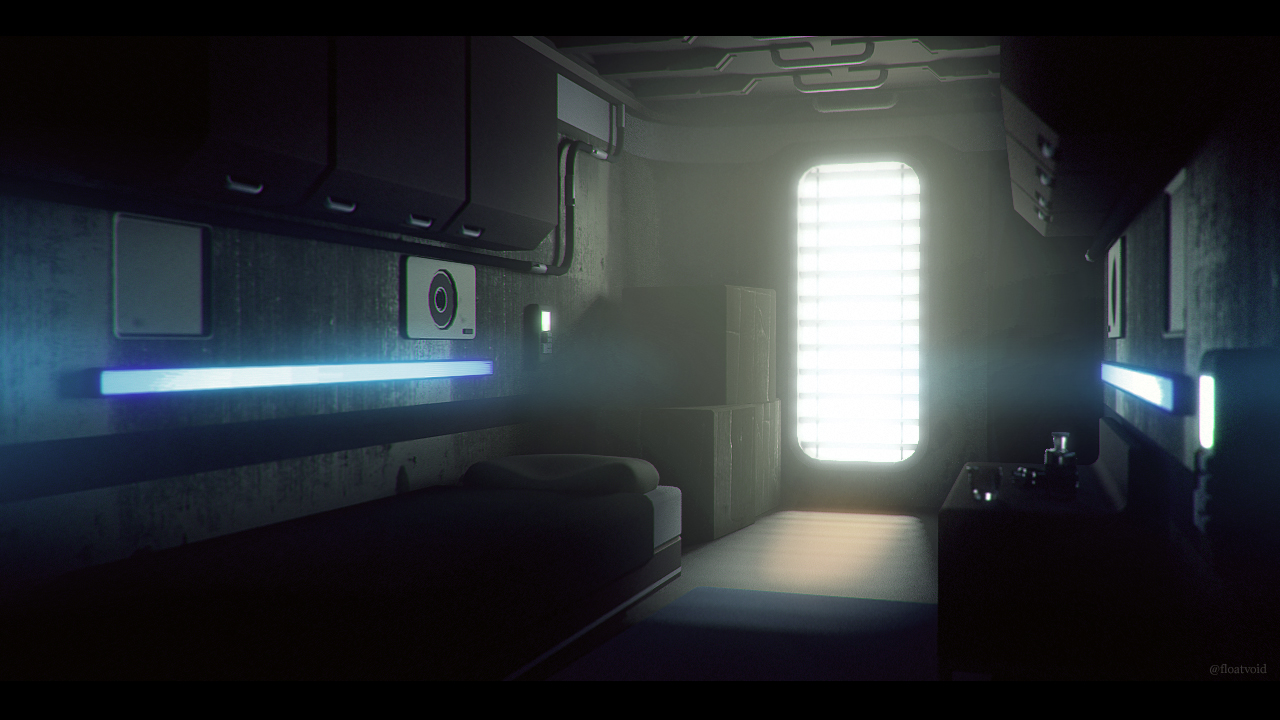
I don’t think this one is as successful as the last one. The key is repetition. Each element of this scene is unique, so it takes more fiddling to get it looking OK. The last scene was composed of a bunch of repeating and symmetrical parts, so it was faster to and the composition is basically free from any angle.
Thanks! There’s nothing fancy going on in terms of modeling or texturing. In fact, the first scene only has one texture, and that’s a tiling roughness map that is applied to all the metal materials. Everything else is just a solid color material. No subdivision models, just quick mid-poly stuff. Lots of color/fog/mist/bloom done in comp. I’m a big fan of compositing. A render is only the first 50% of your image.
The second shot is the same story as far as textures go. Almost all flat colors except the wall and the boxes have some random junk on them. I think between both shots I spent 10mins on textures.
Do it in post! Just a typical bloom effect. Use a levels adjustment to isolate hilights. Blur once with a tight radius. Do a second blur pass with a really wide radius and add the two together. This makes it feel more natural. Think of it like… a lightsaber. The lights are cylinders with an emissive material. Thats the core of the saber. The first pass, smaller blur is the glow of the lightsaber, and the wide soft glow is the light from the saber catching the atmosphere.
Then throw some smoke elements in front of the lamp to add atmosphere. If you needed a 3d scene you could do it with a quick smoke sim, but here its just a custom photoshop brush.
I didn’t do anything in photoshop that you couldn’t just do in the blender compositor, but I’m not fast enough in that tool yet.
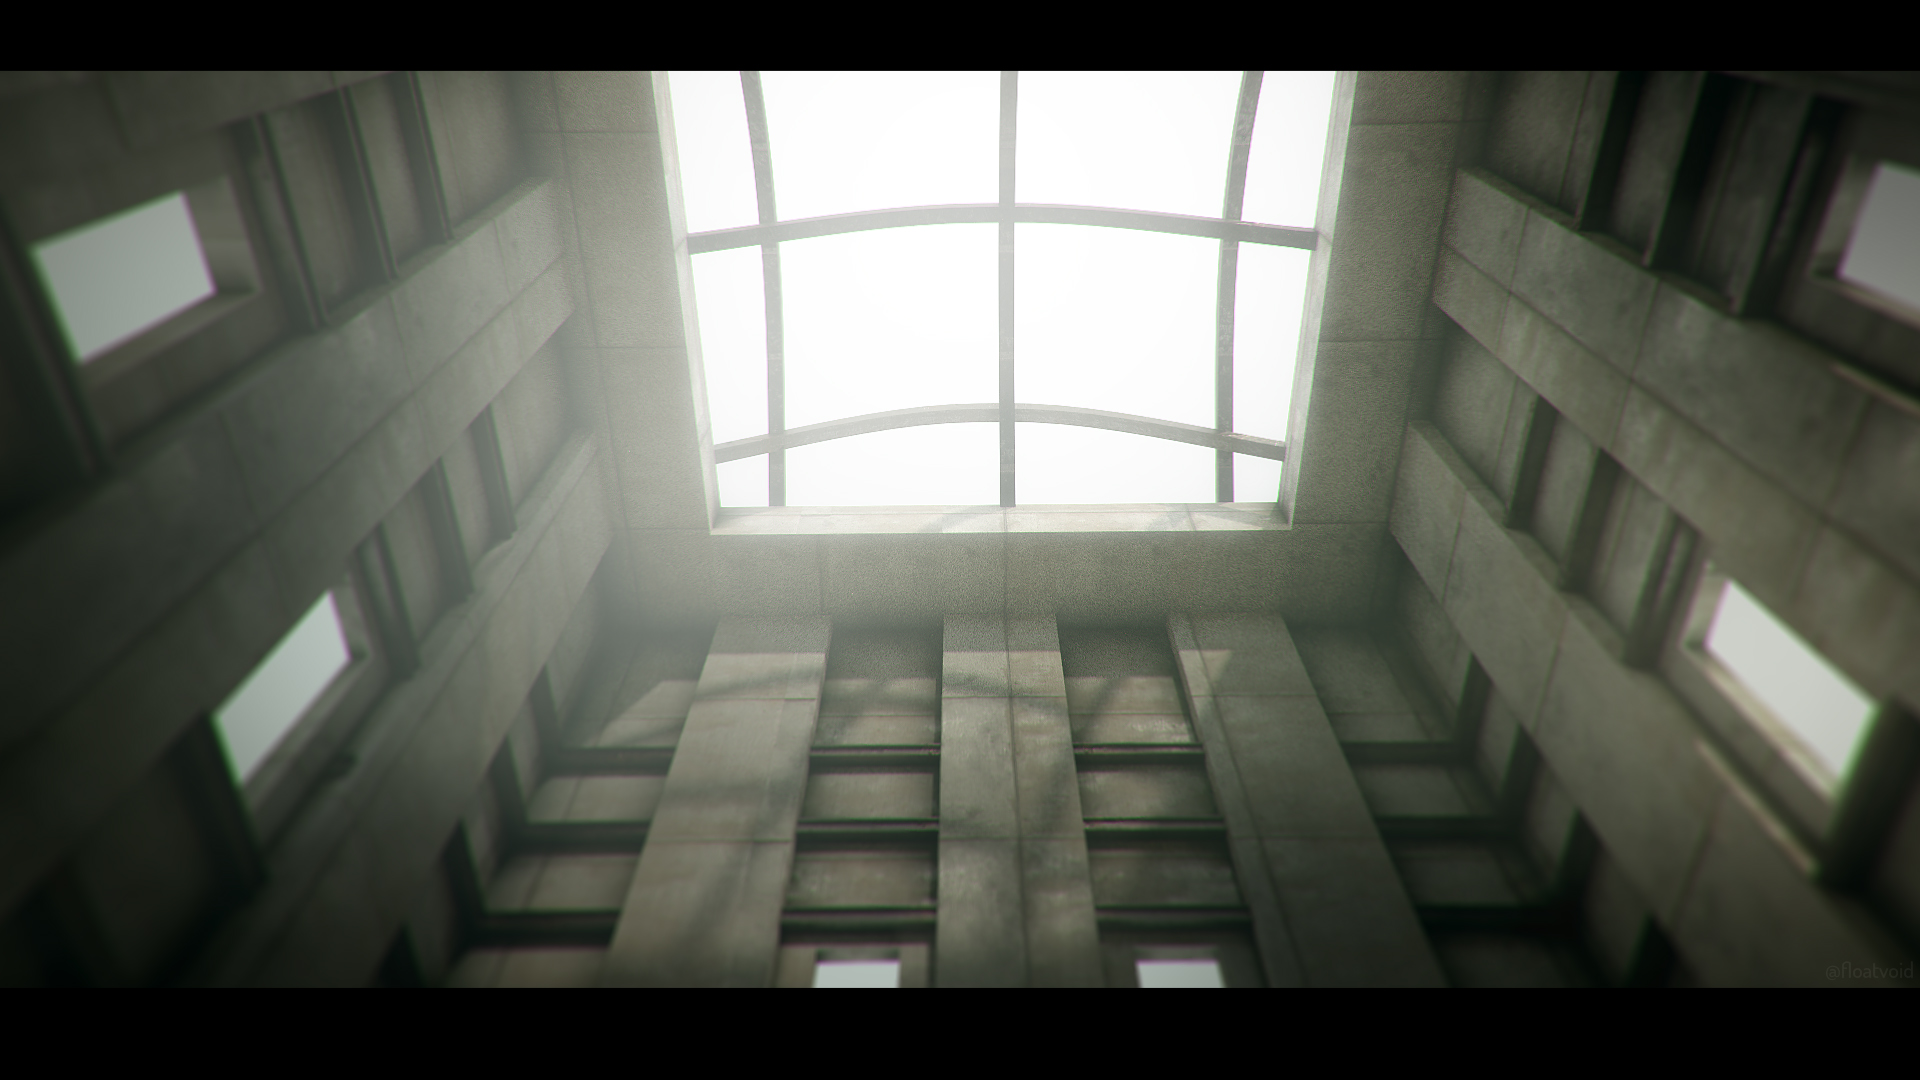
Latest 1hr enviro. This time focusing entirely on lighting and comp. The model took about 5 minutes, and I spent about 10 minute on textures/materials (which is why they are so bad!)
Very nice! I’m a little disappointed that so much is done in post, but the effect speaks for itself. I will have to try some time-limited projects myself once I have more skills - I’m just learning at the moment.
 Here I’ll post my 2 hour(ish) scenes. Everything has to be made from scratch - no reusing stuff or any concept art.