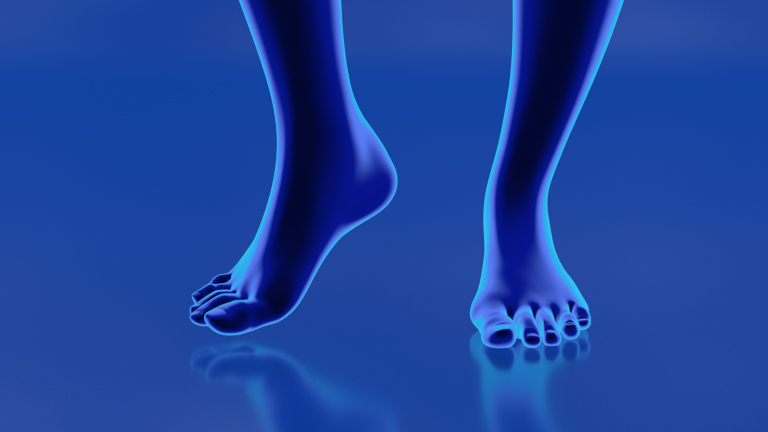
Will appreciate any advice on achieving this look for my new foot model:
I am experienced in 2D illustration, but needed to create a 3D foot model for work, so I chose to do it in Blender.
Having battled with one of the tutorials found on YouTube, I decided to switch to a downloaded free model and fix it up to make it look like I need to. All I need in the end is take some screenshots of the model, so it doesn’t necessarily have to look like the image above when rendered (although would be nice!).
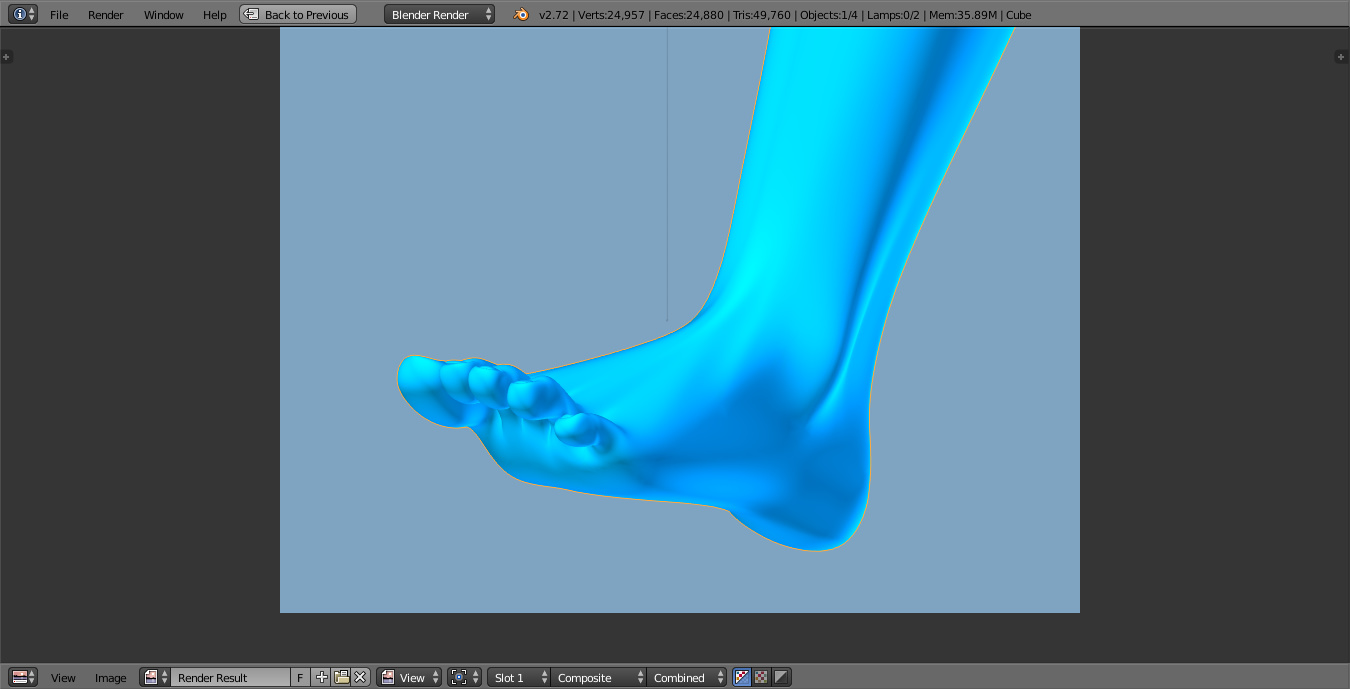
This is what I’ve got so far (screenshot, not render):
First off the blue skin needs to be transparent. So if you know nodes. You will do that accordingly. This way your skeletal model will be viewable like in the pic shown for example. I would parent the bones to the skin so when you pose or different pose you will have one follow the move.
or you can composite or layer the bones on top, but it would look better since you are using a 3d software is to access the 3d ability
There is a node setup on this site somewhere that can give you that effect don’t quite remember where though
go up to the search and type X-Ray will be easier to find
this is the setup
this is not my setup the person who made this knows who they are on this site
i dont take credit for something i did not do
and thanks for this node setup
[ATTACH=CONFIG]348844[/ATTACH]
This isn’t an effect you’d usually do “in render”. Look into compositing before you pull your hair out trying to get that style just from your shaders.
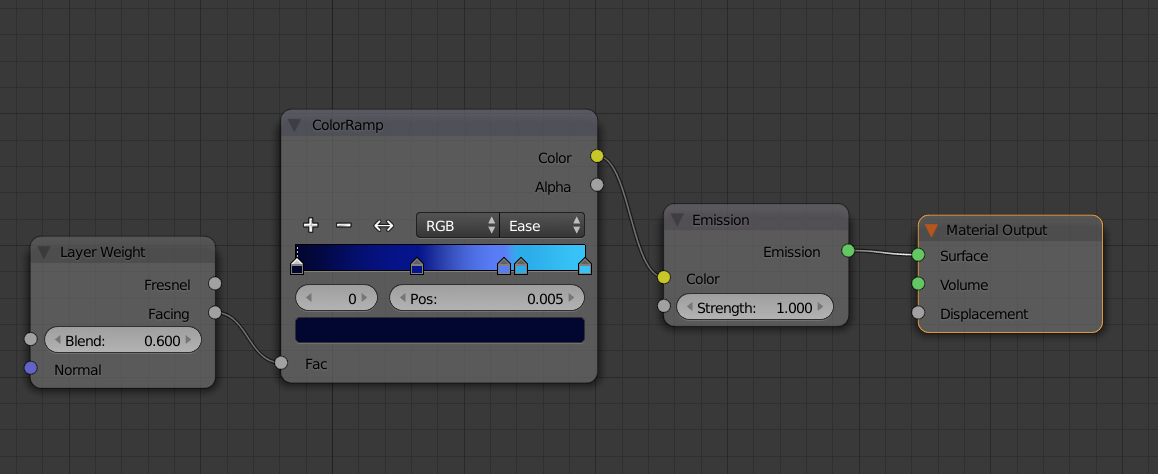
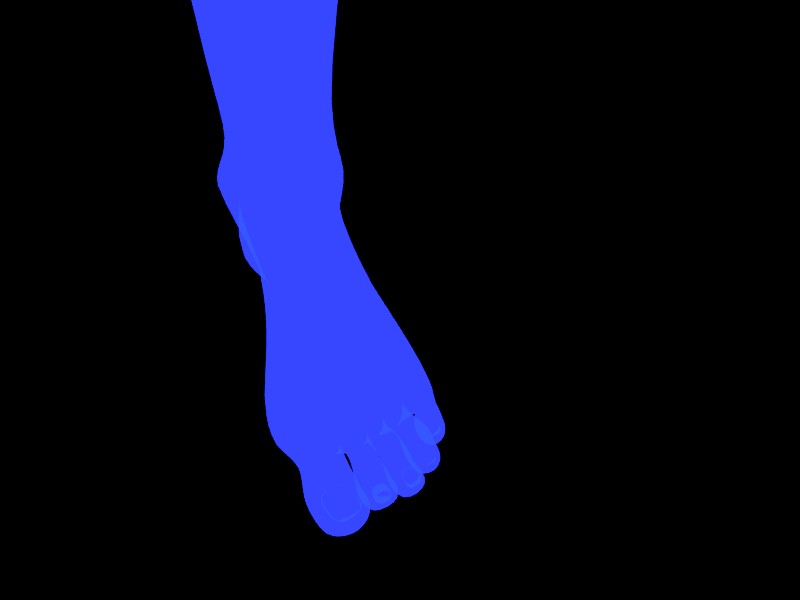
Here is the simplest way to achieve that look with cycles nodes. The facing node is a measure of how much the face is facing the camera. So faces facing the camera are dark blue and ones with steeper viewing angles become lighter blue.
As for the orange bone overlay, you would need to use compositing for that, or combined them in photoshop. There is no tranparency in this shader, and so the inset orange bones that are inside of the leg are defintiely compositied or overlayed on top of the blue leg.
Photox, much appreciated! I’ve downloaded the file and will try to apply the settings to my model.
m9105826, I will definitely look into compositing. Luckily, there is no need for bones in my work assignment…yet.
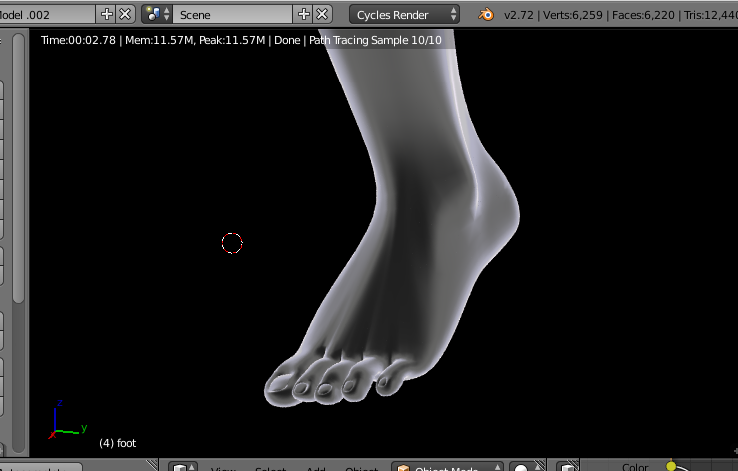
OK, after poking around for some time I’ve discovered that the blue foot render is the material that was in the file before but was later deleted (it was one of the other node set-ups that I tried and discarded). I guess it got stuck somehow, and was being used by the render engine instead of the only new correct material that was saved in the file? Weird. I found an older version of the file that still had that blue material and deleted all nodes before deleting the material itself. Then I recreated the material that I liked et voila. My render now looks like the preview and just as I need.
Hope it helps someone who faces a similar problem.