This is my first post to BlenderArtists. I’ve been following the site for some time now and have been relunctant to post anything because I find most of the posts on this site to be of such higher quality than what I can produce. But then again, how can I get any better if I don’t seek out input from people that play in this stuff all the time…
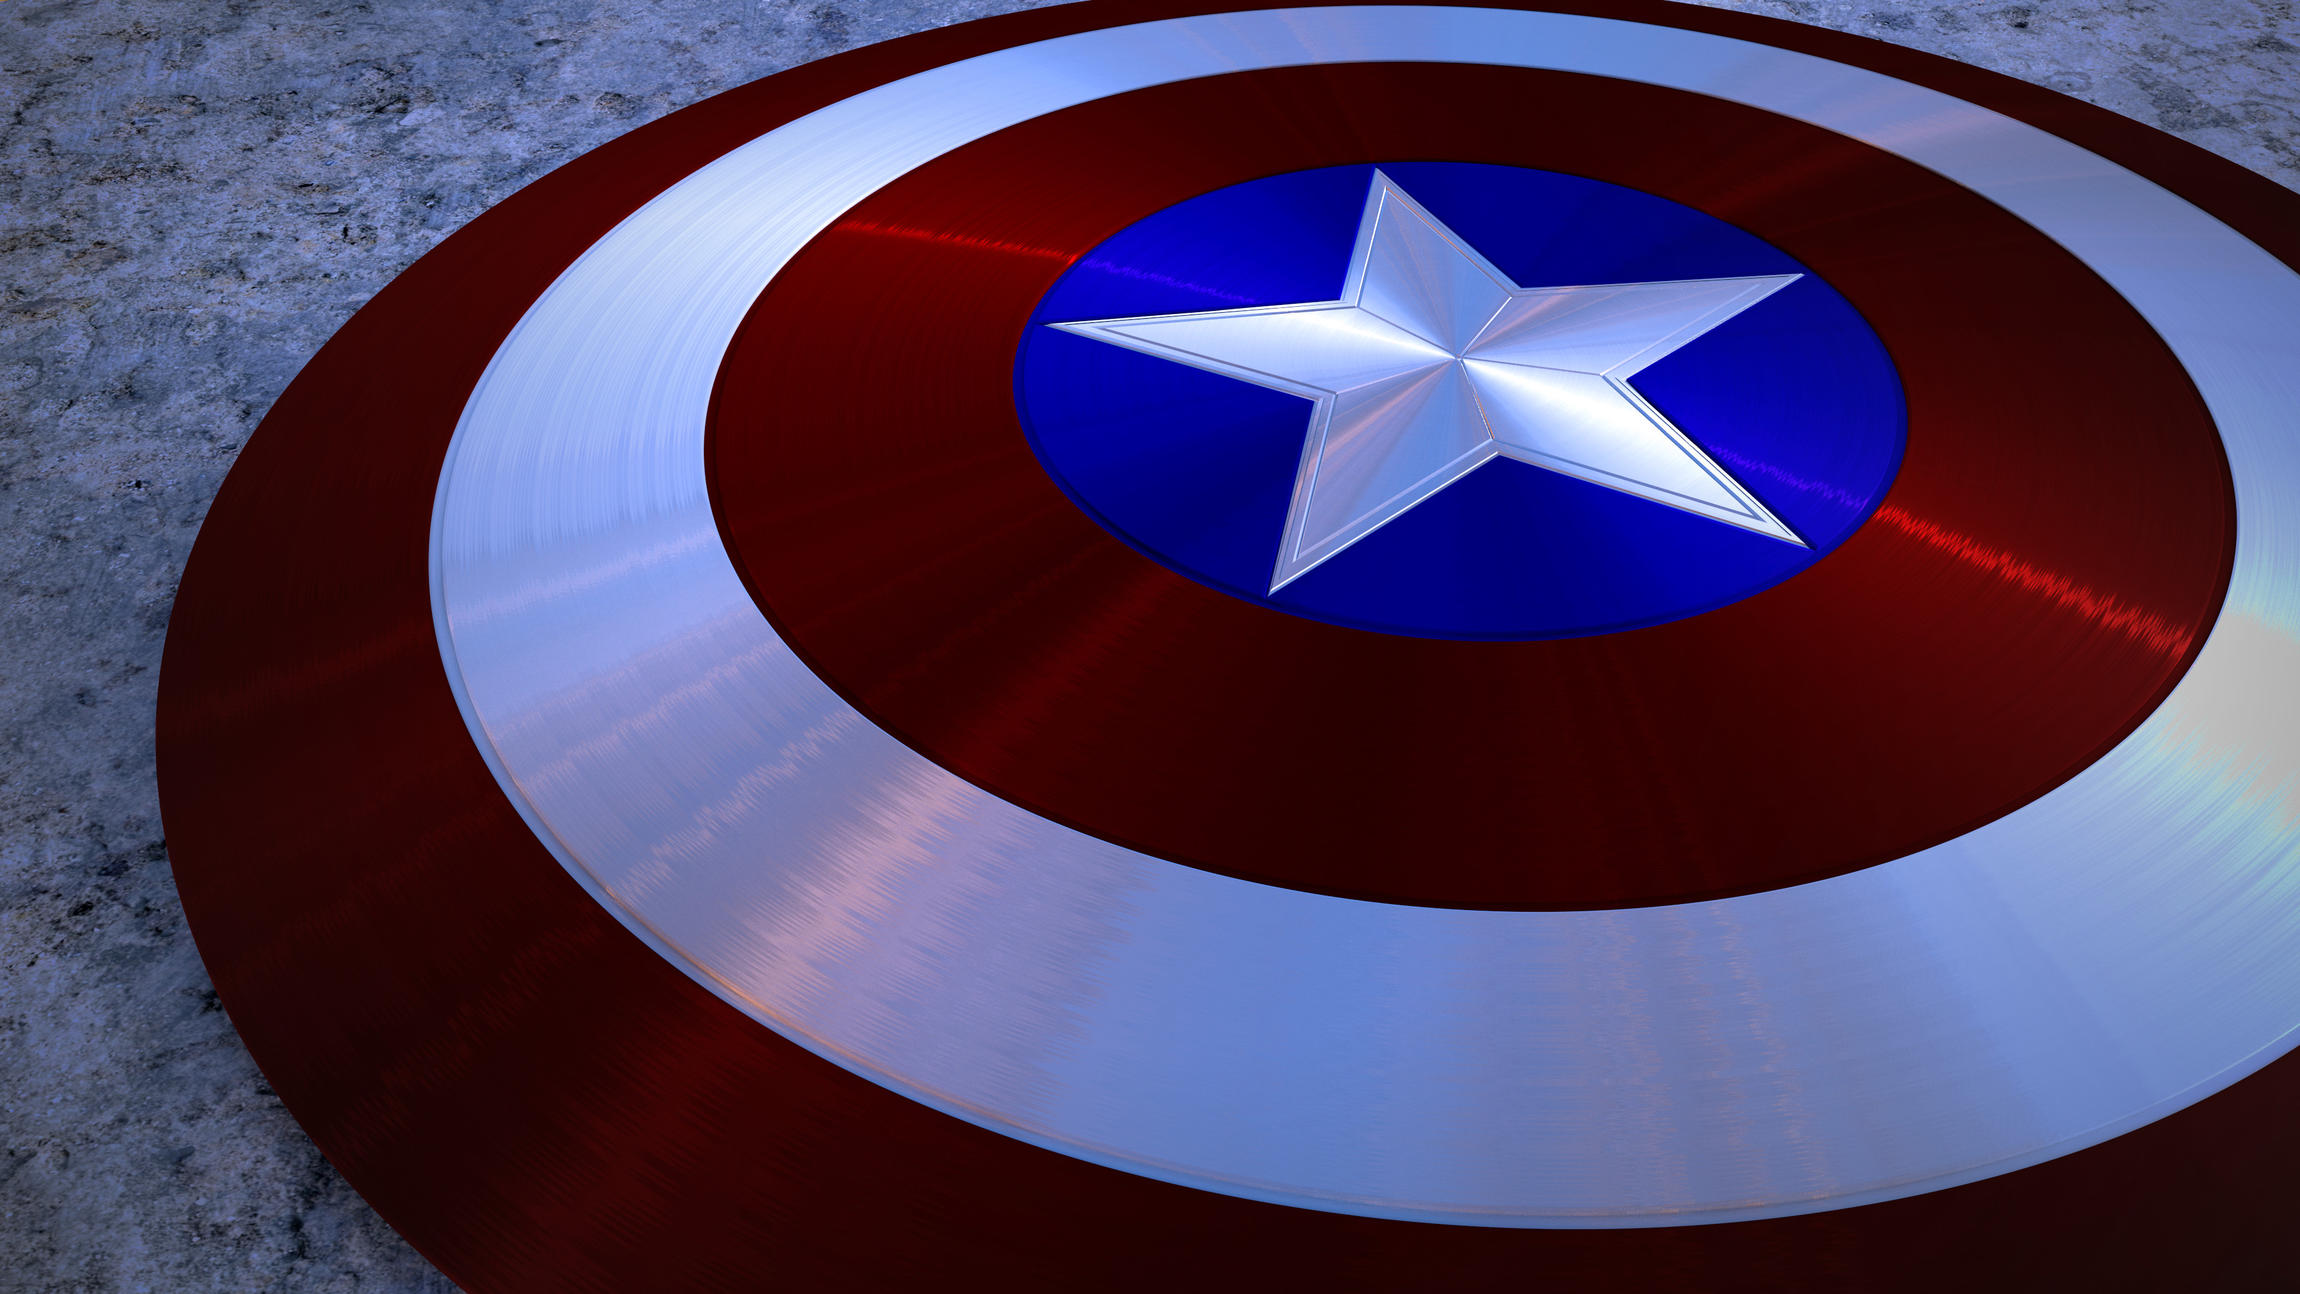
I chose to model and render this because the Captain is my younger son’s favourite superhero at the moment.
Nice job. I think the colours, especially the blue, are a bit too saturated. The other thing you could improve is giving the shield a bit more of a metal look, which could probably be done with a bit more reflection of the colours in the environment.
I am no expert, but just my 2 cents.
Good, though. The forum is good for getting feedback on, which will help you improve.
I had originally planned to add more textures to the shield (I had grand ambitions for burn marks and scratches…) but ran into problems early on when I was modeling. I modeled the shield as a single object, then I imported the start thoguh an .svg I created in Inkscape. Once I was satified with with the shape of both, I kinda eyeballed the position of the star with respect to the top of the shield, joined the too as one object and proceeded to manually create vertices at the point where (I believed) the point of the star connected to the inner most circle from the shield through a process of subdiving edges and merging vertices.
It was such a painstaking process, that I gave up after completing about two points and left the project there for 3-4 months. In fact, I didn’t even touch Blender for that period of time because I felt so frustrated and discouraged. Then, for some reason, I decided to come back to Blender, where I discovered this half-finished shield. Without having discovered any better method of working in my time away, and not know the right combination of words to enter in Google to obtain a miraculous youtube video or tutorial to explain the correct way of doing this, I slowly applied the finishing touches to the shield.
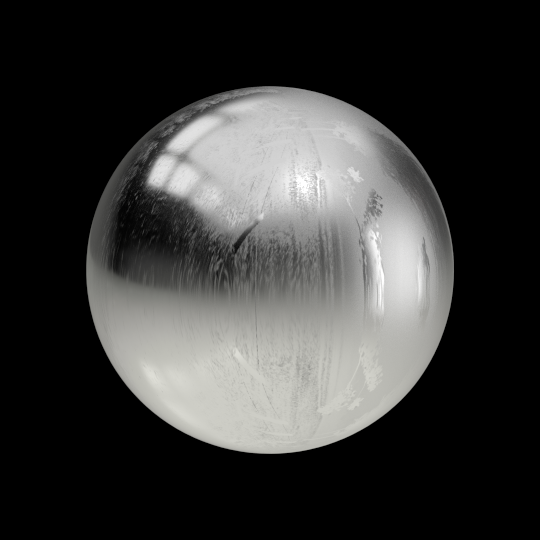
Then, I started playing with the materials. Once I had figured out the anisotropic shader (and discovered the hard way how rotating an object in object-mode vs. edit-mode can alter the object’s origin - and consequently the anitrosopic rendering) and I added some very tiny bump map, I felt satisfied that the image was good enough. Or perhaps it would be more appropriate to say, I felt that the render was good enough that I did not want to try starting something else for fear that I would end up with another complicated mess on my screen.
So there you have it.
Wow! Such a complicated story for such a simple little shield model. I guess this story won’t make it in the testimonials on the blender home page!
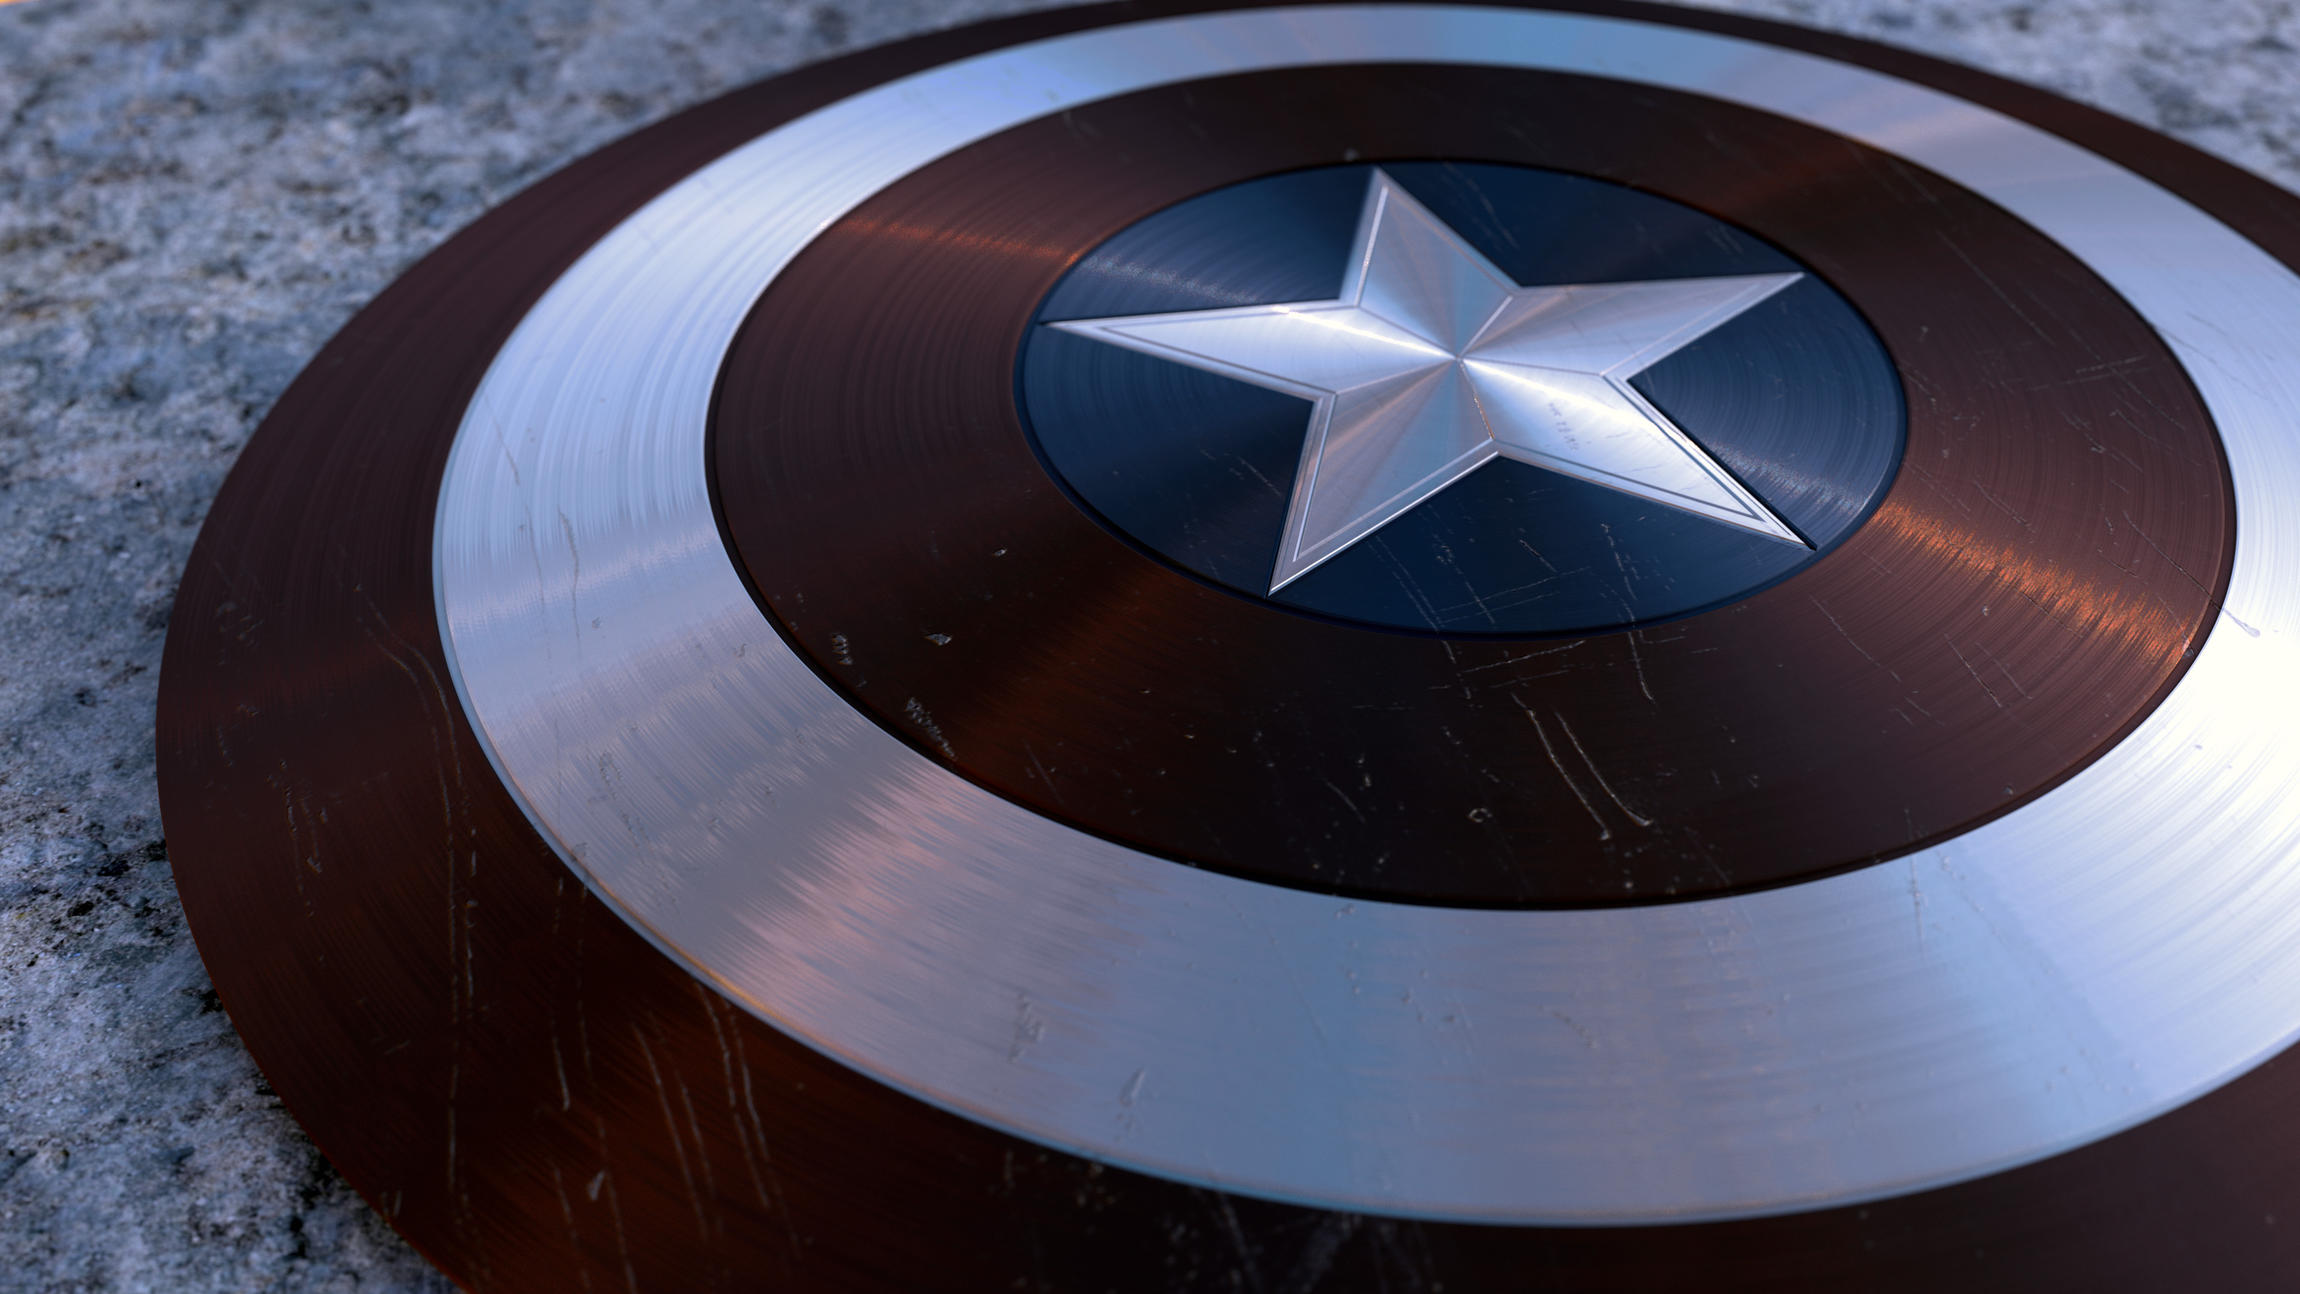
If there still people following the thread…I’ve completed my project. This is the final image, no more modifications. Thanks to the help from @Kewl_Dewd, i’ve been able to really improve on the look. Thanks again!