Here’s my first render in Cycles. Still haven’t figured out how to place textures on to the meshes, however tell me what you guys think 
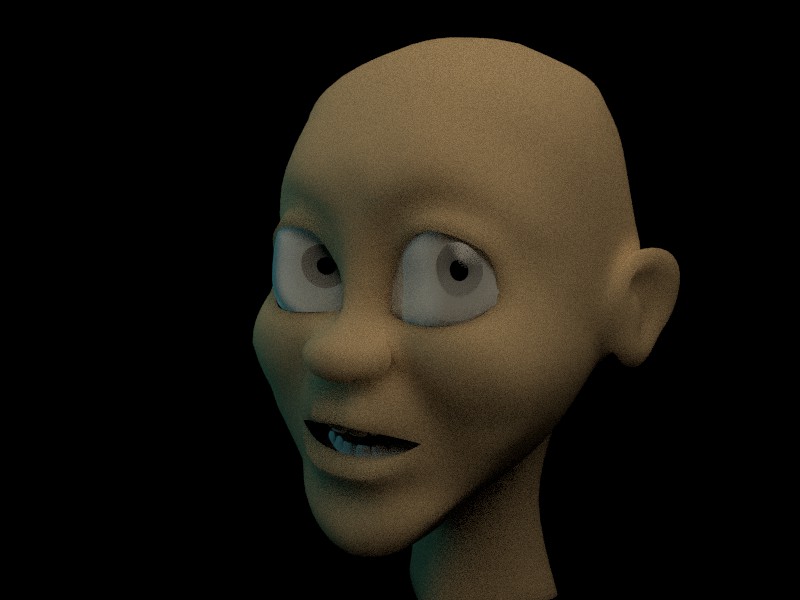
Had it set to 50 sample, but still don’t like all the graininess. Going back to just regular rendering for me 
I don’t make use of cycles habitually, so I can’t give you any suggestion but not let the graininess discourage you at the start, many different parameters on materials, lighting and rendering settings matter here, and they can do the difference.
In your image the lightening is not adequate IMHO, not for testing, you should start maybe with a 3 point rig, that is a ‘key’ light from front, a less bright ‘fill’ light to brighten up the shadows on the subject, and a ‘backlight’ (why not) from the back.
Make so that the subject is properly brightened and with right contrast.
BTW, 50 samples are too few.
If I was you, I would post some screenshots or a description of your settings, and I would dig into this forum for hints and tips about cycles, it worth it.
paolo
additionally to what paolo advised so well, i would suggest to try lightning and rendering first with simple materials, that are composed of diffuse and glossy shaders only. you have sss shaders in eyes and skin it seems, and eyes also transparency, if i see correctly. sss needs a lot of samples, at least 200. final renders i often use 500 or more samples…
Yeah, doris is right, …and about samples, you may need even further, it depends on how you made your transparent materials, there’s plenty of different ‘recipes’ for optimizing them in cycles.
paolo
EDIT:
To place textures into a material, you add a ‘Texture/Image Texture’ node in the node editor, and to get control over the mapping type and its position, rotation and scale, you add an ‘Input/Texture’ Coordinate and a ‘Vector/Mapping’ nodes respectively.
After that, you can link the texture output to whatever input slot of the node tree, depending on the use the texture is intended to.
That sounds like a sound idea, about using multiple point rigs. I just used a plane as a diffuser (copying a Blender Tutorial on YouTube). The 50 samples was in the tutorial also. I went and tried 100, and even though I just built a new computer, I did it on the cheap. It took about 10 minutes to render 1 frame. I’ll get to a screen shot when I’m off of work for a day. I had set everything back to the Blender render on my save file. I’ll try to recreate what I did. Unfortunately I work retail and this time of year I get very little time off.
Thanks for you comment and yes I did for both the eyes and the skin. Still new to it so I just played with the settings to see what would happen lol, and 200 to 500 samples WOW  I was thinking of doing some animation with the cycles, this doesn’t look possible at all to me. Oh well lol
When I get time I’ll do this also, Thanks BTW for the tips
Don’t take it too literally, lights can be mesh planes, as well as built-in lamps (point, spot, area, distance, etc), you have to experiment with them and see the differences, also in the graininess and render time.
AFAIK plane mesh lights should work quite well.
For mesh lights, their size will determine how hard the cast shadows will be, the more its size the more shadows will be blurred.
For each of them make a new emitting material, so to tweak their intensity and color separately.
paolo