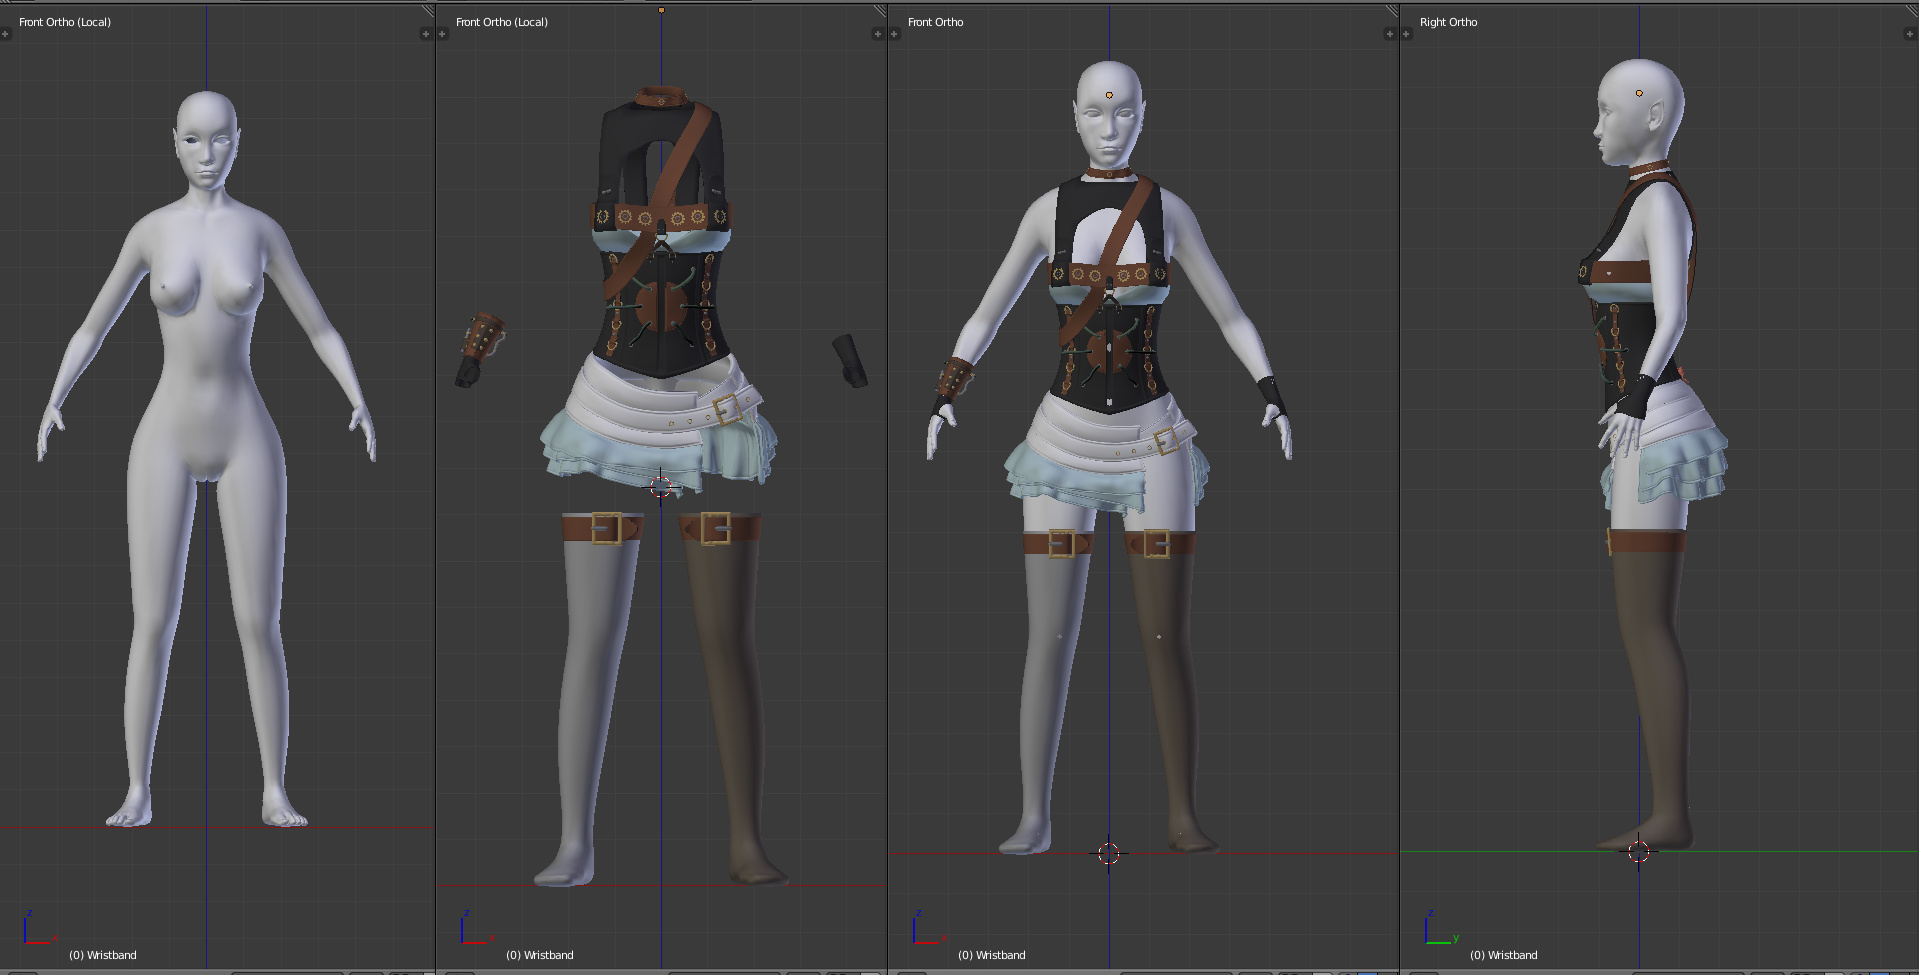
I have this Charackter I am working on for months now, but i just can’t figure out to rig/weight paint it with the clothes. I tried it with automatic weights, on both meshes (clothes and body), but clearly it won’t work without weight painting. I know I have to paint it, but I don’t know the right approach to weight painting, always when I try it, the outcome is just s…t.
weight painting is object-centric, which means you can only paint an object at a time. For skinning additional objects, like a bag or a vest, I’d recommend choosing “Armature deform with empty groups” from the ctrl+P menu, so that you can choose which bone affects this particular item, instead of having to un-paint every influence it put on it automatically.
Remember this : you can check/uncheck “deform” in the properties of each and every bone.
Hadriscus is right… it’s much better to paint the weights yourself rather than let automatic weights put influence all over the place that you’ll have to spend hours fixing. After you get the character weighted to your satisfaction, you can copy the weighting to the clothing from the character.
I use Automatic weights all the time… I never have much problem with it… it works great for me… I think sometimes it has to do with the scale of the objects somehow…
you might post a file so we can look at it see what kind of problems your having…
here’s some good info on some of this stuff…
also remember the best working method for weight painting is…
select your Amrature and Tab into Pose mode…
then…
select your Mesh and Tab into Weight Paint mode…
you should now beable to easily select the bone your wanting to weight with and then paint on the mesh…
also …
separate out your skin from your clothing … place these on two different layers…
weight paint your skin and get it right first… (turning off the clothing layer)
then weight paint your clothing… (turning off the skin layer)
hope this helps…
Also remember that while weight painting… you can ‘Lock’ Vertex Groups off… this really helps when trying to paint one thing and not mess up something else…
That’s not what I meant, automatic weights is usually a good starting point and I recommend using it. The only issue is : since you’ve got other objects to deform with the same armature, if you parent these objects with automatic weights it’s likely that Blender will automatically assign a whole bunch of weights from different bones that have nothing to do with this object - like, the foot bone might have some influence on the hat, which you don’t want. So, for small objects like that, I recommend starting up with zero weights (“empty groups”) and painting everything yourself, because it’s probably going to go faster than un-painting all the irrelevant weights that Blender has auto-set.
Or you could use a different armature for secondary objects, and you don’t have to worry about this. Right now it’s a bit glitchy (relations between different armatures) but with the depsgraph update it should be working nicely soon, check out yesterday’s Gooseberry update.
@Hadriscus
sure… I understand what your saying… however… again… you can make good use of automatic weights if you are carefull before you do your Ctrl+P…
turning certain bones “deform” setting off (or on)…
or building a rig that is only a “deform rig” and using it to set up the automatic weights …
or making good use of the Vertex Group Locks while your doing weight painting…
or making a set of smaller bones in the rig that will end up being deleted later just to help force Blender’s Bone Heat algorthim to not connect certain vertices with certain bones…
also the deleting of all vertex groups that are to have zero influence on a particular object outside the main ‘skin’ object has always been a trival exercise to me… perhaps I’m missing something…
Setting up Bones Deformations is one of those areas of Blender that badly needs more tutorials done about it…