Hello, I’ve been trying to move away from my modeling, and focus a lot more on my materials and lighting. Unfortunately, I always run into the issue of my scenes being very dark. I’m using a 3-light system, (key, fill, back), and increasing the strength just ends up washing out the scene. Even when I try to light a sculpt, with 3 lights all set to 200, it still seems dark. If I increase it to the amount of light I would desire, the light washes out the entire scene. I’m looking to keep my colors, and simply light my scene with decent lights, and weak shadows.
Here’s an example of one of the scenes I was testing with.
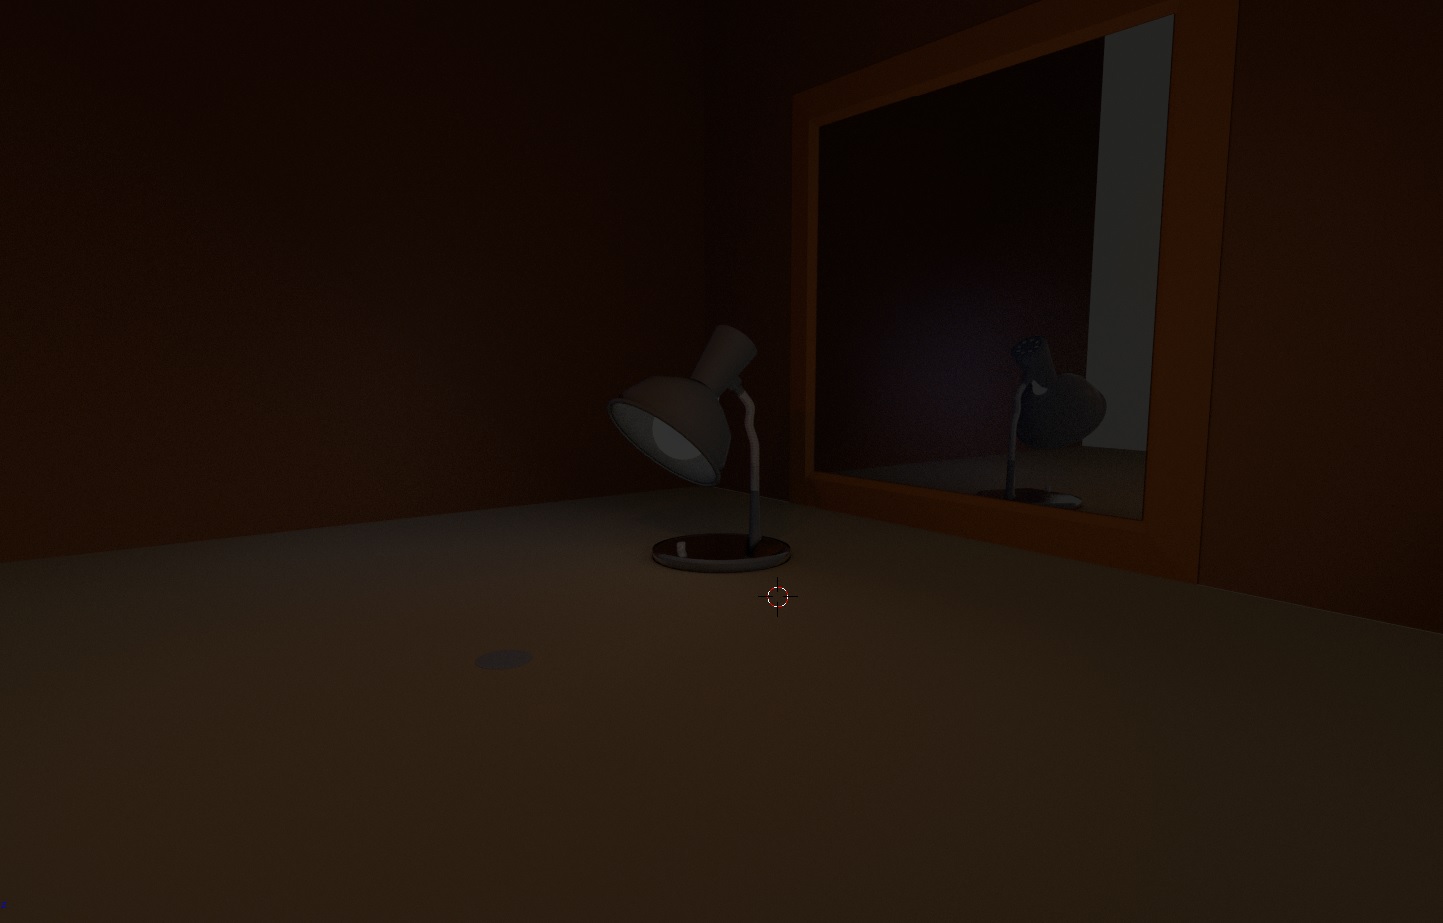
This one I was also trying to play with some other lighting, making the bulb an emitter as well, but if you notice, it’s casting a shadow (the gray circle). The blend file is shared here.
What sort of things should I do as common practice to avoid such? Is it my materials? On sculpts, where there are not any materials, or other objects, do I need to light it differently? I’m looking to setup a half-way decent lighting setup for my startup file, but really want to understand how to tame Cycles.
Thanks in advance. I’ve spent too much time trying to fully understand this, reading other “dark” threads, but never taking the time to just ask. I’m obviously not finding an answer myself.
You are clamping direct, that will kill the lighting. In render settings, Make clamp direct 0, and indirect 0. Filter glossy 1-5. To start out use mesh lights, get rid of the lamps. Use an hdri for environmental image based lighting, using the multiply into the strength node. Your mirror material was half glass which will add huge amounts of noise. Some of your objects had flat shading, make them smooth. Many normals were incorrect, you want to recalulate normals. And other stuff. Here’ s a modifed version of your scene with an hdri and 2 mesh lights.
Oh wow. Thanks Photox. I do not even know why my clamps were above 0, but that was my issue for sure. I added the glass, because I could not get enough reflection from the glossy with the lower light, and apparently the clamps. Thanks for the glossy settings as well. Obviously I’ve ignored the render settings too much, after initially setting them months ago.
I wasn’t worried about the models overall, since this was purely a light test, but I do appreciate the critique.
Thanks a bunch. I cannot believe I’ve had this one setting since 2.67, making me dread lighting all this time. :spin:
EDIT: I’m going back to “plane mesh lights” as well. Thanks for the tip.