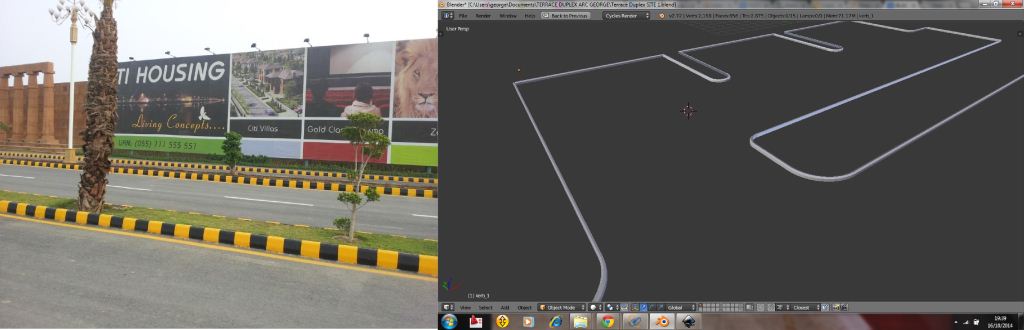
Please I need help with texturing, I am currently working on an Arch viz project and I need to create the kerb stone painting effect (yellow and black) similar to the image attached (on the left).
on the right is a screen shot of my blender model. I made the kerb as a curve object representing the path, then a made another curve (the profile of the kerb) and used it as a bevel object for the main kerb curve path.
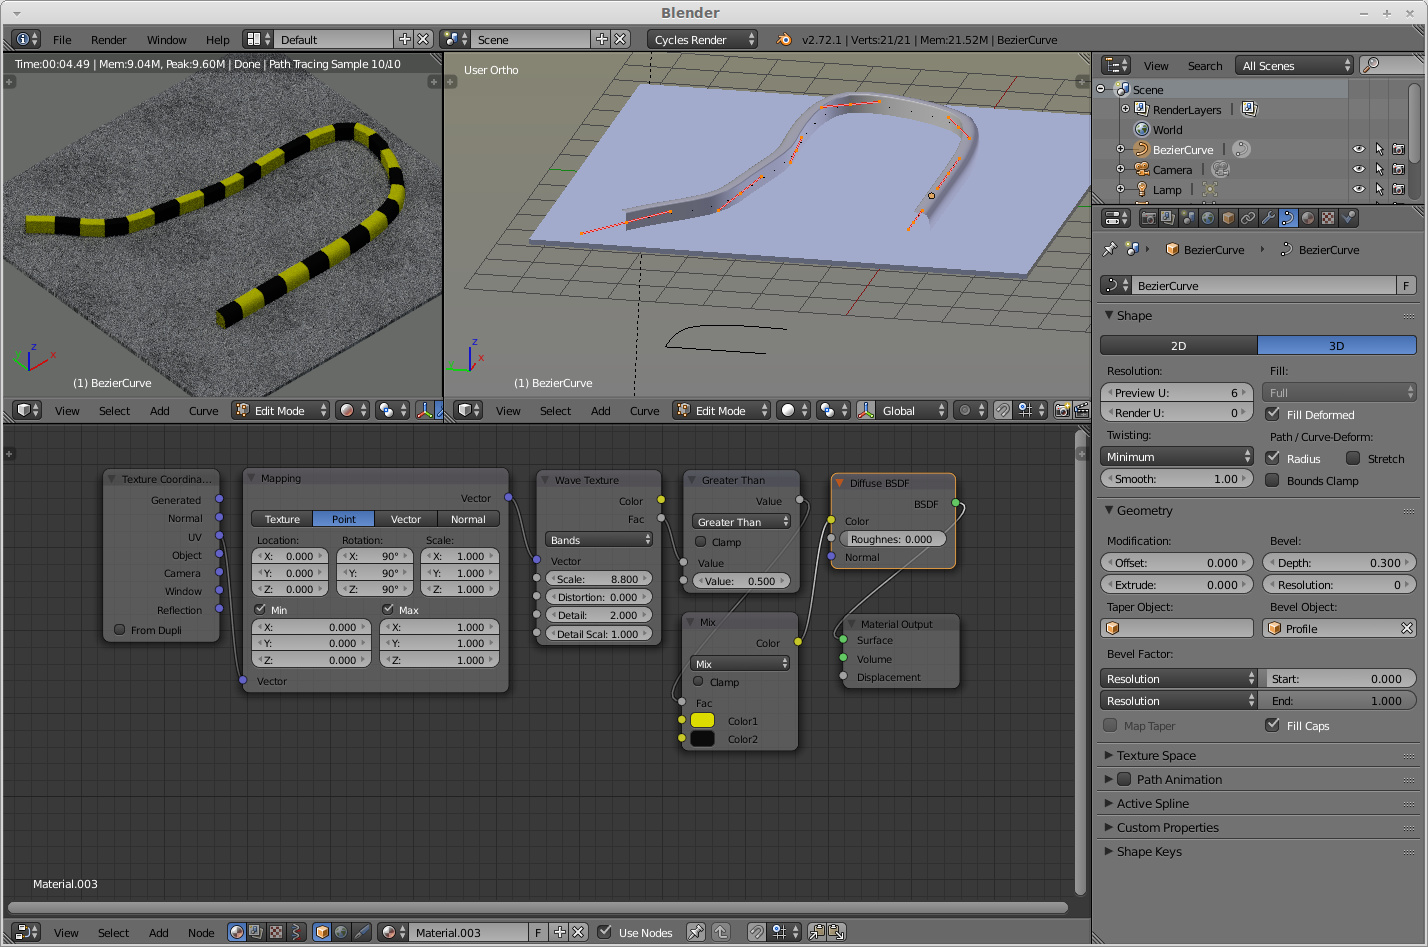
I would try making a cube-like object containing one black and one yellow stripe, then add an array modifier, then add also a curve modifier. the array should follow your curve. there may be a couple of settings involved, but nothing complicated.
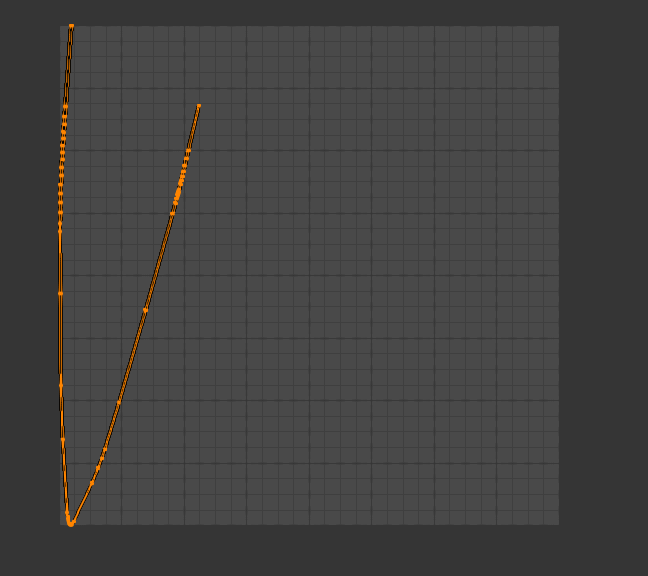
I hope I can ask here instead of creating new thread. I have similar problem, but I need simple UV texturing in Blender Render. I know how to do number one (Mark Seam red edges, Select Loop, Unwrap, Select Islands and make one long line) but I don’t know how to make number two. I tried the same, but result wasn’t good. I need to Unwrap it on one texture. Thanks in advance.
Even one line will be long and if squeezed in UV space will take miserable amount of available pixels.
Unwrap - Reset - last in the menu would place each face on top of others.
If you want to get a long line choose Unwrap - Follow Active Quads option. Make sure one face is selected before; better yet unwrap this selected one face and W straighten it in UV editor before, then select all faces and unwrap again using same option (make sure face you straightened is active face).
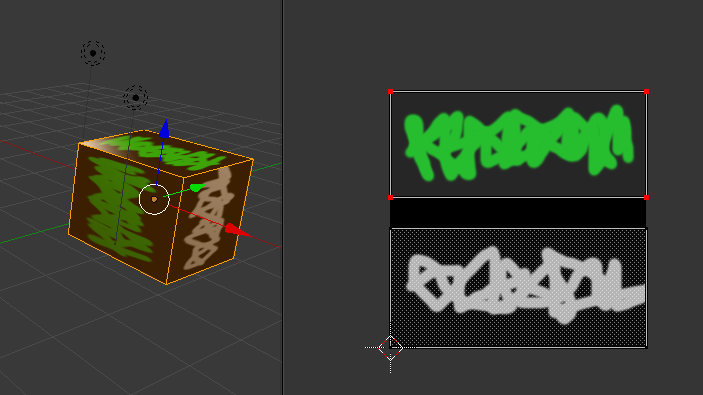
Edit: If your horizontal faces should get different part of the texture image select these and U,R then scale and position on texture image, P pin them. Select the rest of the faces U, R , scale and position these.
You would have something like this, upper part is pinned faces.
Just see how the texture looks and rotate UVs. It can be caused by … well… bad weather? Floating point differences in 8th place after comma? Can not tell, really.