First, I’m very new to Blender, but I haven’t been able to find a solution. I am trying to apply images to two planes.
If I create a brand new project, I can apply the UV mapping to apply the image to a plane. However, if I have not been apply the UV Mapping after I create the first one. The menu is completely different after the first plane is mapped. As in, the “Mapping” section in the Texture area isn’t even there. UV is no longer a selection.
Does anyone have any idea why this is happening?
Here is an existing project without the mapping available:
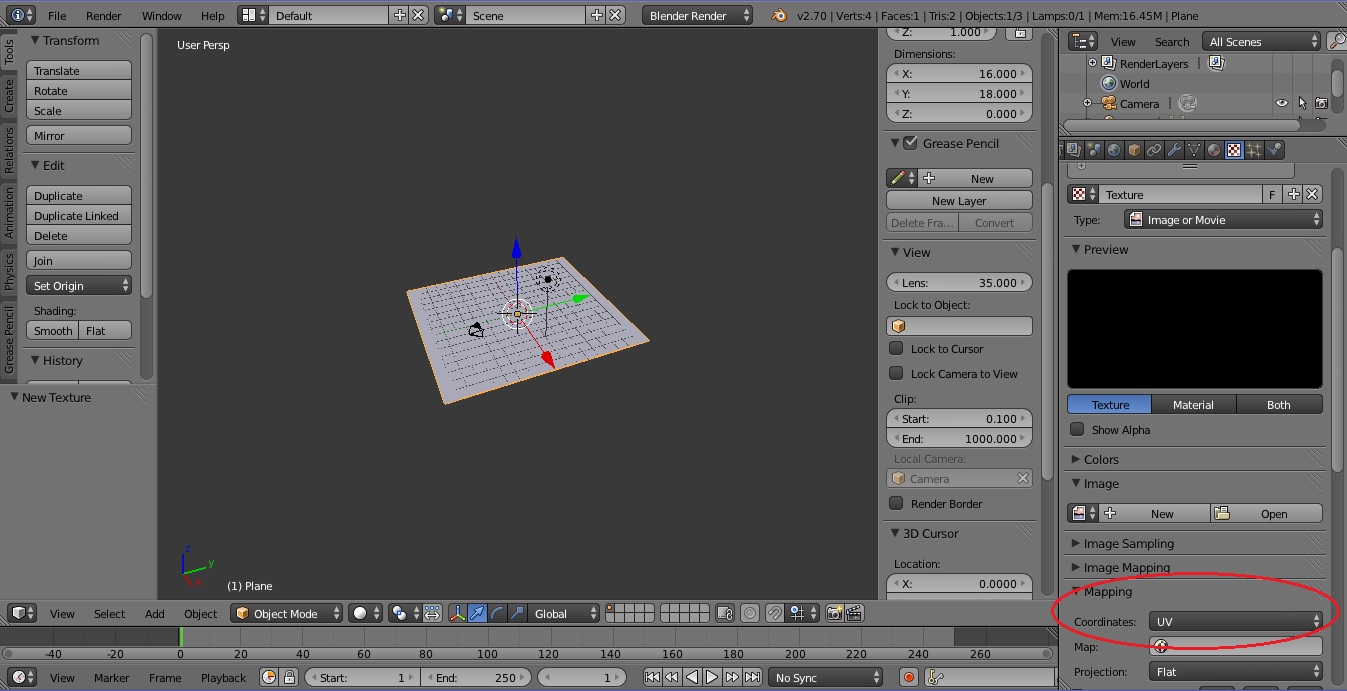
I started a brand new project with just a plane. As you can see, the mapping is available:
This is a test reply. I submitted a reply almost 24 hours ago and it still hasn’t posted. Does it really take that long?
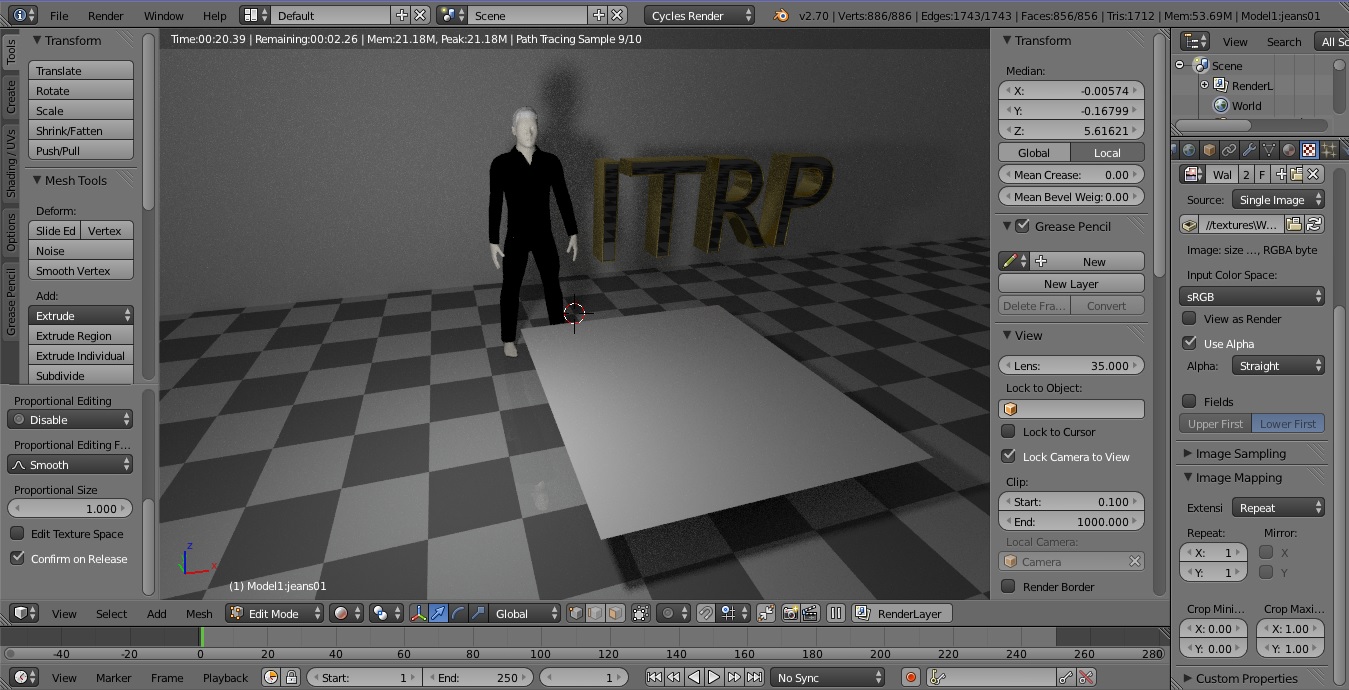
1st image. You’ve cut off a lot of the settings but looks like you have added a brush texture. In the cycles renderer you would not see these settings for any texture you added to a material.
2nd image. You have not assigned any texture (under Image options)
You have one screenshot using the cycles renderer and one using the blender renderer. Which are you using, the materials are not compatible between the two so don’t chop and change between them.
You need to supply your blend file and textures so we can see exactly what you are doing.
IMPORTANT - before saving your blend file pack all textures into your blend file using the File / External Data menu otherwise we will not be able to see any of your textures.
Thanks for your reply! I’m trying to post faster, but I guess since I am new the mods have to review every post I make so it takes at least 24 hours to show to post…
1st image you are correct. In the texture settings, the only thing I show available is “Brush Mask” and “Brush”. Nothing else is available.
2nd image you are also correct. I didn’t apply an image because I know it works, but what I am specifically looking for is that UV Mapping. The reason I didn’t show a lot of the settings is because blender cuts it off.
Okay I did the packing thing from File > External Data > Pack all into .blend. Also I made all paths relative. However, when I loaded it onto my second computer the human guy is all weird looking. Not a big deal because all I care about is the texturing right now. The human was an export from Make Human. Let me know if I need to do something differently.
.blend file: http://www.pasteall.org/blend/32190
I assume you are using cycles renderer. If you are before you go any further you need to watch some basic tutorials to understand the material and texture system.
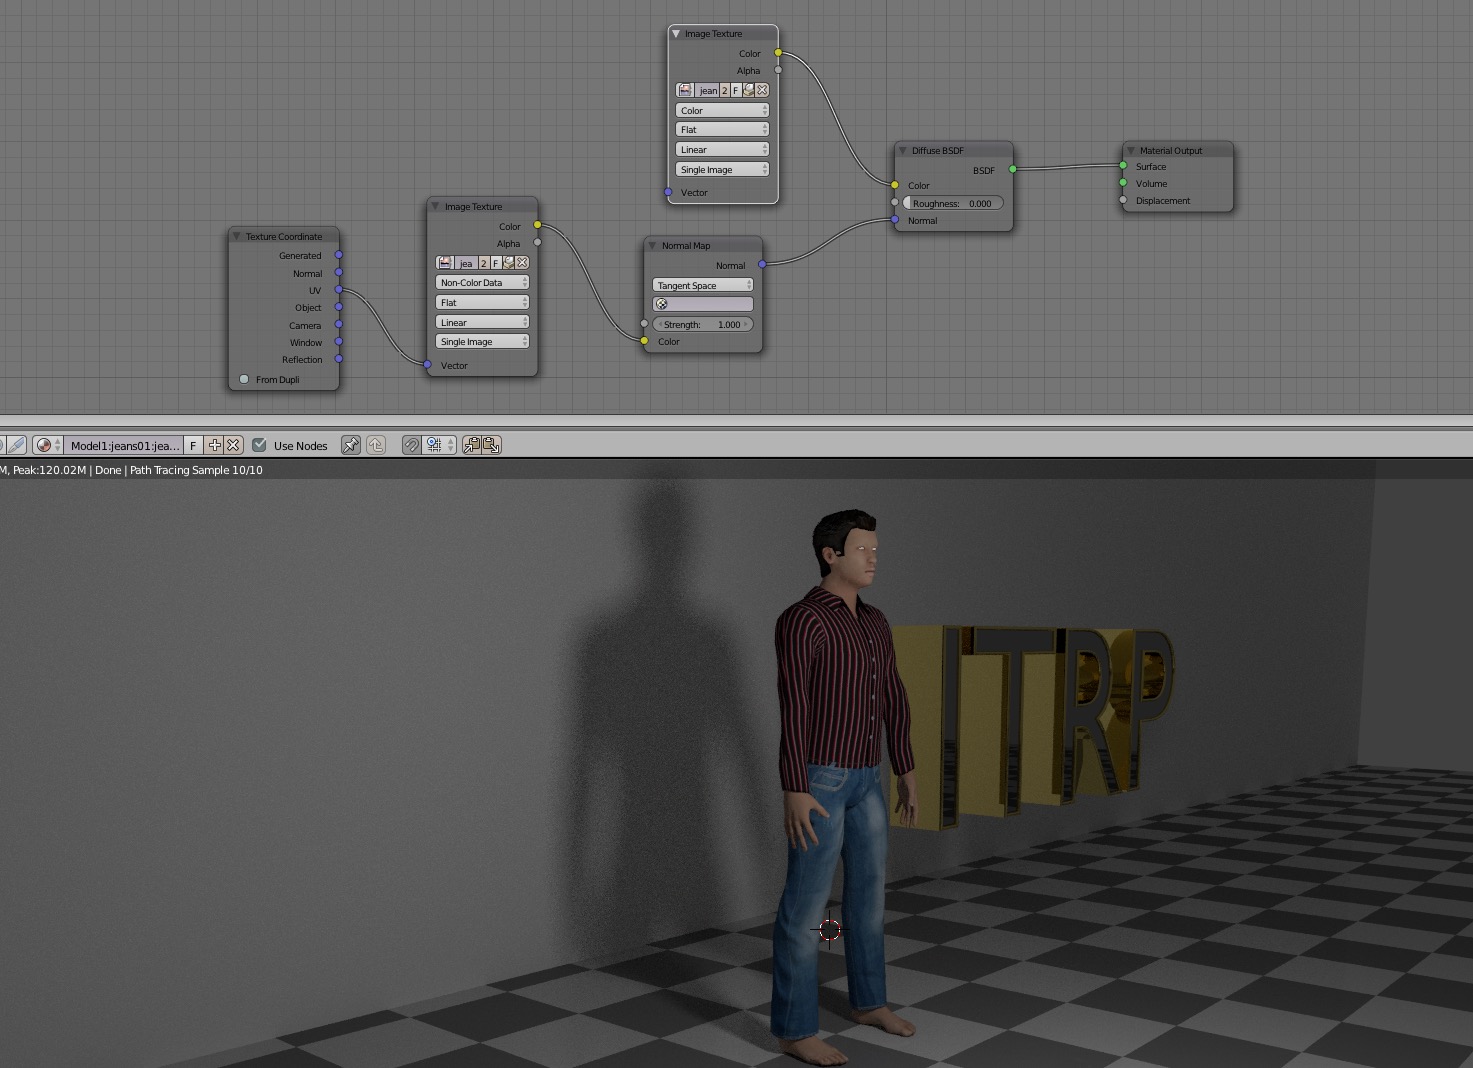
You add the texture in the material settings to one of the shaders or through the node editor. The default mapping for textures is UVs so unless you want something different you don’t have to specify UV as the mapping
Use the node editor to better understand the material setup
Simple node setup for the jeans material in the screenshot (only uses the diffuse shader for simplicity)
Excellent callout about Cycles Render. If you look at the two images I attached, one is in Cycles and the other is Blender Render. I was trying to use the same texture method in Cycles that I was using for Blender. Thanks a bunch!