It does work but it seems to select ALL empties even if they don’t belong to the curve.
I’d like to restrict the ‘shift-G’ to empties belonging to the curve…
More advices ?
I thought of parenting all empties to a single one and animate this single empty. But I am not sure this will work fine.
No. If I were you, I’d just make an armature and parent each of the empties to the bones. It’ll take 3 minutes and you will have all the benefits of armatures
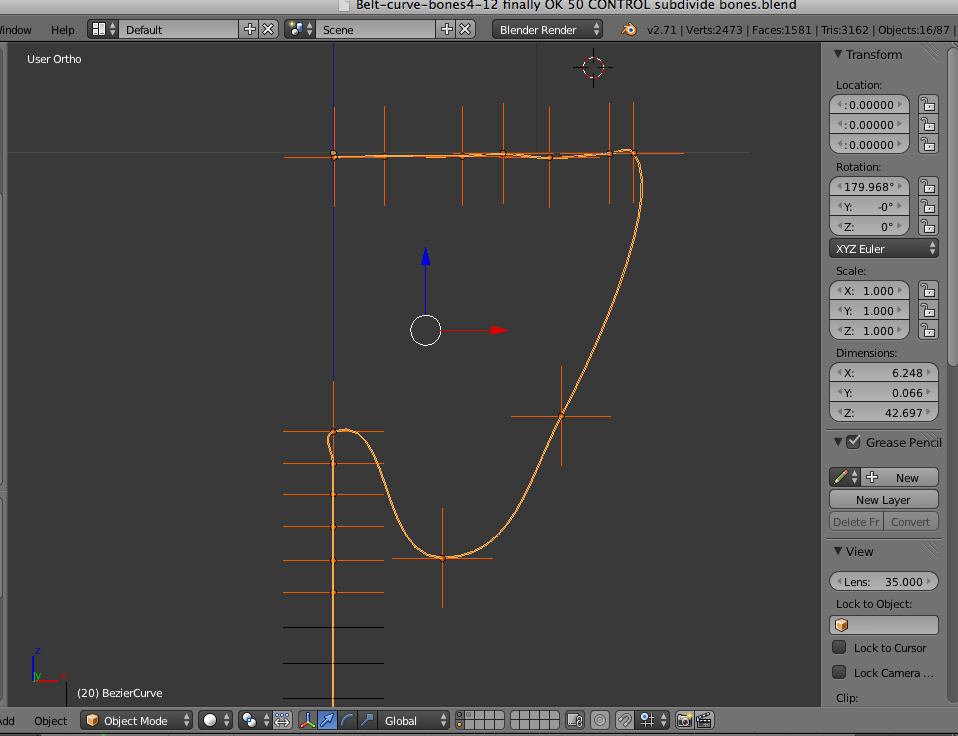
Well I already have bones rigging a mesh (a belt). These bones are connected to the curve using the Spline IK modifier.
Empties are parented to the curve controls, not the bones.
I dowloaded Scales. Thnak you for sharing.
I must say that I don’t fully understand : tail_rig and tail_spline (with hooks) are completely independent.
So moving the curve (in Edit mode) doesn’t have any effect on the tail bones…
Maybe I am missing something here.
Please consider that I am still at the bottom of Blender learning curve…
The tail rig has two modes – FK and IK – if you select a tail conrol bone, you can switch it to IK mode, then it will be controlled by the IK bones (that look like arrows in a circle).
It works like this:
The mesh is deformed by a chain of bones in a second armature (tail rig) – this one has a spline IK
In the main rig there is an FK control set of bones (tail FK on bone layer 17)
In the main rig there is an IK set of control bones (which control the hooks of the spline IK tail rig – on bone layer 16 of the main armature)
setting the tail FK/IK slider all the way to FK tells the tail rig to copy rotation of the FK set of bones in the main rig
setting the tail FK/IK slider all the way to IK tells the tail rig to use the spline IK
Woaww I am not sure I understand everthing but I see the idea of FK/IK between main rig and tail.
On a more basic level:
What would be the workflow to animate the tail, going from straight to, say U shape for instance (without moving the main rig) ?
Thanks