can anyone tell me why this is happening?
the texture is repeating on the loop cuts.
why?
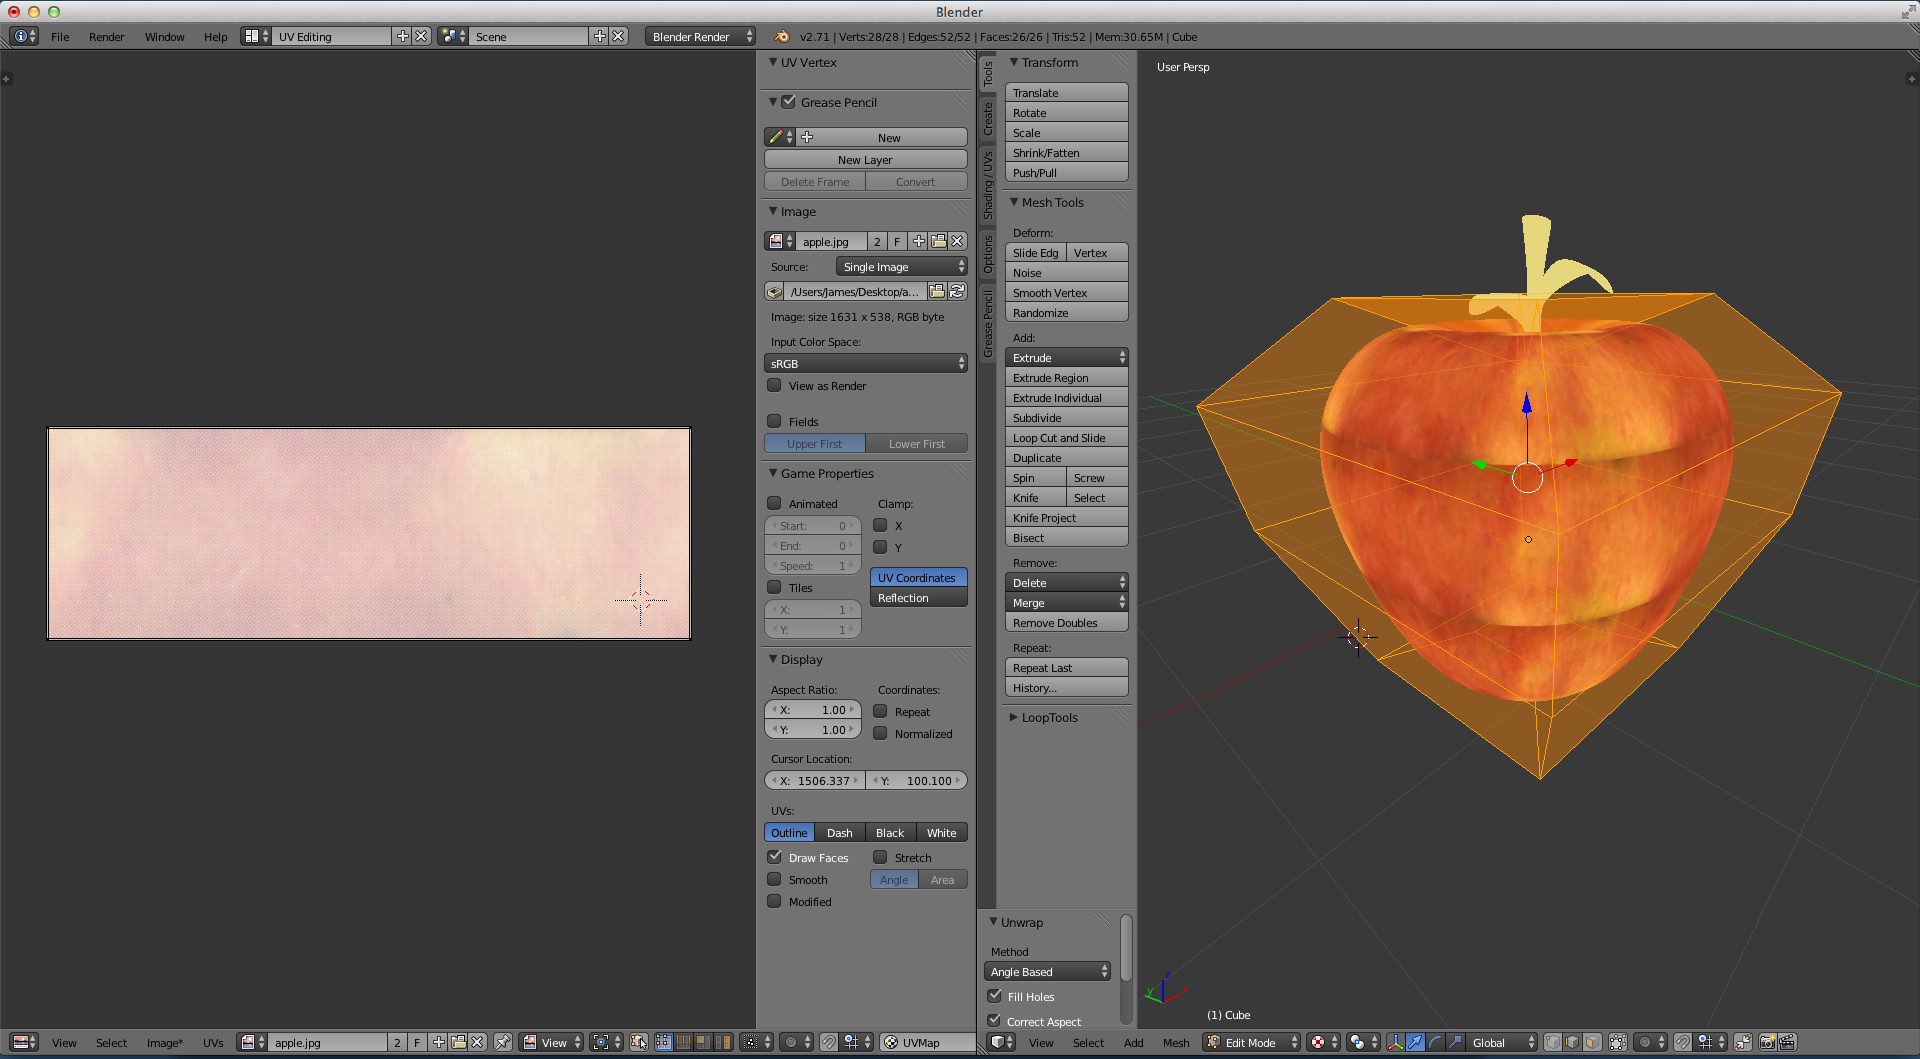
Looking at your unwrap it should repeat on each face actually…
In 3d window press U for unwrap and choose something besides Reset.
I would suggest spherical unwrap. It looks like that is what the texture is designed for.
What you have showing is each face is laying on top of the other and has been sized to the size of the image…
you need to Re-Unwrap such that all the faces are stretched across the image…
just as Modron suggest use spherical unwrap and that should do it or get very close to it…
ok, thanks everyone.
Here’s another question: Should I be using a box with subdivide or a sphere to start with? I rarely use anything but a box or a plane when I model.
I’ve used the spherical unwrapp in both cases and gotten good results so I don’t think that matters much to Blender…
well this is a good as I can get at this time, I’m not going to get better without learning more of this (AWESOME!) software

thanks!
Looks dang good… Keep up the good work!
Nice!
Now, if you just pull and arrange these dots in UV editor over the leaf image… Leave just one and make it slightly bigger.
lots of room for improvement but I couldn’t have gotten as far as I did without everyones help! Now if someone can mark this solved or show me where I can do it I can close the book on this for the time being.
thanks!
This is looking really good. Sphere projection was made for this kind of object. You are learning fast! A couple of things to consider for the future:
-
when you do use the straightforward “Unwrap,” look in the lower left corner of the “T panel” for some unwrap options. I have a hunch you didn’t have “Use Subsurf Modifier” checked. The Subsurf modifier also has a “Subdivide UVs” option, but it is checked by default.
-
experiment with marking some seams during unwrap, which can help reduce stretching and move discontinuities out of sight if the model always has a particular angle facing the camera.
-
you can go to “Texture Paint Mode” and paint right on the object using the original texture as a brush, and then save to a new texture with blended seams exactly where they need to be for that specific model.
EDIT: Should have read through the other posts. I just realized the entire image was repeating on each face. Looks like you are in good hands already.
strat, to mark a thread solved, go to edit, then ‘go advanced’ then, I think there is a little menu up in the upper left hand corner, with an option ‘mark solved’. also you can edit the title manually after clicking ‘go advanced’ if you want. glad to see your apple looking good.