Print 3D landscape Photogrammetry model

Hi!

My name is Meije Sibbel, I’m a geology student in the Netherlands. For the last few weeks i have been making a photgrammetry 3d model from images taken from a drone for topography analysis. Now that my 3D model is finished, i want to 3D full color print this model. Unfortunately my experience with blender, meshlab… for editing my model is very small. I have extruded the model in blender and applied a base to it. Unfortunately i cannot unite the 2 objects into 1 and when i upload the model the website sculpteo.com says that it has errors and cannot be printed. Is there anyone that has the time to help me fix the model and tell me what i did wrong, or what is missing?

regards,
Meije


I have tried to use boolean modifier but it won’t work. If i extrude the 3D model, will it automatically be solid?.

Also there’s this tutorial from cg cookie that might help you:

If you 3D print i’d suggest get rid of vegetation from the model and forget for a while base.
Print material costs volume and print size, has a minimum thickness requirement as a rule.
Add Solidify modifier to your ground model and print only that.
As for the trees - this looks fine and easy.
Painted plastic box lid or wooden block you glue model on top would make a base.

eppo, But if i forget the base, my model will not be completely flat at the base, is this acceptable?, i have extruded the model a bit, is this necessary?. I have tried increasing the wall thickness, but it has no effect on the mesh.

That’s fine if you have flattened perimeter vertices - quick way is Menu - Select - Select Boundary Loop, extrude Z, scale z 0.
After, add Solidify modifier (if that was Plane you started with, if not, make it plane - delete bottom faces) and when you have needed thickness (check on 3d print site) apply modifier.
This printed object you can glue to any base- cardboard, wood or polished granite.
Quick ANT landscape model to check http://www.pasteall.org/blend/31493
There is 3d Print Toolbox addon which does calculations, checks and export for printing.


eppo, i have followed your instructions.
I took these steps:
1-shift+CTRL+ALT+C, then i orientated the model to make it reasonably level.
2- I selected “select boundary loop” and then extruded and pressed Z and Z again to extrude only on the Z axis.
3- Pressed “select boundary loop” and then, z+s and then 0 to scale z to 0.
4- Applied volume modifier to thicken the walls.

Questions:
-I don’t understand what you mean by “delete bottom faces”, isn’t it plane already when i scaled z to 0?
-As you can see in one of the images, the sides are very irregular due to the vegetation, in meshmixer there is a feature to select the sides and edges of the model and to smoothen it out, how do i do this in blender?
-Do i have to add a plate to the bottom or is the model like in the picture with enough wall thickness printable?, won’t it collapse?
-When i upload the model to Sculpteo.com it says that i have inverted faces, this only happens after i edit the model in blender, how can i solve this?, is there any thing i have to do with the mesh/normal to make it ok?


I had not seen your model from the below and assumed it might be one closed blob - that’s why i suggested delete bottom faces if there are any before Solidify.

If you want ‘level and smooth out’ perimeter, LoopTools addon Relax and Gstretch might be the right tools.
When you have perimeter vertices selected (i wouldn’t extend them too far down) extrude them a bit and Relax. Repeat couple of times this.
Each loop can go down Z a bit.


And this is Gstretch.
Draw straight Grease pencil line Ctrl -D, select and extrude vertices, cancel extrusion by Esc and press Gstretch.

Edit: Also, this doesn’t look like healthy perimeter and certainly wont fit printing. You might have holes in your mesh.

If you have inverted faces - Ctrl-N to recalculate or use 3d Print addon to find them.

Hi!

Finally, after almost a week of experimenting i managed to get the model ready for printing. The biggest problem i found with printing these big and complex landscape models is that the amount of detail is just to high and this detail creates sharp edges that cannot be printed, and if they can, they most likely will cause problems when solidifying the model in blender causing intersecting faces. I managed to make the model printable by two separate methods that work very well.
I found that combining meshmixer and blender is the best thing to do when using complex photogrammetry models. Blender is great, but it’s a bit more difficult and time consuming than the tools in meshmixer. My main problem was that after i edited and fixed the model, i would almost always loose my texture.
Retexturing the model in Agisoft photoscan after being fixed in blender does not work because blender changes the alignment of the object when exported, which will be orientated incorrectly when imported into Agisoft photoscan.

-First i closed all the mesh holes in the model, retextured with the holes filled, then exported the model as an .obj with texture.
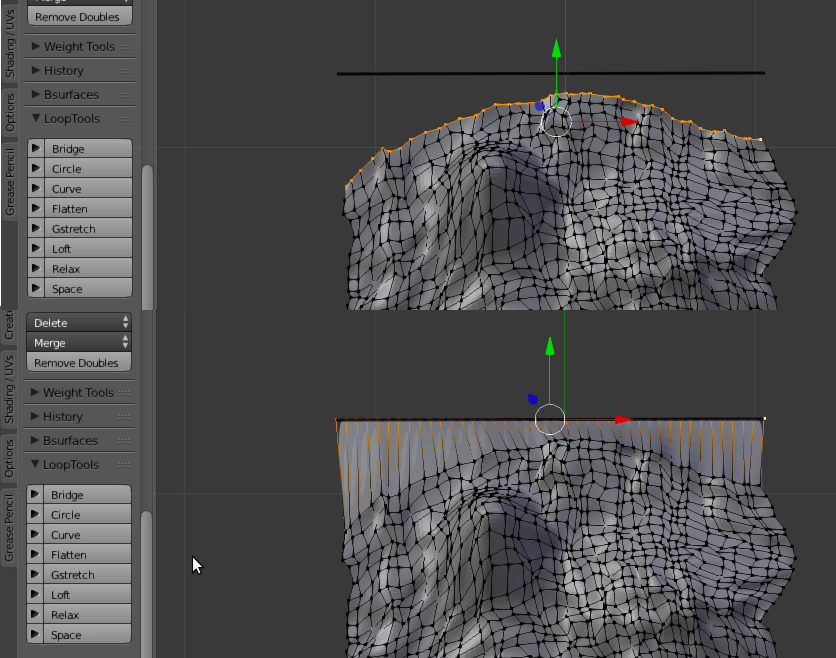
-Imported the model to meshmixer(DO NOT ROTATE OR ALIGN IT), deleted the sharp edges of the model, select the “boundary loop” and smoothen it out 3 times, this technique is the same as in blender with the “relax” function.
-Due to the high polly count, the model has to much detail for the printer to process, so select all (CTRL+A) and CTRL+F to smoothen the entire surface.
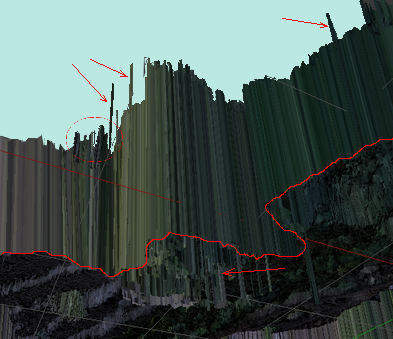
-Use the extreme brush to smoothen out the sharp and thin edges of the model.
-Some sharp edges may still be visible, use the volume brush and the fill-faces(F key) to reduce the sharpness. this process takes some time and patience to optimize your mesh.
-From here you have 2 options:

1- Extrude the entire model, or just the boundary in meshmixer. Import the mesh in photoscan to retexture the extruded model. Export the retextured model and load it into netfabb to check it, fixing it in there wont work when you want to preserve the texture. When no problems are found in netfabb, check the wall thickness. Sometimes the wall thickness wont be the enough after extruding in meshmixer, this is mostly when you extrude just the boundary faces. when you extrude the entire model this problem occurs much less often. When the extrusion in meshmixer doesn’t fix the wall thickness problem, go to step 2.

2-You can extrude the model in blender, which is just as easy as in meshmixer. I extrude and solidify the model in blender when meshmixer crashes,which is mostly due to very big files or holes in the mesh,or when the wall thickness does not meet the minimum requirements. Note that you cannot edit cosmetic things is blender because your texture wont be nice looking afterwards, and retexturing it wont work. After solidifying it you will almost always get allot of intersecting faces. I solve this problem by separating the 2 shells and brushing the inner shell until the intersecting faces are gone and thin edges are thick enough. You can separate the shells and fix intersecting faces in meshmixer and blender, it does not matter which one you use( don’t forget to combine the 2 shells after you are done!). You can cut the walls to make it straight and smooth.
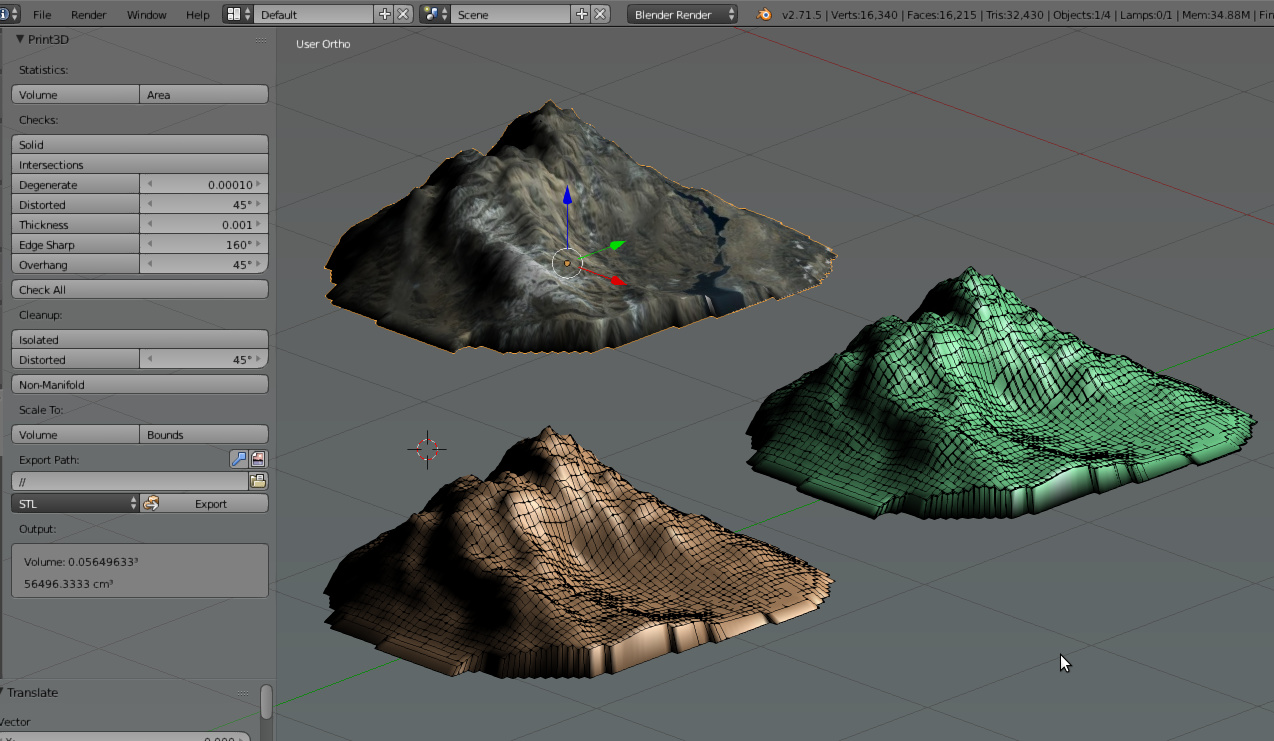
When all this is done, you can recheck it in netfabb or with the blender 3D printing addon.

Now upload your model to your printing website and check with their wall thickness utility if everything is ok, Print!

This looks like allot of text for something that easy, but allot of the smaller steps i left out, if you have any question feel free to ask!

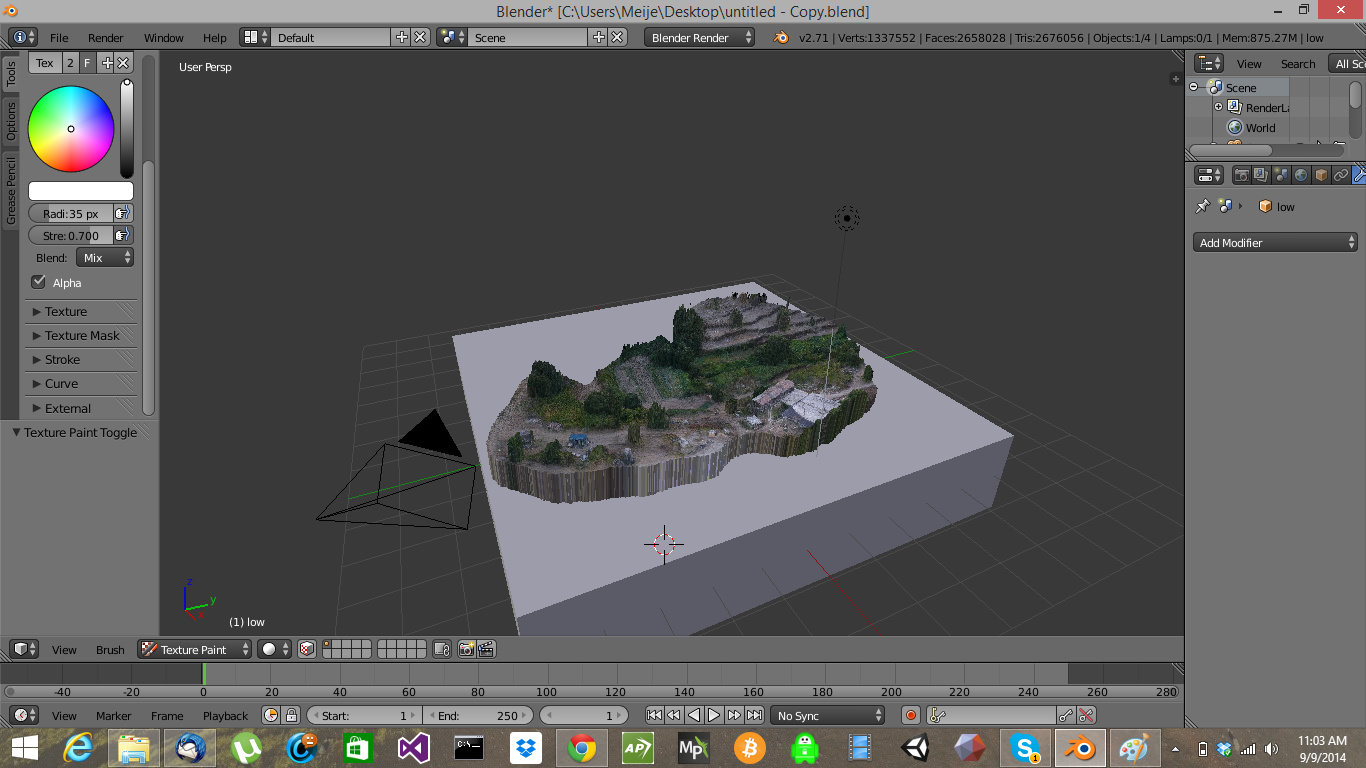
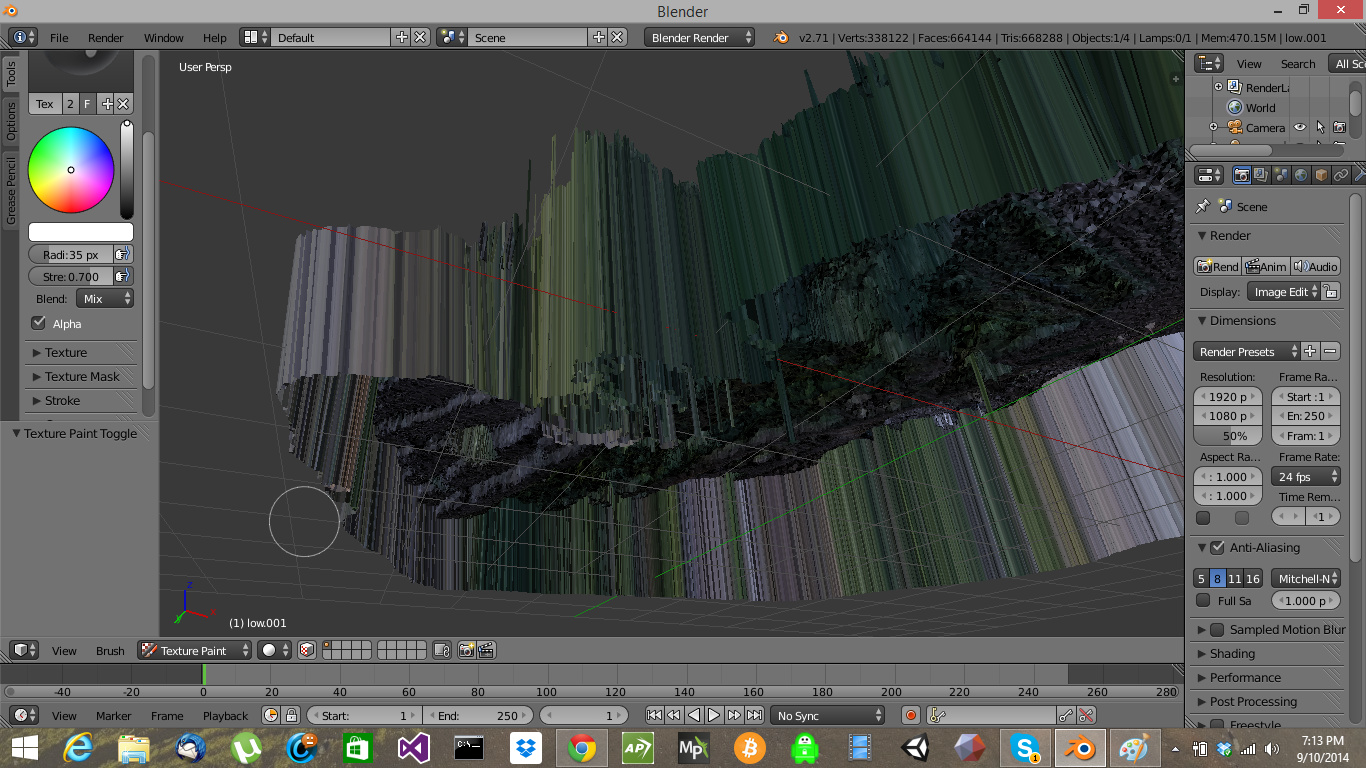
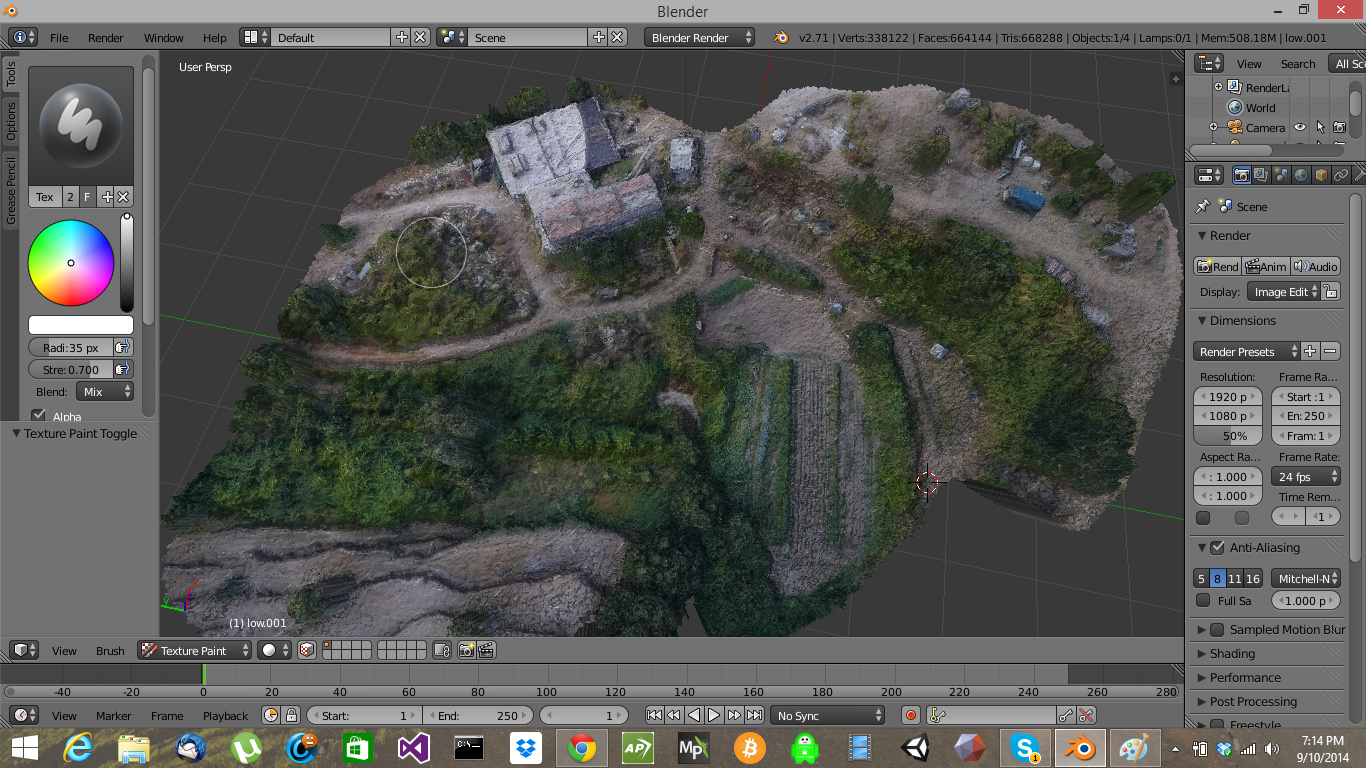
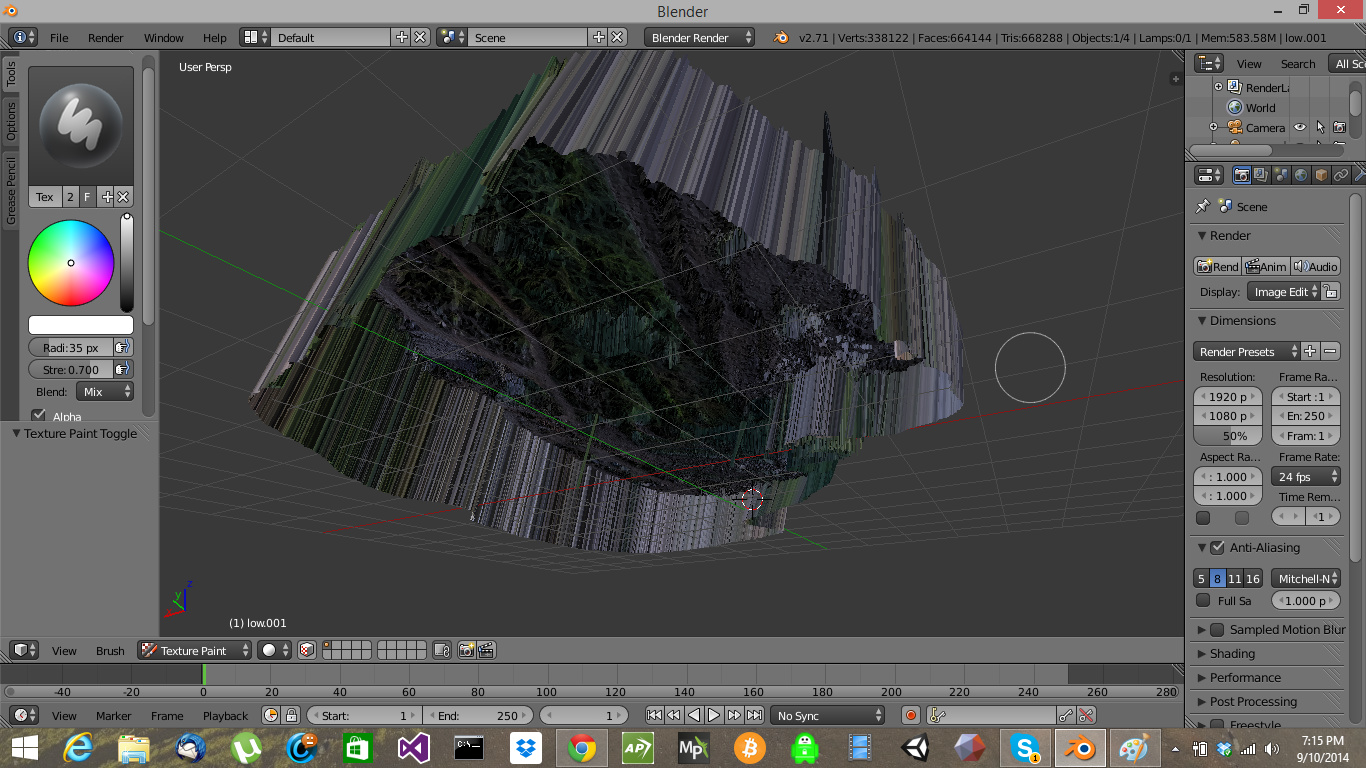
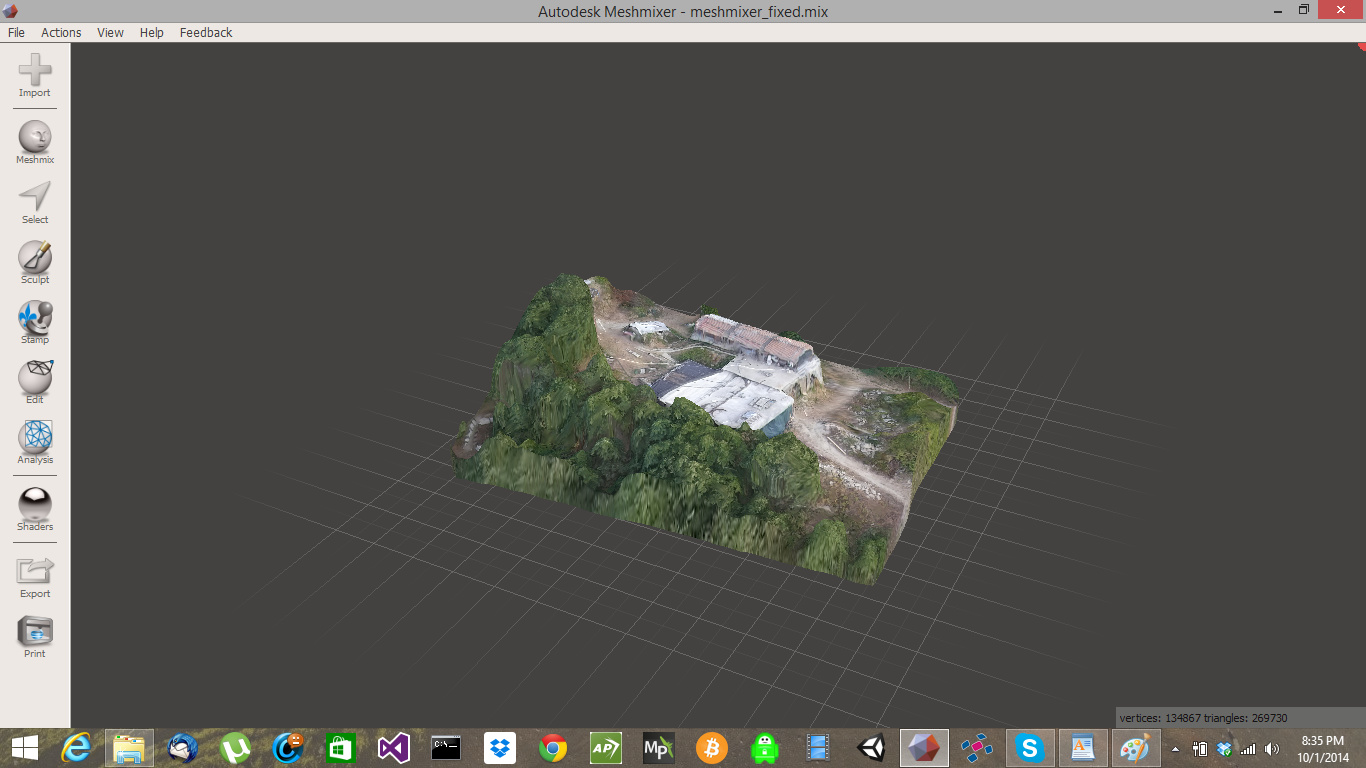
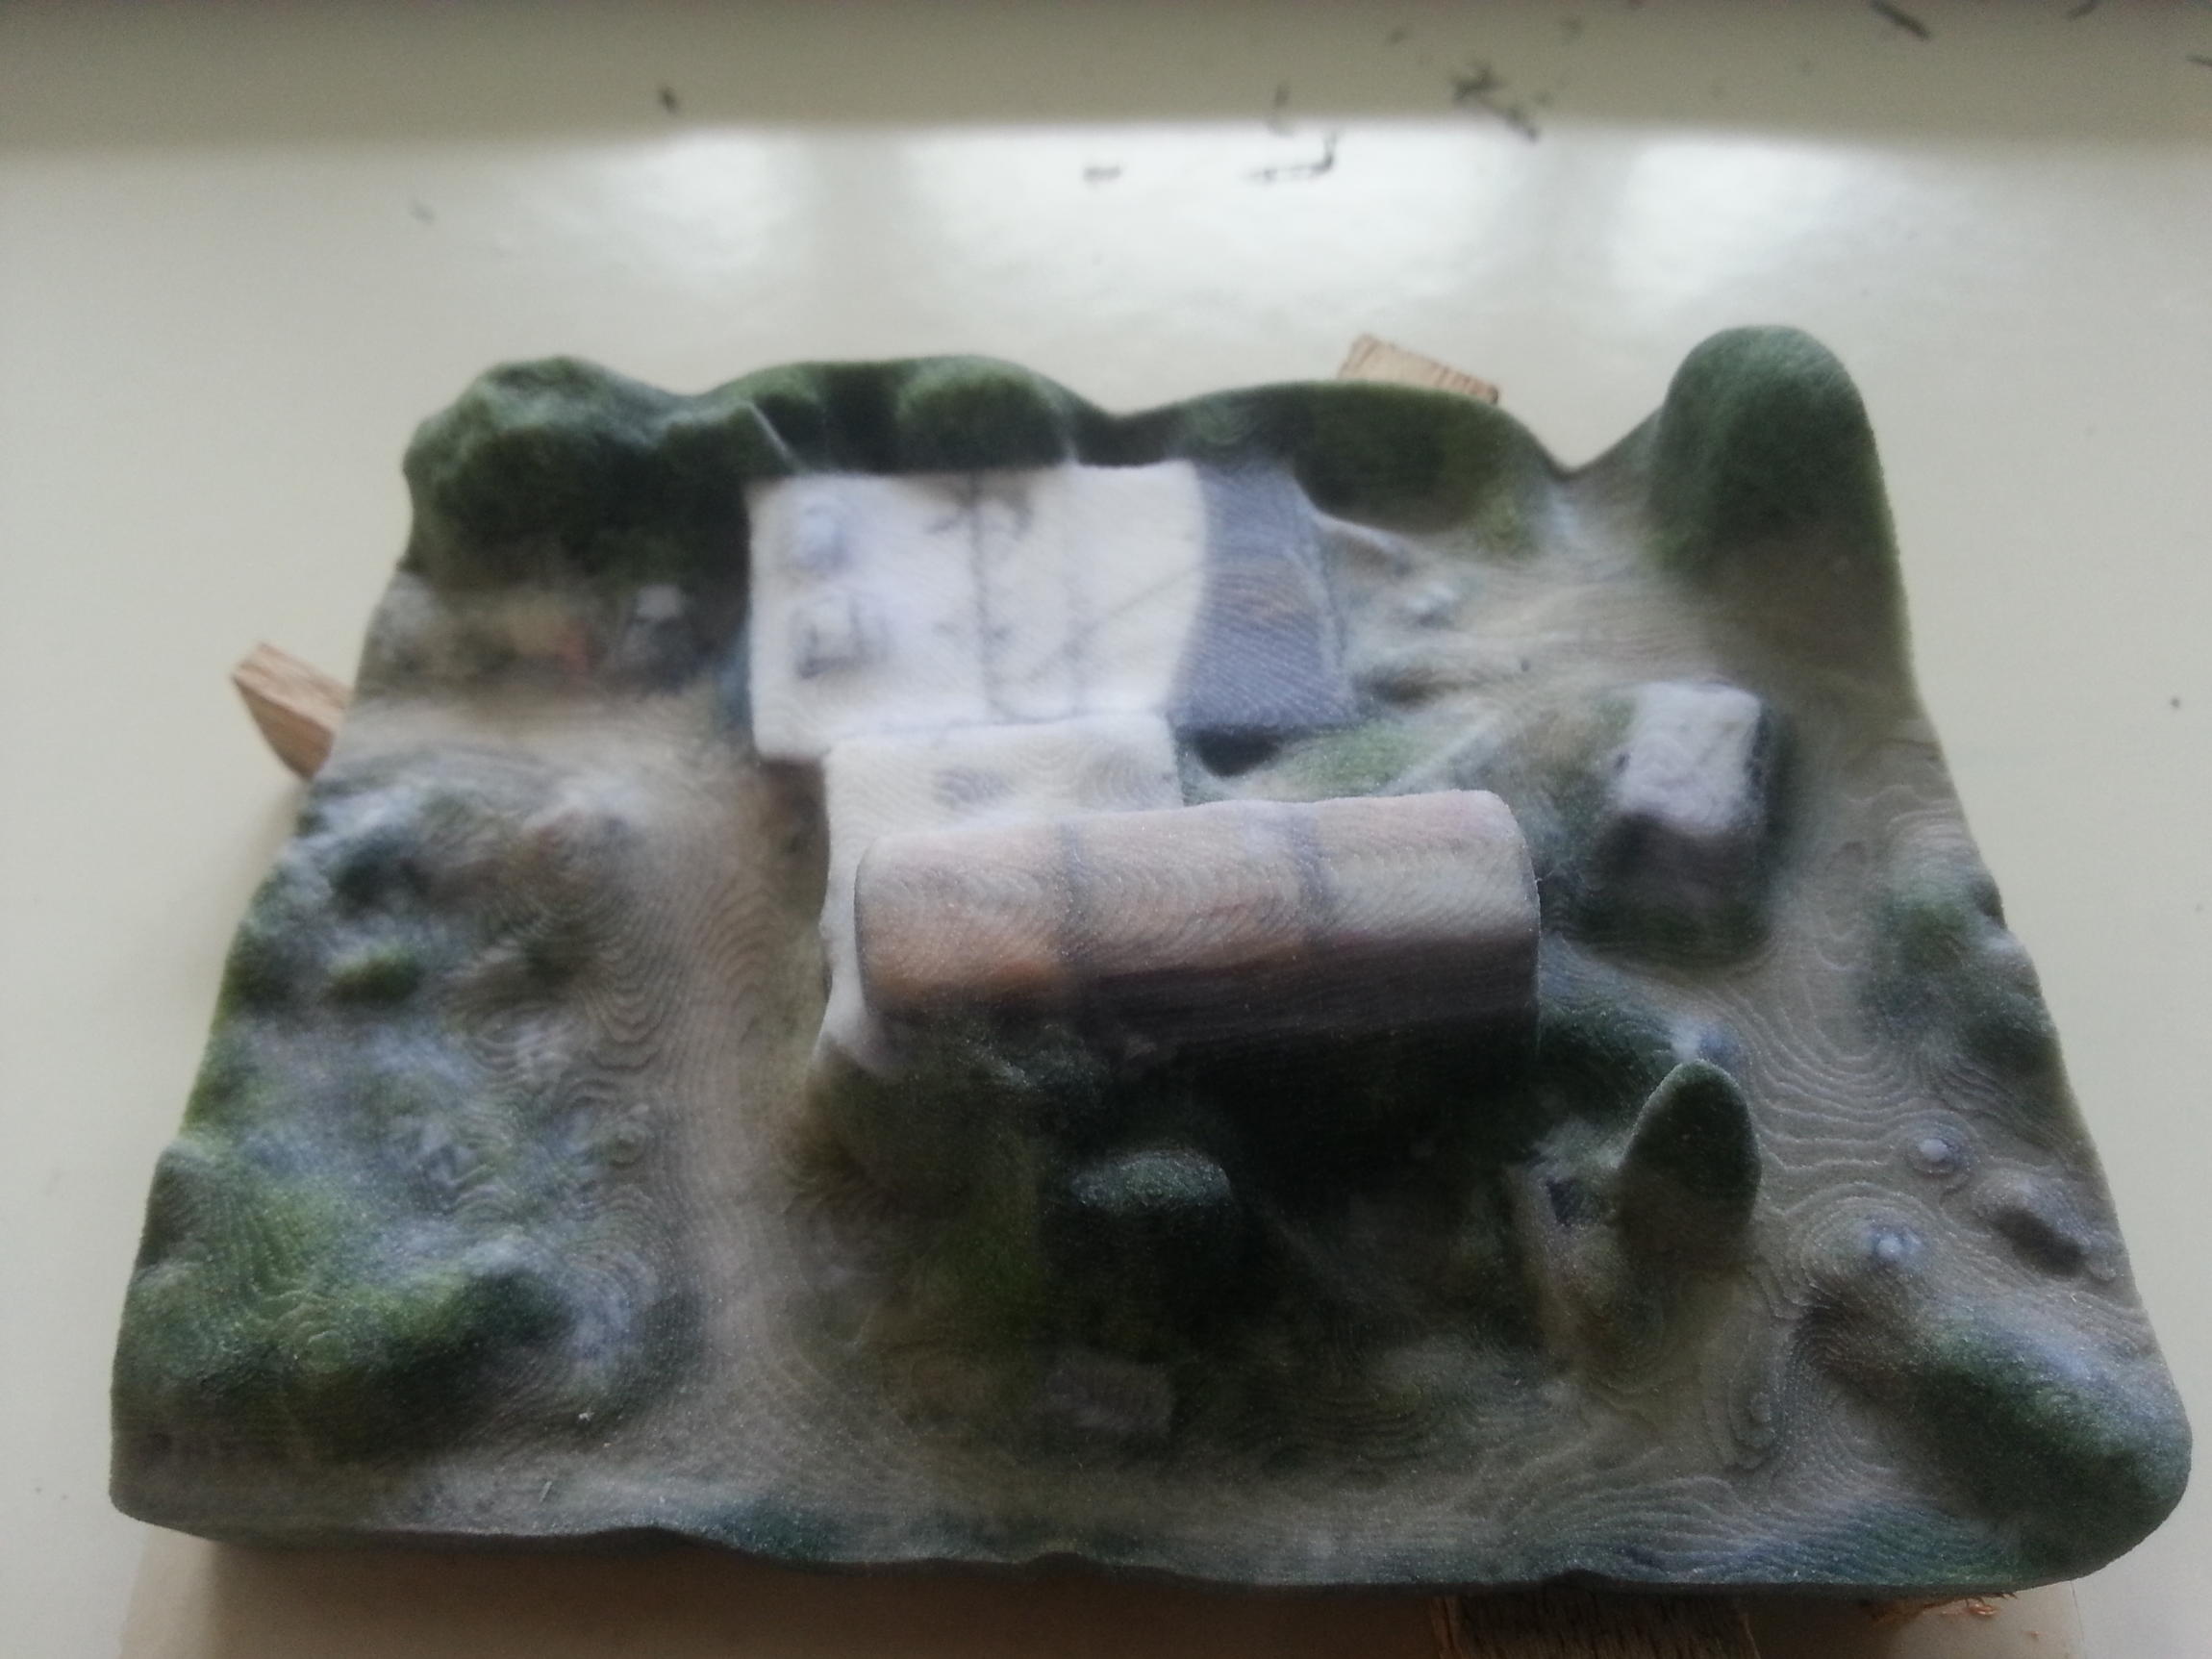
Here are some picture of one of my models.


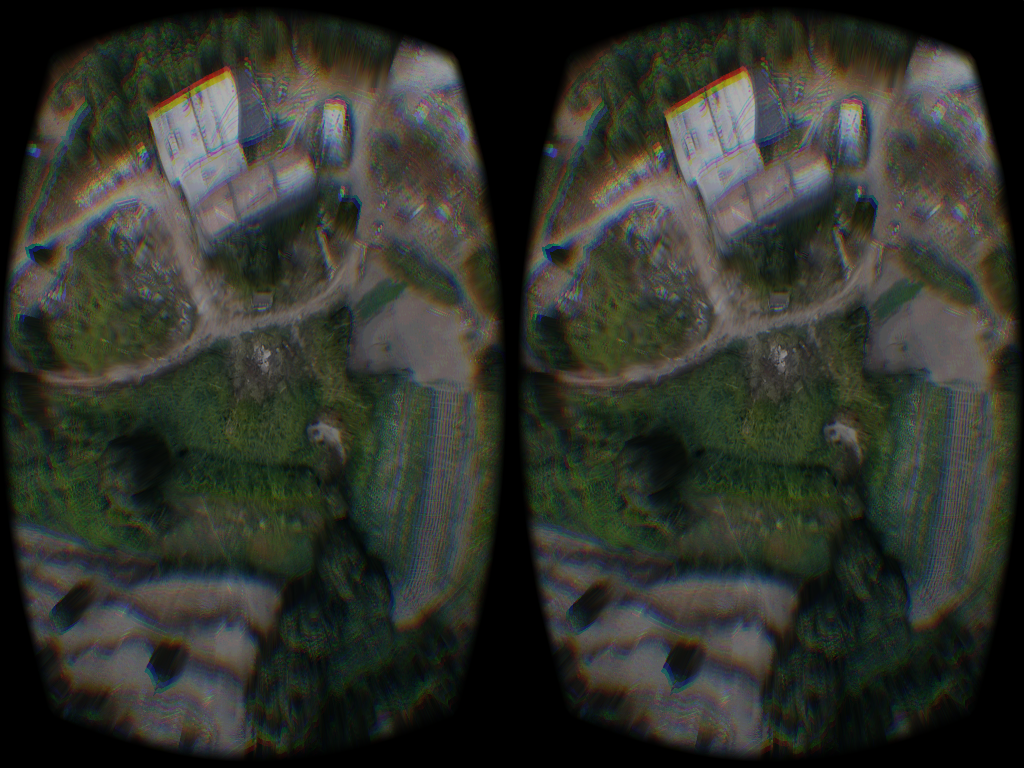
I have also loaded the model into Unity to view the model with the oculus rift from the sky, Epic!

Attachments