Hi all!
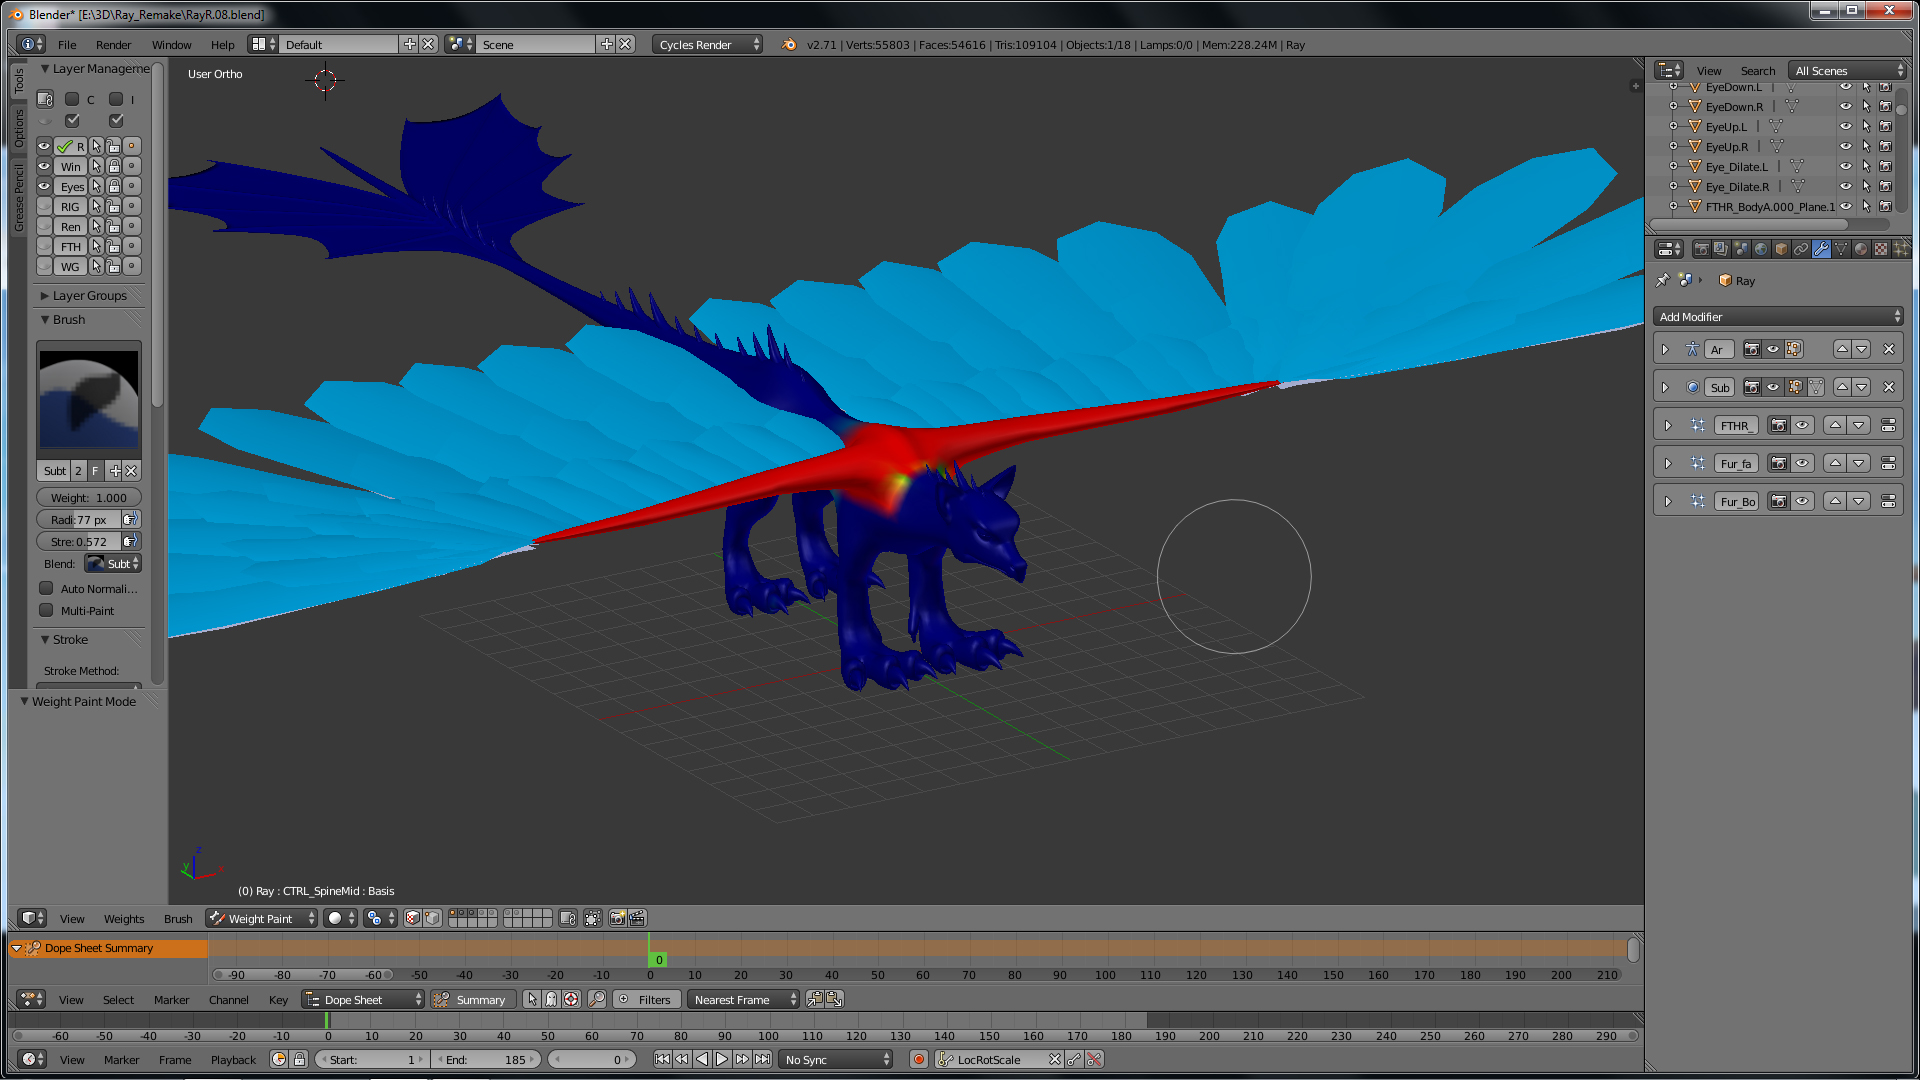
I have a problem with the fur on my dragon model. Specifically the right wing. The wings are identical but this one has a bald spot by the first joint.
It looks like you already have those hairs on that wing. You can see the roots as tiny points, maybe the tips are inside the mesh. It seems to be a problem caused when you combed it. Try to remove the hair editing by clicking “Free Edit” in the Particle System panel. If you still have the bald area, then it’s not a problem related to combing.
Sorry guys, I´ve tried both increasing particles, “free edit” and combing, but it doesn´t work. I get the same result as above. I think the main problem is the mesh… I´ve tried invert normals (ctrl + N), but this doesn´t work either. Very good suggestions, and thank you!
Select all vertices and remove doubles. Check for internal faces. Also you may have cut those hairs too short - reset it 9you did this with free already, I guess) and if the hair there is the same as elsewhere that was your problem… save first in case it wasn’t.
If you haven’t found a way to fix it yet, I’d suggest you try to mirror the properly working hair particles to the other side.
In particle edit mode select point edit mode (3 buttons in the bottom bar) Middle one or the one on right side should work.
Then select bugged particles with alt+b or any other select mode. Delete them with X.
Then select the rest of the particles and go to particle menu and select mirror.
They should appear to the other side then. +you only have to comb one side of the model. It has some disadvantages too, but yeah give it a go.
Oh and in point edit mode you can easily move the tip of individual parent hairs by selecting the point and using normal move/rotate/scale controls (G,R,S)
It seems like the hairs grow inwards for some reason and that moving method can help with that as you can drag them back to right side of the face.
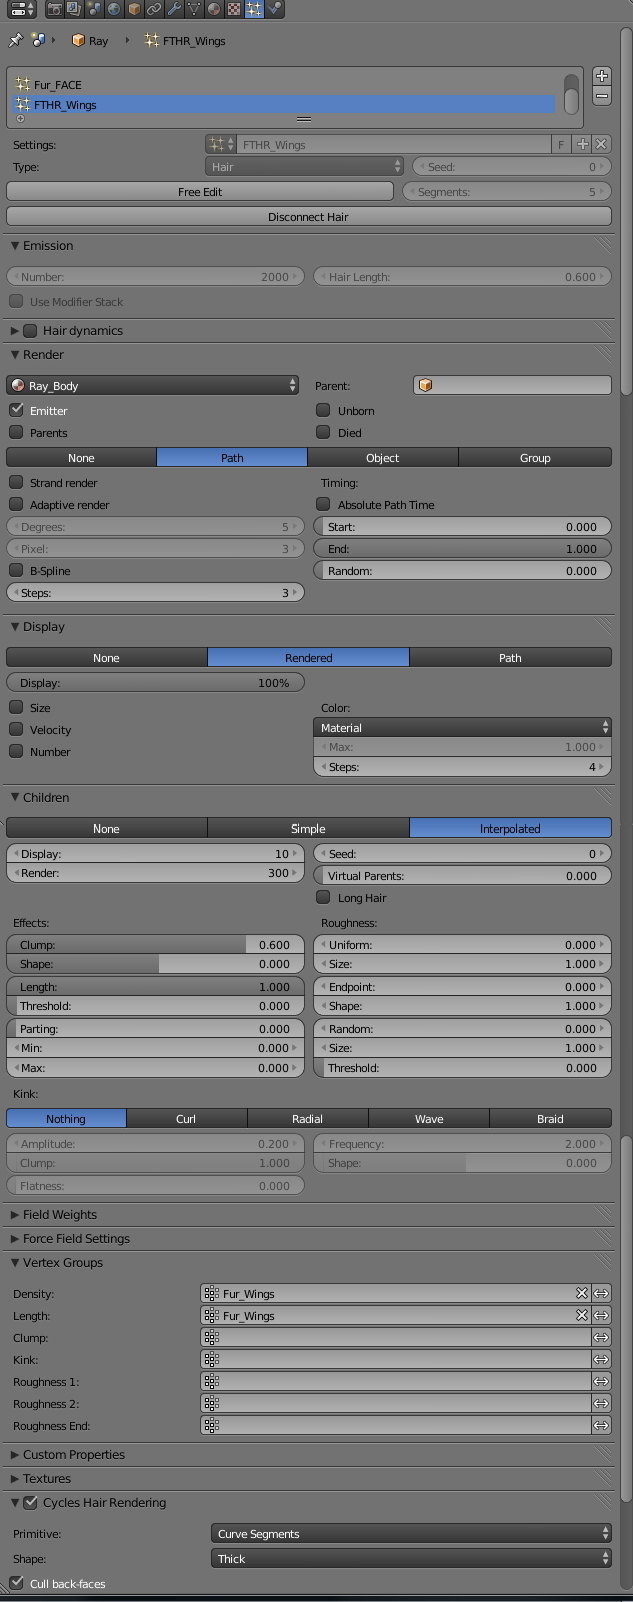
In the Settings area (right next to the “FRee Edit” button, you have the number of segments set to 5. Set it to 6 or higher. I’ve been using 7. Slower, but it works.
enable the Hair Dynamics panel, and then set the Stiffness value to 1.0.
I believe this will help you, but I have been struggling with hair on my own character and am still have some odd issues. Good luck.
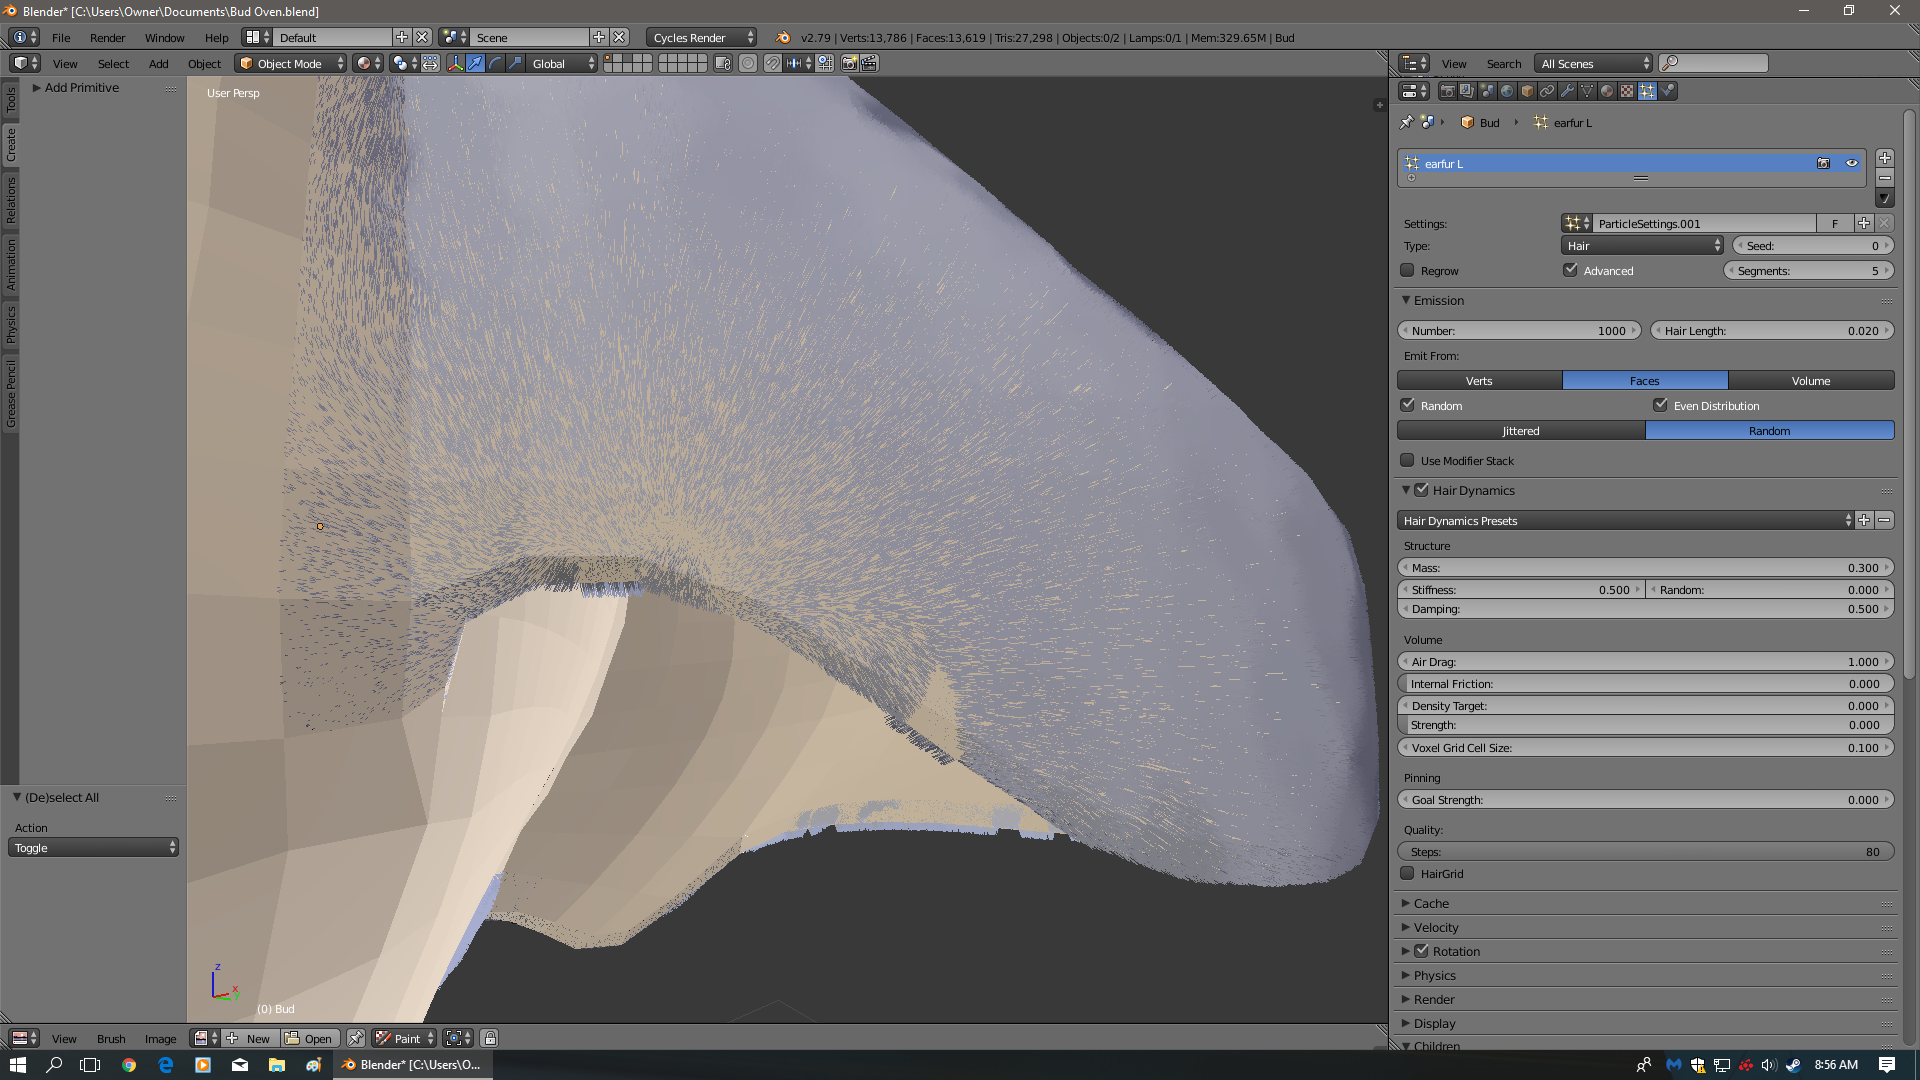
This is supposed to be the ear of an anthropomorphic Scottish Fold cat. I’m using the ear to experiment with the hair on a small scale before applying it to the rest of the body. I think the hairs might be confused because they can stick out through the inside, if that makes any sense.