I’m new in Blender practice. I just re-discover this amazing software and fell in love with it. For me, after 3D Studio, 3D Studio Max, Lightwave and ZBrush, this one is the most “friendly” I found by far. So thanx to developers that bring us this great tool for free.
Question:
How to achieve a real-looking scene in Blender without knowing what would it be if it was real (because if i want to build a spaceship in CG I don’t want to build it in real, maybe a maquette but I don’t have so many room in my place). For understanding how to build a realistic scene, I thought that the best way is to compare an object photgraphed by myself and build the same in Blender.
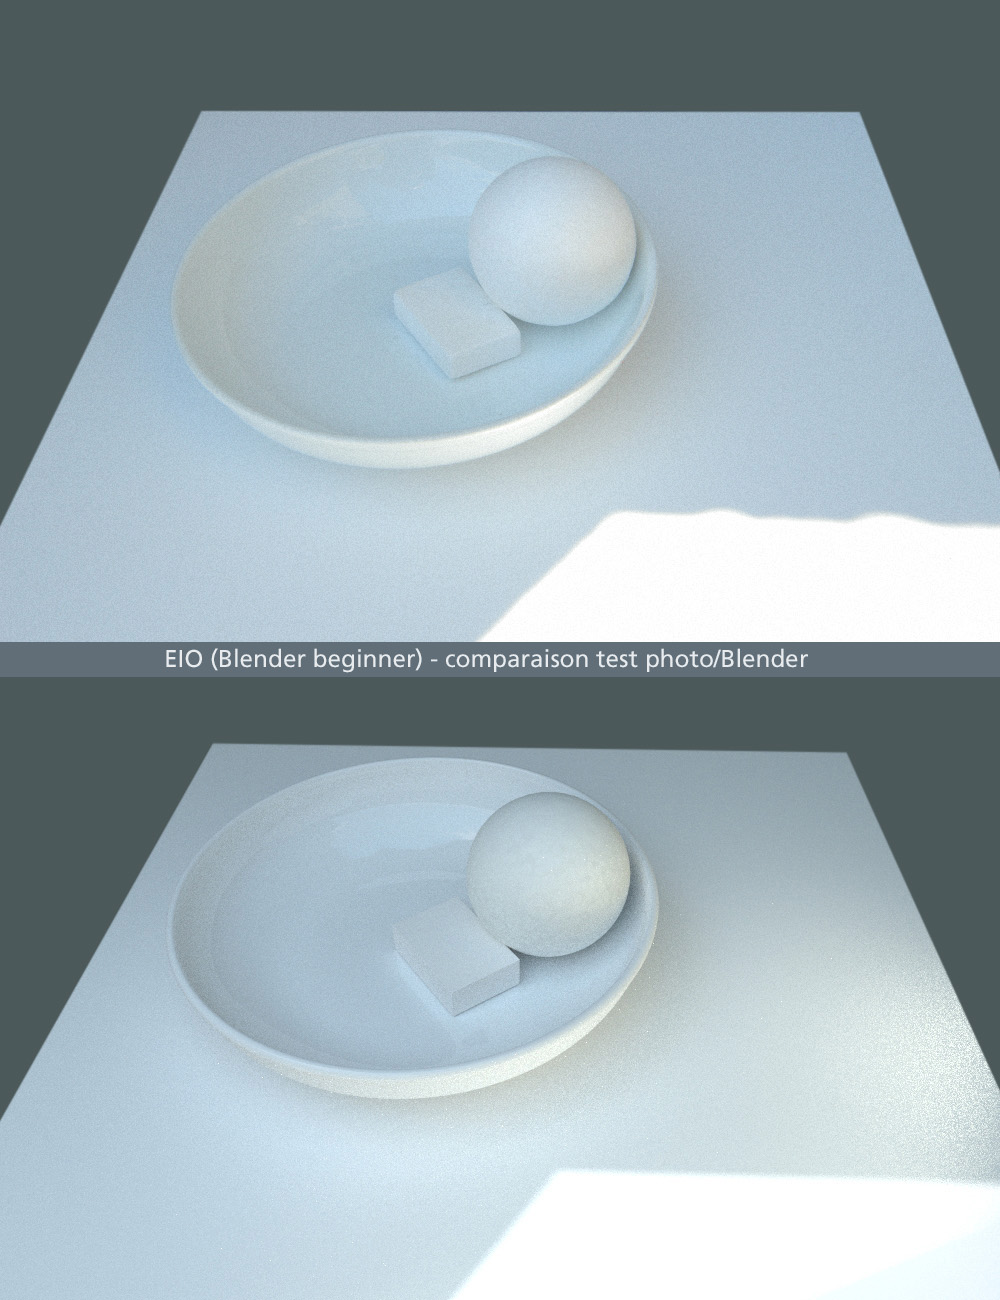
So here it is, my very simple scene with simple materials:
A white ceramic plate, a sagex (expanded polystyrene) sphere and little box, all on a square panel in white canvas.
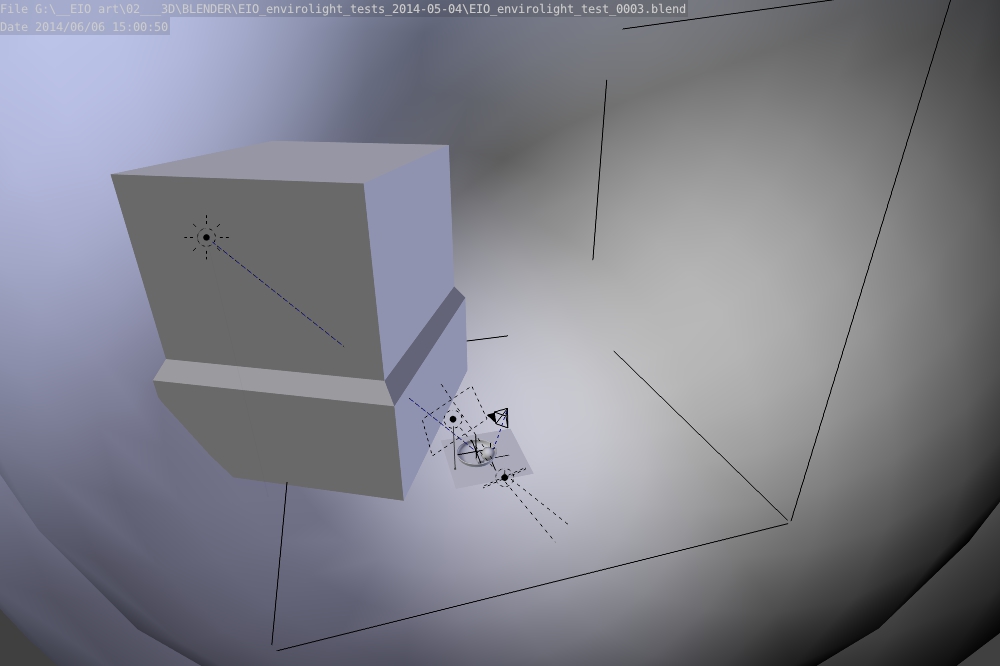
No textures, only material nodes.
I went back my home, near the big church, and took pictures in different lighting situations, then I took 360° panoramic photographs for the environment lightning and reflexion shaders.
On these both, I had to trick a little by adding to emission planes: 1 clear blue on top of the sphere to add more sky light, 1 warm white on the left side to enhance the light rebound on the white panel.
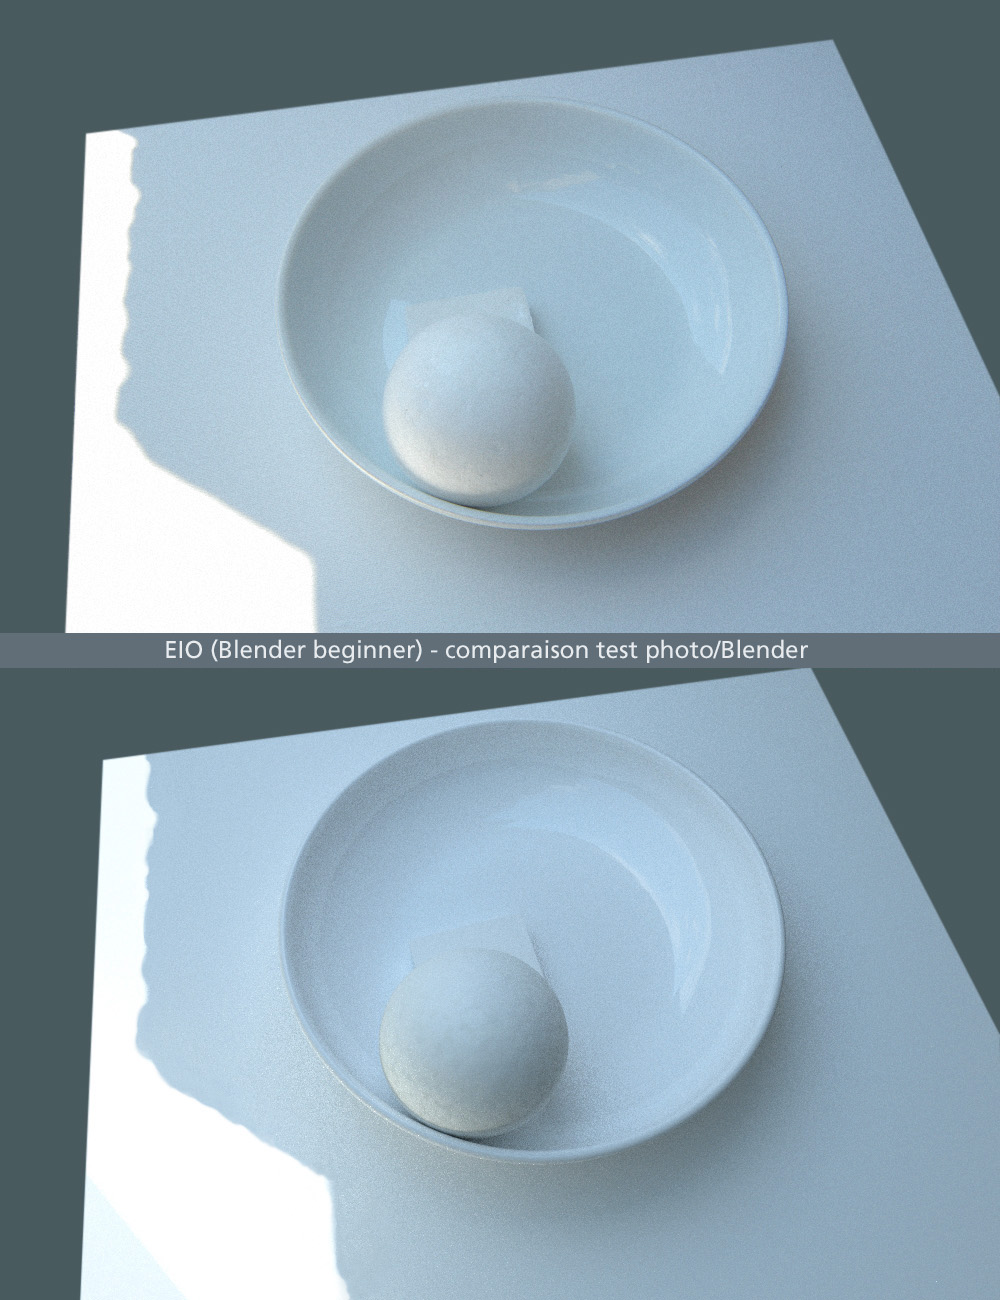
The big problem I had on this one under the full sun:
The ceramic reflects only the higher light value of the sun, meanwhile it relfect a little of the objects posed on it.
I tried to take the world reflexion (node>Light Path>Reflexion) and to modify it some like an image with different nodes without finding the good way.
So I tricked: I create 2 environment spheres, 1 for the world (normal picture > applying all surfaces except relexions) and 1 for the reflexion (same picture modified in Photoshop to show only the sun > applying only reflexions).
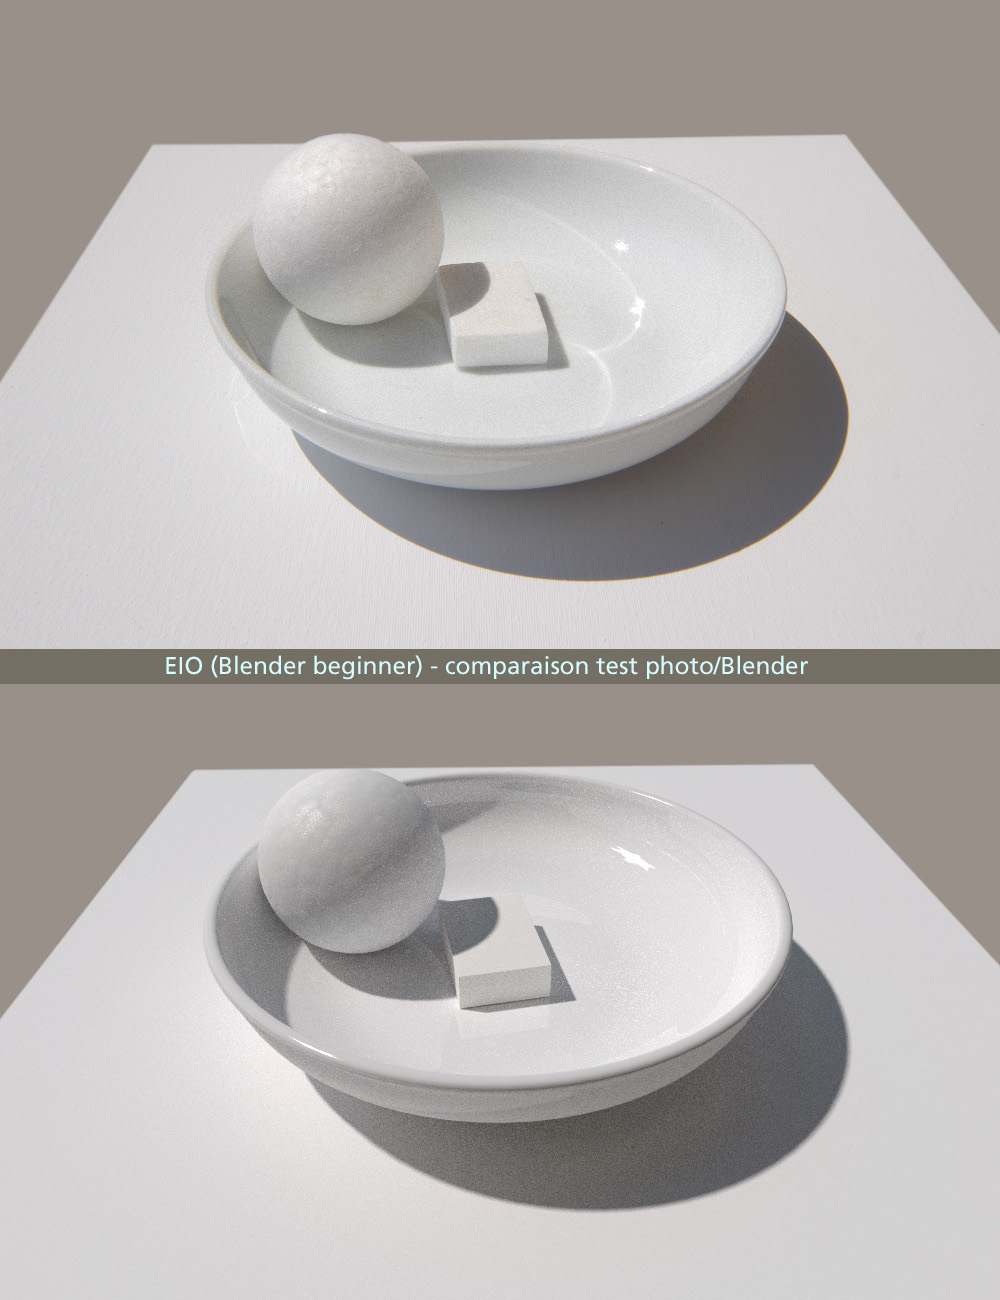
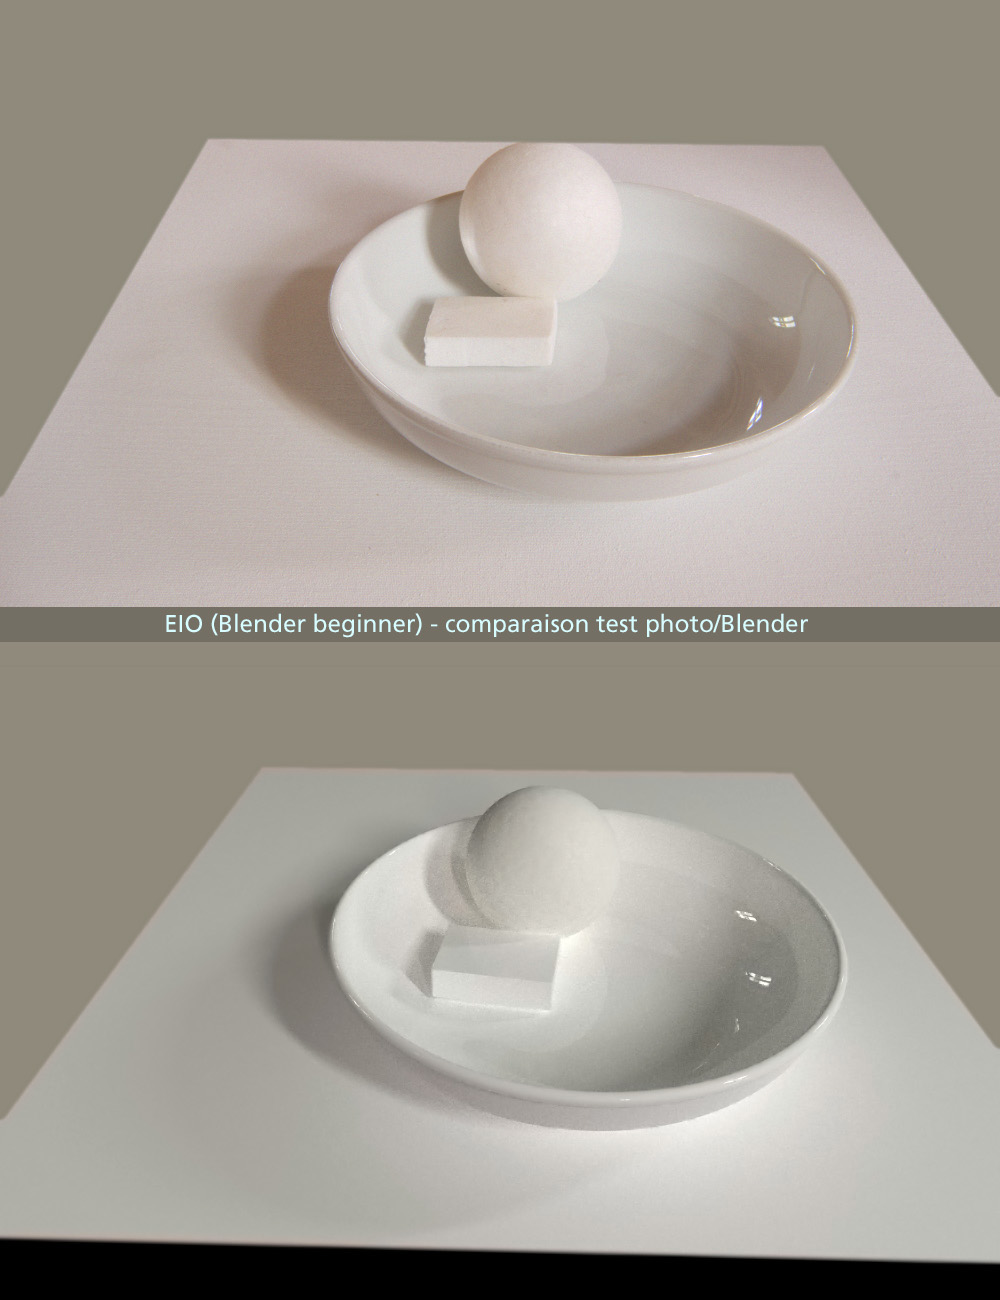
The renders parameters are the default, that’s why there’s noise, so I apply same noise to the photos for the purpose of comparison.
Ray rebounds are maybe too hight for this scene. Should try to turn it down.
This seems interesting; btw I’m not sure that every material in Cycles would react to the light as in the real world… so it would be great to see this applied to different things, maybe also with textures, to check for differences.
nice tests,both photo and cycles render are quiet close.how did you get sharp shadows with hdr?-can you say about your workflow?(shooting hdr,matching exposure etc)
Right, Blender try to mimic reality with its own algorithms but cannot reproduce the amount of subtle effects of real materials. That’s why need to trick here and there to get closer to real world.
If i take time someday, I will try different objects.
Choosing simple objects with uniform aspect (help to focus mostly on light and radiosity): in my case, a plate, sphere and little slab.
Photography of objects outside under sun, shadows and inside. With tripod, manual setup (exposure and aperture, color temp.) RAW format (but not so important in this case).
Photography of surrounding environment for every objects setup by placing the tripod where the objects where and shooting 360° (wide angle optic get less pictures to take). I did’nt take much care of quality here because I did’nt use the final spherical image for background, only for lightning, so we only see the lightning rebound on objects, not the image itself.
Photoshop object and enviro image to get close to reality (or what the eye see).
I did’nt really use “HDRi”, only a 8 bits standard jpeg picture. I did’nt try a real 64 bits HDRi picture.
Choose the 1st object picture, import in Blender as background on a viewport, start modeling. Base panel and sphere… easy to make. The plate was trickier. Don’t use a cube then subsurf subdivide modifier because this tool don’t gives you a perfect round shape. It’s a little squarish and it shows much when you setup your scene. Instead draw on Illustrator (or any vector soft) the profile of plate (from center to border) then rotate it 360° (with a circle shape using the profile) to have a perfect round plate.
Match the scene with image background (not so easy, because photography optics deform slightly the image, Blender calculate with cold math.
Setup material (white ceramic), mix of glossy and diffuse (maybe my material is a little more complex than it needs).
Set up environment picture, 2 ways: 1st, use world setting, image backgrnd, faster but less controls on material reflections. 2nd, englobe the scene in a sphere mapped with the 360° picture, easier for me to control reflections aspect (position and look), Use rendered viewport to position reflections.
Add some area lamps to enhance some parts that need more light rebound.
I tried this setups, works well but… when we enhance shadows, it modifiy reflections on object too. And the effect change radically with other enviro textures, so we need to adjust parameters for every case.
Actually, hdri as sky texture provides light and, the materials in blender can be made realistic but you need to mix materials and use different nodes to make it look real as most objects irl have both specular reflection and diffuse reflection and subsurface scattering and ofc some translucency