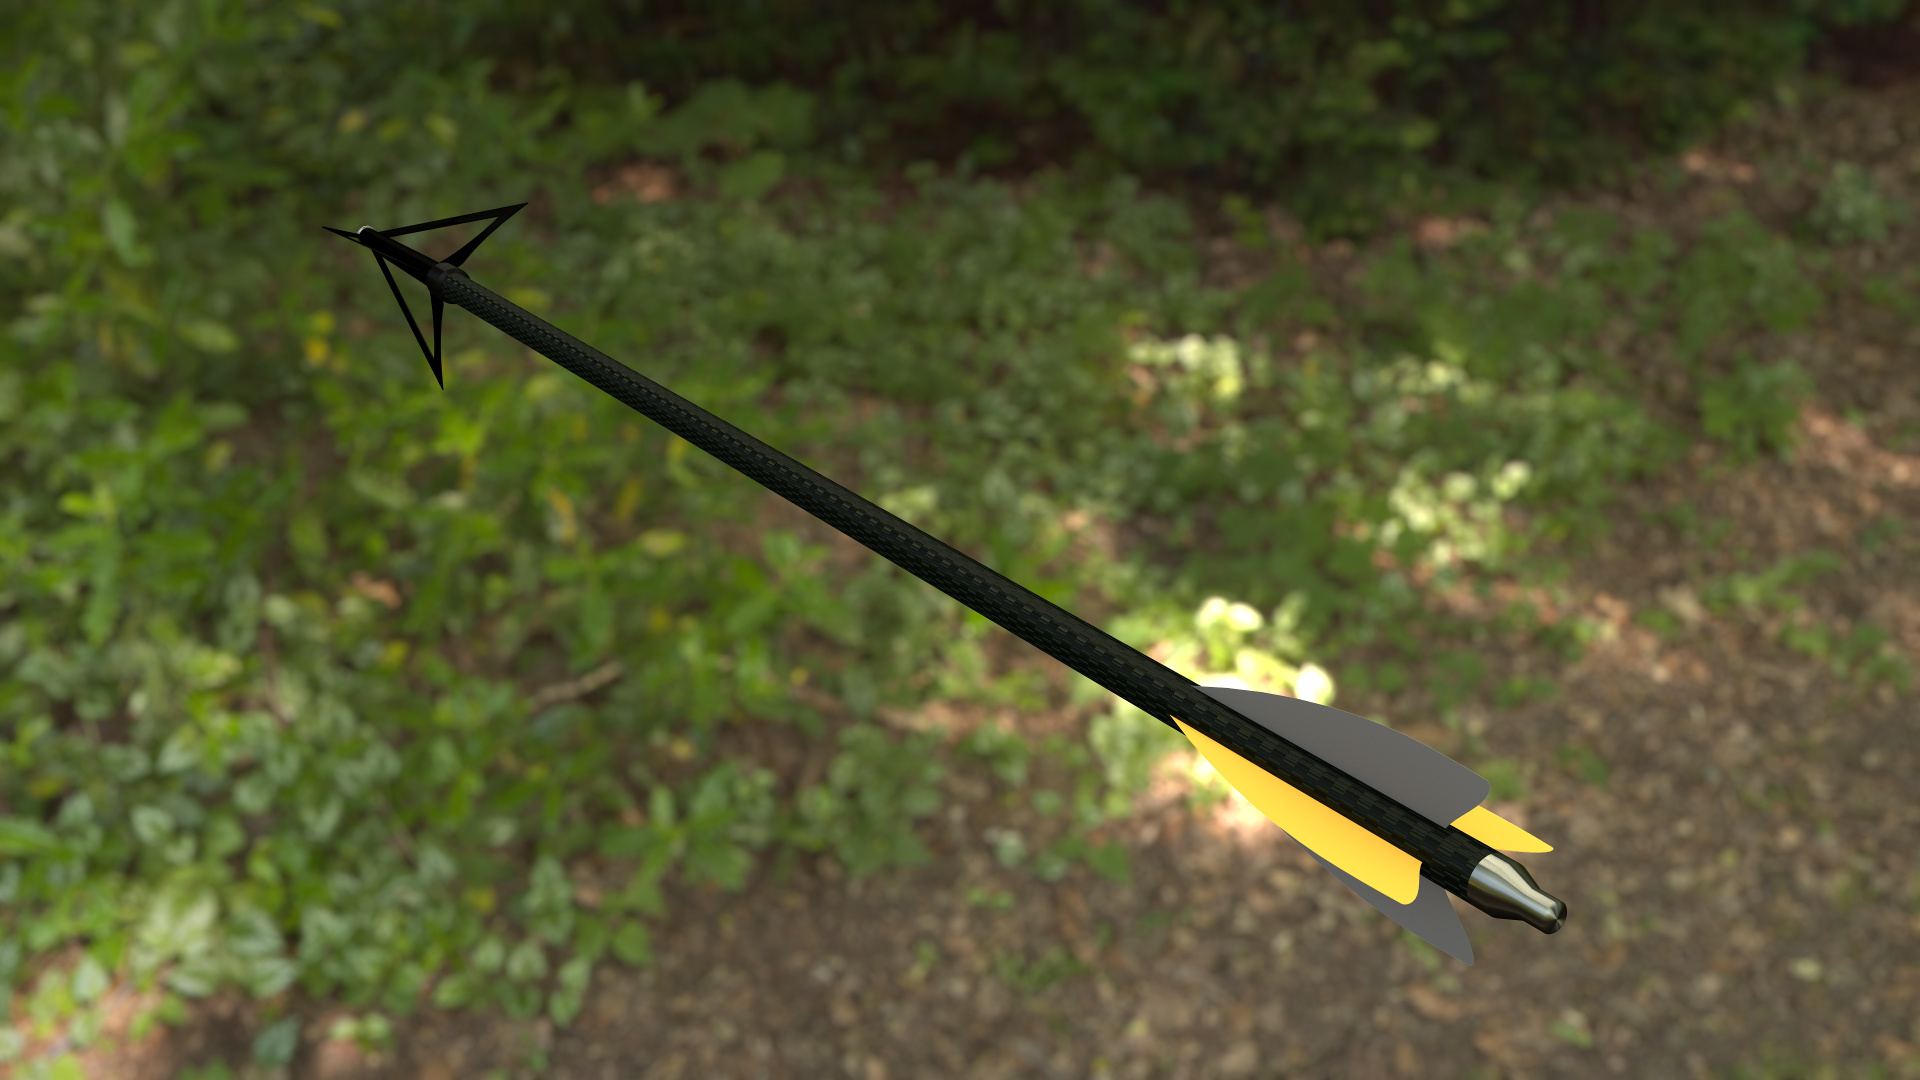
A friend of mine recently made some really good renders of an arrow in 3DS Max with V-Ray (which can be found here), and just for the heck of it, I decided that I would try and replicate them roughly in Blender. I was originally only going to spend half an hour or so on it, but it ended up taking a few hours (mostly due to my computer repeatedly crashing).
I think it turned out decent overall, but I’m not totally happy with it. I know most of the reasons why, but there are a few things about it that I can’t quite pinpoint. The shaft is a bit weird—it looks good (in my opinion) close up, but not so good from far away. The parts with the most anisotropic shaders (like the tip and the nock) are pretty noisy. I imagine I could fix that by simply increasing the samples, but like I said, my computer was crashing a lot (motherboard issue, I think), so I had to keep render times fairly short (about 30 minutes, if anyone’s interested, on a dual-core 3GHz processor). The broadhead is a bit narrow for my liking, though I could fix that pretty quickly. The edges (particularly on the fletchings, for some reason) are really jagged close up. That might have something to do with the way I composited it. I only have 4GB of RAM, and when you’re rendering at 8K, that’s not a lot to work with. I had to render the arrow individually with a low-res version of the HDRI for lighting and reflections set to only affect diffuse and glossy. I then rendered the hi-res version of the HDRI by itself, which, for whatever reason, was the most memory-intensive part (I had to use a bit of my swap because I ran out of memory), and used a simple nodes setup to place the former over the latter. I think the shaft itself is also a bit too wide—once again, something I could fix fairly quickly. One thing I couldn’t figure out was how to get more highlights on the shaft without blowing out the blacks of the texture or the chrome pieces.
Finally, I know I would probably have better luck in a support forum, but how would I get Cycles’s depth of field to affect an HDR background? I had to use a defocus node to add the blur.
Constructive criticism is greatly appreciated. Even though I’ve used it on-and-off for a few years, I’m still a bit of a noob with Blender. Let me know if you want any more information.
