Hello, everybody! Due to the number of new projects I’ve got planned for this year, I felt creating a sketchbook might be better than creating a new WiP thread for each new video. There is also a lot testing and practicing I will be doing, and it is probably better to lump all this stuff into one thread. So let’s get to it!
Right on James:) Cool to see a sketchbook from you and all the Classy Dog guys. So far I’m liking the look of the weapon…don’t forget to work in some nicks and scratches. I look forward to more updates:)
Essentially, what I’m trying to learn is how to get good looking results without having to manually texture anything. The dirtmap baking method controls where different shaders are applied. The actual texture details themselves come from tiling textures which are applied using box projection. While not as unique or realistic as manual texturing, it is much, much faster. The biggest challenge I face on my videos is simply getting them done in a reasonable amount of time. I would love to have 4 or 5 months to work on every video, and be able to really focus on each aspect of the process. But the reality is, I’m not a guy working on the texturing of a gun; I’m a guy doing that, and everything else required for the video to (1.) get completed, and (2.) hopefully be cool and fun to watch. And to be honest, I’m not a very fast worker to begin with. So any methods I can learn to help me speed up my workflow, while they may not be perfect solutions, are very helpful. And hopefully they may help other people, too!
Testing out rigid bodies to simulate ejected shells from the gun. There’s one shot in the video which requires a massive amount of shells, which I’ve been testing today. I’ve got just over 1,000 shells here, which started to really drag my computer down.
I wanted to practice a bit more with PhotoScan. My computer is massively under spec for running the program, but I’m still able to get good results. This one, a bit of tree trunk I photographed a few months back, took just over an hour at Medium quality.
I cannot wait to see this finished!
This texturing method is very useful, when you have that many surfaces in an object, the textures stop looking uniform and take a shape of their own, I also do this with mechanical objects because UV texturing them would probably take twice the time it took to model all the parts lol. Bravo, great work as always!!!
Atom - Thanks! I hope to have cooler work to show as I progress this year.
josef - It’s good to see you stopping by, thank you for the kind words! You’re exactly right! The more detailed the model, the more effective this technique seems to be. It would have taken me weeks to texture this model by hand. Of course, you can still add details to the model through normal texturing methods, if desired.
michalis - Thank you! I will share the node setup when I complete the project; On a side note, I have a collaboration this year with another YouTube channel, and will be using your “sculpting with UV’s and Displacement” workflow in the video, it’s very versatile!
I’m currently waiting for a cloudy, overcast day to shoot some tests for the environment I’ve chosen for the latest video. It’s not absolutely necessary, but I think it gives better results, and also gives me more freedom in deciding how to light the environment in Blender. I may use a combination of PhotoScan and camera mapping in the final video.
I’m testing muzzle flashes and starting to think about “look development”, if that’s the correct term. I’m not satisfied with how the GTA video looked, so I really want to try to push this video to look as cool as I can make it. Hopefully doing some work to establish a look early on will help guide me.
I’ve decided straight away to go with a cinema aspect ratio for this video. I like the wider look, and of course it will render faster, too. The muzzle flashes are done using Independent VFX’s tutorials, which I highly recommend. The flare lighting on the gun itself comes from a mesh light in Blender which is approximately the same size and color as the muzzle flash (which is done in AE). This gives a much more realistic, and much easier to create, lighting of the gun during firing.
Wow. The flash suppressor on that puppy is just about worthless. I’d hate to carry that thing into night combat, or, really, any situation where I wore camouflage to try to conceal my location.
Orinoco - You have a good point, I didn’t even stop to think about that! A perfect example of how clueless filmmakers can be when it comes to guns! I will admit, even though I’ve fired a handful of different weapons before, I know next to nothing about firearms. Hopefully the video will be entertaining enough to forgive this silly mistake!
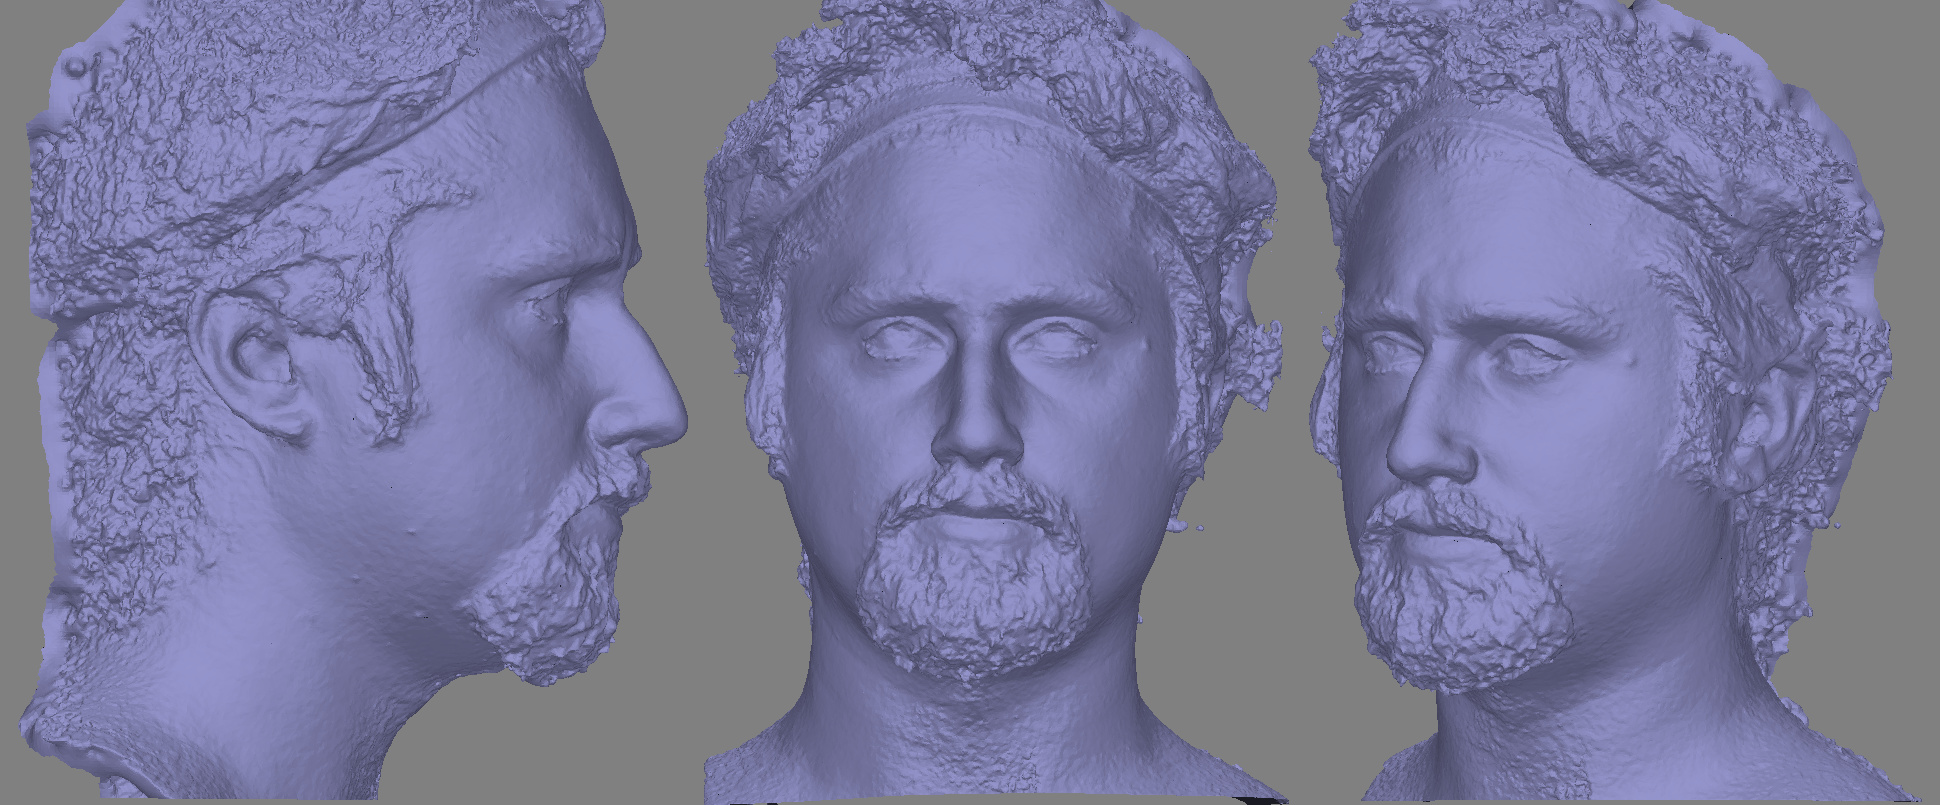
VickyM72 - Thank you! I’ve quite enjoyed perusing your sketchbook, you’ve made many very cool works! I’m hoping I’ll have more varied work to show in mine, I don’t want it to start looking like a WIP thread. I have a number of new scans that are processing now, from last night and today, which I’m hoping add something fresh and interesting.
On a related note, can anyone tell me if there is a limit to the amount of RAM Blender can effectively access? Or is there no limit? I’d like to build a new computer this year, because some of the work I’m trying to do is severely limited by the 3 GB’s of RAM my computer has. If possible, I’d like to have 24 or 32 GB’s of RAM, especially for my 3D scanning work.
Yes indeed. A platoon of Star Wars Storm Troopers fired a volley at a squad of Star Trek Red Shirts. The Storm Troopers all missed. The Red Shirts all died. :evilgrin:
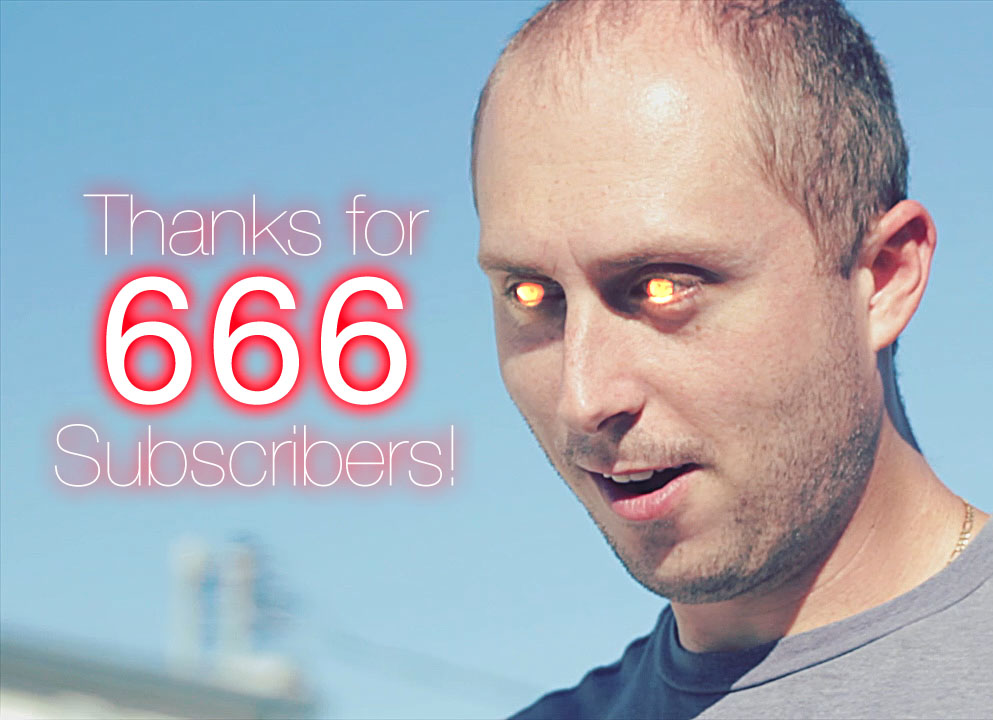
By the way, we reached 666 subscribers today (and coincidentally I passed the same number on my post count just a few days ago), so I made a little graphic to announce it:
For some reason, YouTube is acting a little funny and doesn’t seem to be updating the subscriber count on our channel since about a week ago, but it does show it when I log in to check.
I practiced modeling today, made a hatch. Trying to learn how to better control the dirtmap generation settings. You can see the node tree on the left; I hear this all the time and think “yeah, right”, but it’s not as complicated as it might look.
I also tried out the “dirt vertex color” method of adding grime, but it looked terrible. I think especially when you’re working with simpler, lower poly models, the dirtmap script is the more effective approach.
Thank you for the kind words, SumoLondo! I do feel more comfortable texturing than I do modeling. I remember when I first watched the great “The Third and The Seventh” film, I was like many people blown away; and when I saw the making-of for it, I realized that the models were not actually that detailed- most of the detail we saw came from the textures themselves. So I feel that even a relatively “simple” model can look very realistic if given the proper textures, materials and lighting.
My primary reason for learning this dirtmap script technique is because I want to have a realistic looking tank in a video. The tank itself has many small and detailed pieces on it, and it would take me months to texture the whole thing, let alone create the rest of the video. So I’m hoping I’ll be able to automate the process using this script and still attain satisfactory results.