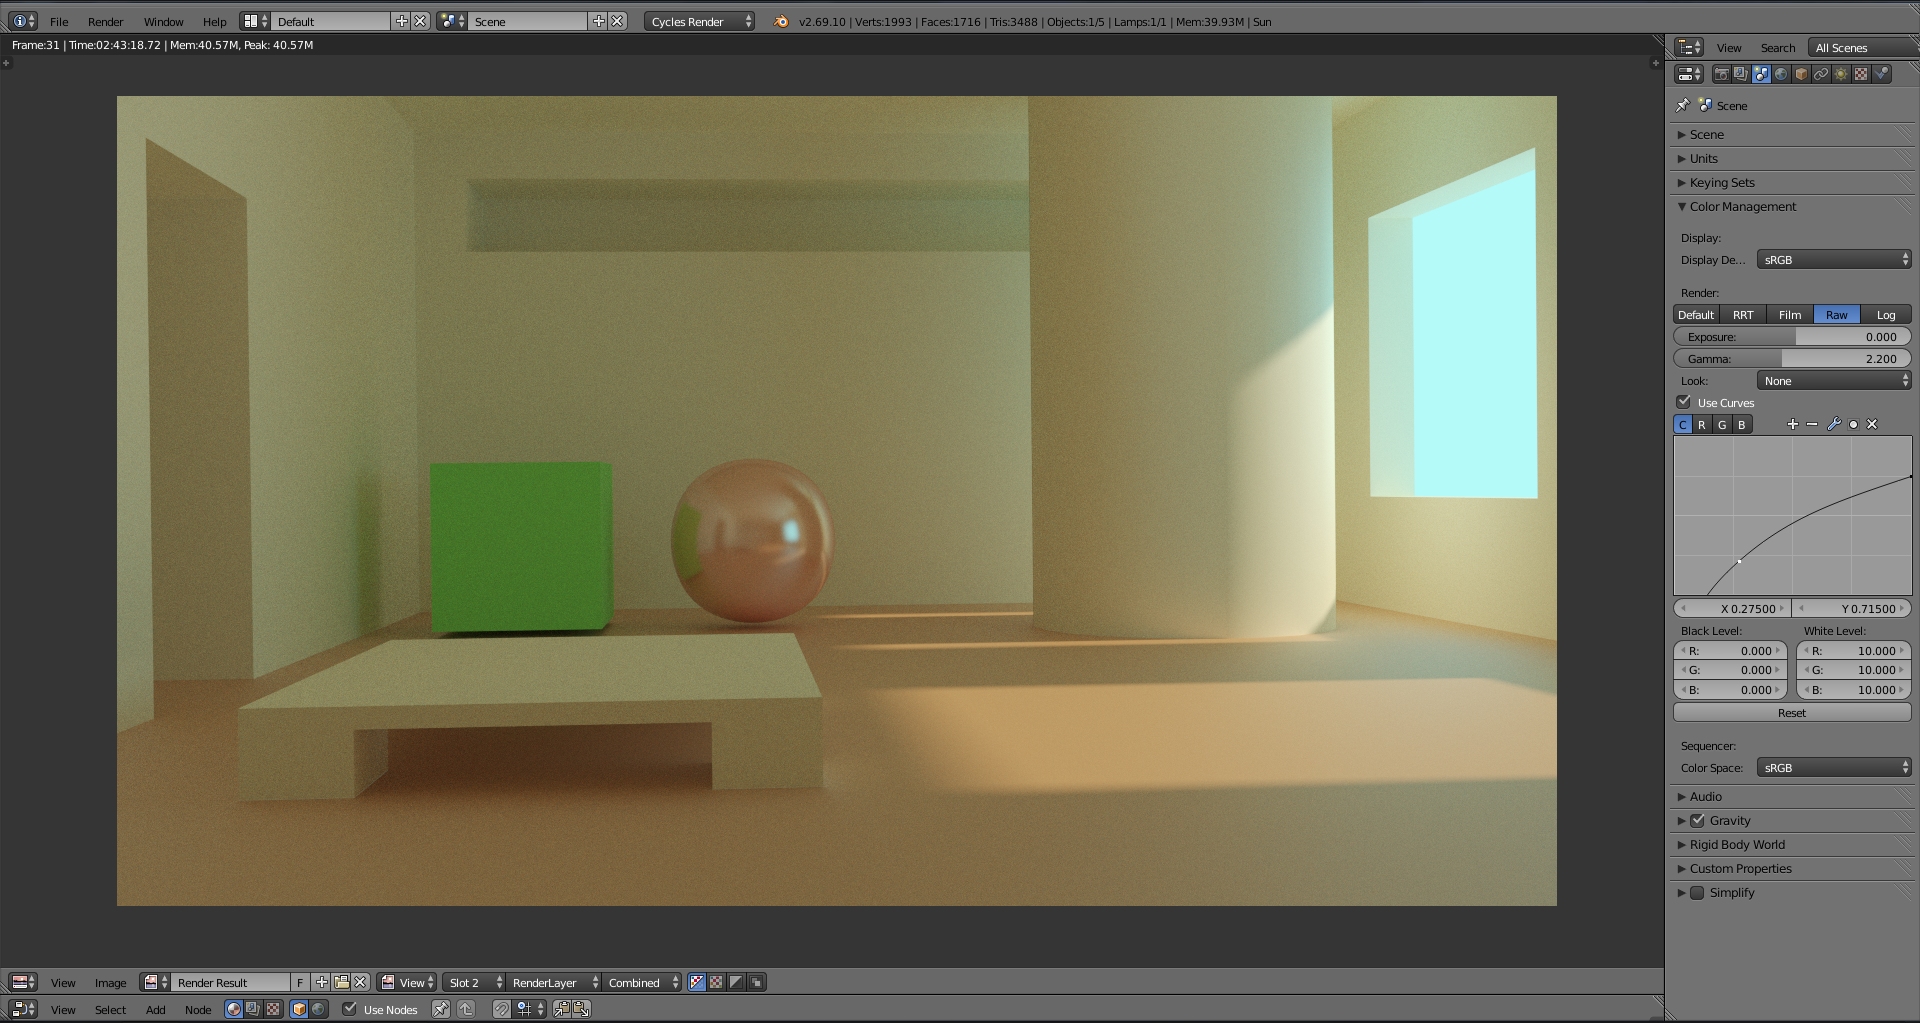
I worked over the weekend with curve control and tonemapping inside Blender and found
this quite interesting and insightful tutorial. It is made for VRay and while I was able to get
quite close it shows certain differences in for example how GI and lights work different in
Cycles.
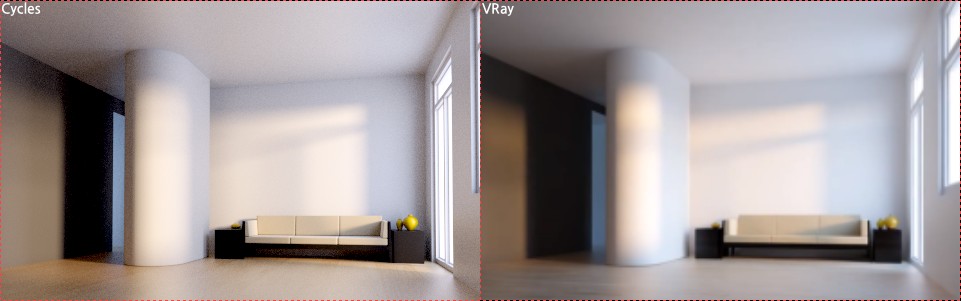
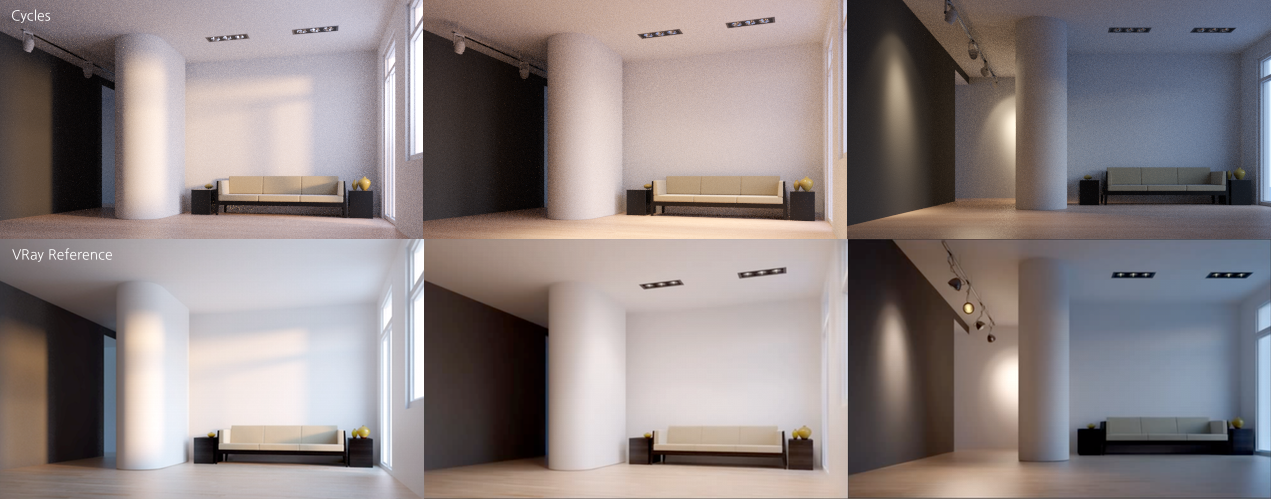
So it is hard to use a VRay rendering as a reference when Cycles possibly cannot reproduce
the same result. Often I found Cycles having a lack in GI colors being more washed out.
The difference in this scene is actually not much but when compared noticable.
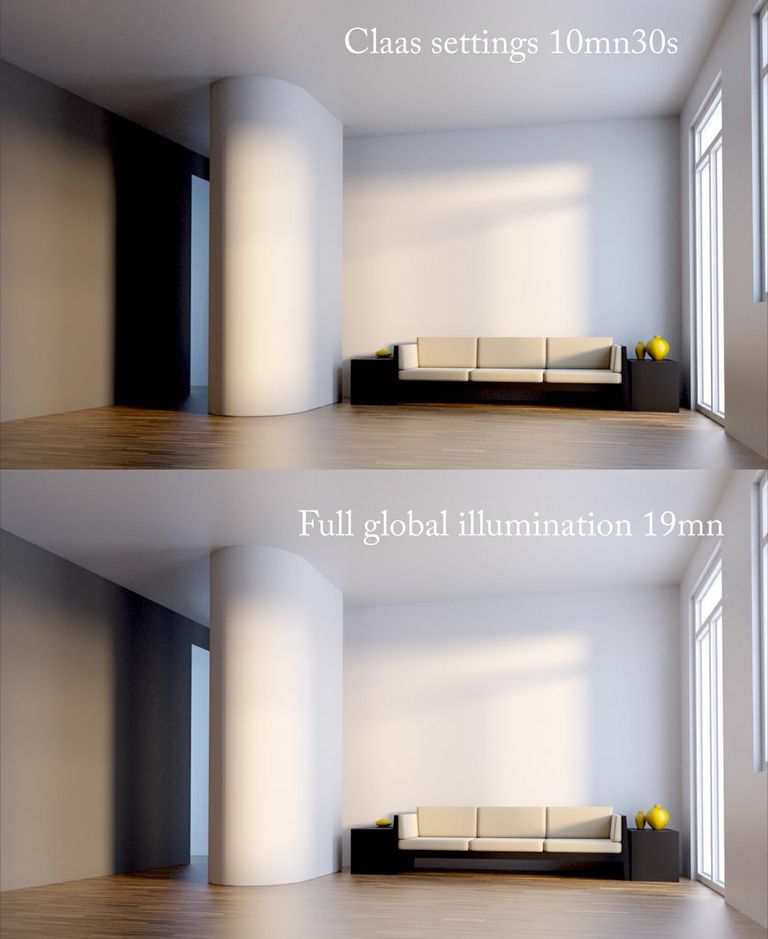
Cédric Lepiller re-rendered my scene on a Titan with full GI settings making it quite noticeable that in the corners with full GI you get better results with the limited bounce settings I used to speed up rendering. However in most other areas there is not much different.
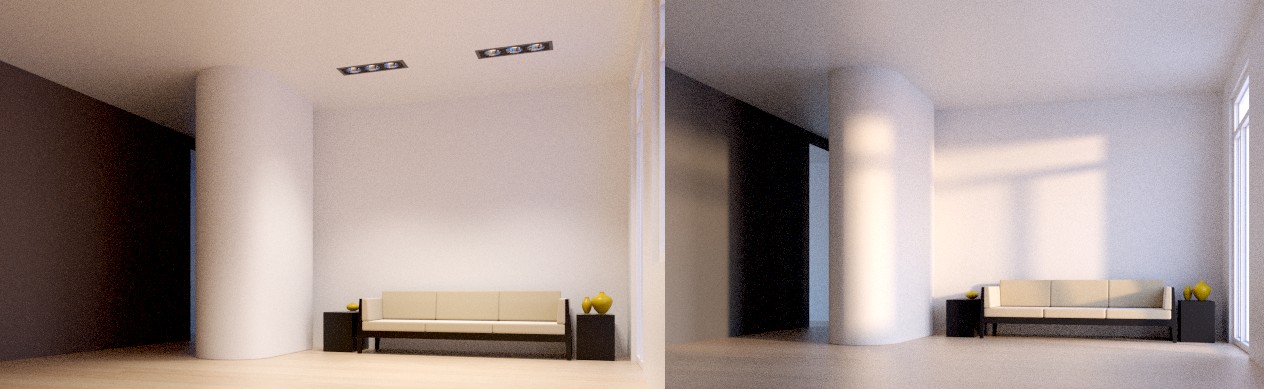
In the second row the renders are really close to similar. Have you ever experimented with the blackbody node to set the color temperature? In the vRay render the light has a more yellowish tint, I think.
Generally, perhaps 90 percent of the difference in various engines could be due to the tonemapping settings used (which can affect both contrast and saturation).
For example, all of my recent Cycles images now use a different tonemapping scheme by default and it resulted in softer lighting and the complete elimination of the need for the light falloff node. I say this produces a much larger difference in the raw result than differences that appear if you decided to compare spectral rendering with an RGB render (which doesn’t apply here since Vray is RGB last I checked).
In this image, the material also contributes to the brightness which is done without AO shading or light rig tricks, you find out that using a technique that allows you to apply the ‘add shader’ node result according to a factor can help compensate for energy lost for the diffuse and glossy light-paths.
I do wish though that we could have full-spectrum color management presets with names like photorealism, enhanced contrast, high-contrast, artistic, cinematic, ect… (covering every setting unlike the camera response curves) It would help a ton with taking out the guesswork on how to do those things.
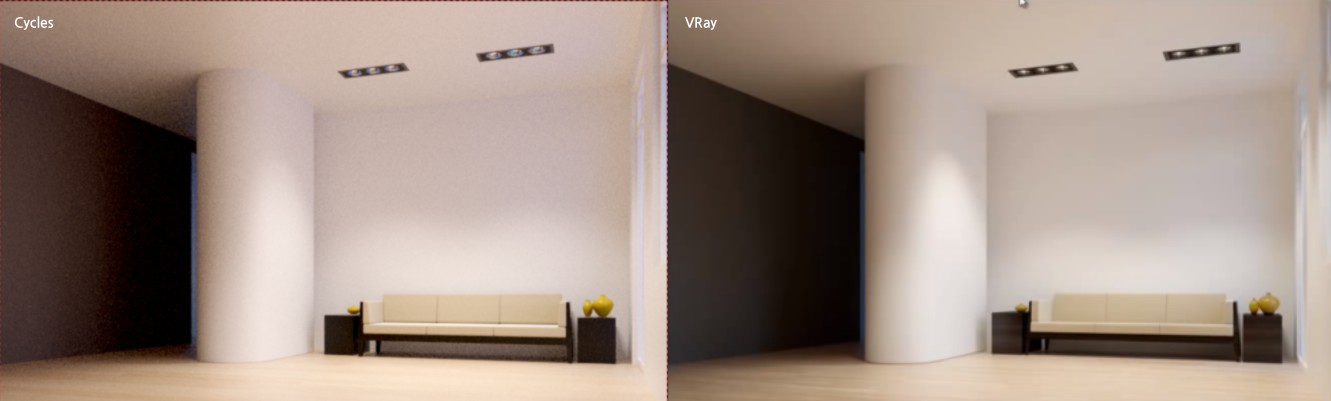
Here is my finished quick rebuild of the VRay Evermotion room with Cycles as close as possible with the same tools used in VRay such as sky light, area lights, and portal lights.
Portal lights can be done via an environmental texture applied to a mesh light with Reflection as the vector. Works very well. IES lights also work great in Cycles.
This demo scene does not include Marco GZT quite fantastic fake wall AO material because it was not used in the reference renderings.
Render settings are set at a minimum so with Marco’s AO Material as well as more GI samples the colors in the renderings will be even better.
Here is a link to the Blend file which includes all textures, scenes, and reference screenshots.