I found this technique from another rendering forum, corona (which btw if you use 3dsmax is a pretty damn vast unbiased CPU renderer in develop right now), for achieving a volume lighting render. It’s a hack but it possible to use right now.
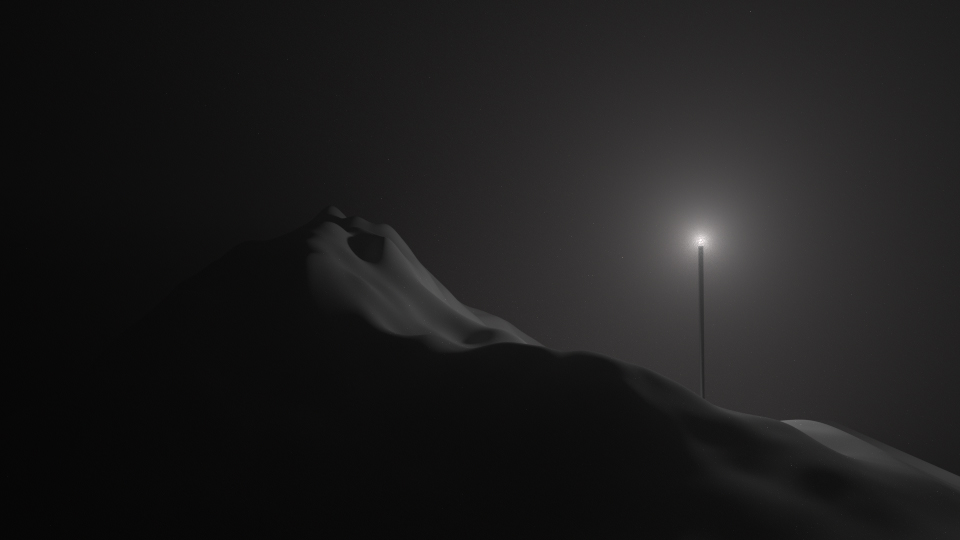
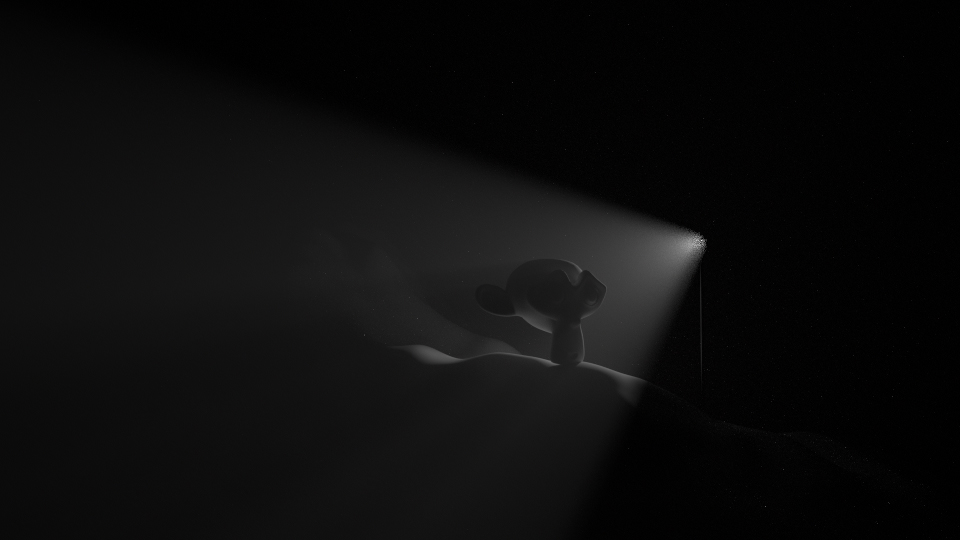
Basically you use a plane that moves through the entire scene perpendicular to the camera, then turn on motion blur and increase the frame blending enough so that cycles is calculating the entire motion. The plane will catch the light and blend it through the whole scene giving the illusion of volume lighting. I used a mix of diffuse and translucent material for the plane but wouldn’t be surprised if there was a better material method. Here’s some examples:
They are noisy, and while not impossible it would not be easy to animate since you are relying on motion blur for the effect, but I figured if I share this with you guys maybe you smart blender folk can improve on it
I’ve used numerous schemes over the years to achieve the impression of volumes in BI and even Cycles in one instance, but I have never seen such a technique as this which looks to be higher quality than the other known workarounds.
However, things this won’t be so good for, or would be inflexible, would be contained volumes, clouds, and volume textures (in those cases it’s better to use a bunch of camera-aligned planes using particles or manual placement). But this one looks to be good for basic global effects.
This has actually inspired me to take it a step further and use three objects with an array modifier to allow for true 3-dimensional volumetric rendering as seen here.
This method is more complex, but it has the advantages of being able to render volumetric light beams coming from any angle as well as being independent of the angle and position of the camera. The only downside is that it’s a bit slower than the simpler method shown in this thread, but that’s what you get for chasing accuracy.
Okay, I realized after posting my test that the setup I attached was, in general, not that good at rendering an accurate rendition of the texture (a solid, even volume worked just fine). However, I recently found a promising solution that resolves that issue and stays within the same concept as seen below.
What I did was a combination of greatly increasing the slice resolution and greatly decreasing the temporal smoothing distance. This in turn makes everything take a bit longer to render and makes everything resemble the old BI slice method a bit more. But the difference is that the temporal smoothing allows you to do this a bit more elegantly and with a higher quality result than BI (due to the fact that it smooths the slices together and makes them fairly invisible).
So can you render volumetric textures, by all means if you have the right setup, yes.
Nice Ace Dragon! I’ve been messing around with attempts to add texture to the volume, not as successful yet but trying a different approach so we shall see.
Btw, I notice you have motion blur set to 20.0 in your last screen, when I try to enter a value it maxes out at 10.0, how do I get values that high?
I’m just about getting through with another set of tweaks, decreasing the temporal smoothing (noting that I probably don’t need near as much as first thought), and setting the frame value to 10 while leaving the motion blur value to 20. This has reduced any striping artifacts to one small area near the very edge of the cube where the diagonal spotlight enters (and even then it may not be visible if you fit it into a proper environment like an indoor room.
Granted, it’s somewhat slow, but it’s still a lot faster than using the more brute force method of large billboard clusters with a transparent material on them.
The value limit may have been removed after the official 2.65 release because I’m using just a vanilla trunk build with no special changes.
Also, it turns out that some of my previous settings in terms of having a higher temporal smoothing was right where I should be, which I didn’t notice before because of my realization that I had to have the frame value at 10 to get the smoothing effect done properly.
First impressions are the artifacts aren’t near as visible, but more tests are needed and it’s late here, so any plans to upload the improved .blend file setup may have to wait until tomorrow.
In conclusion, I would say the whole thing is a complex fine tuning of two main variables; Slice resolution and temporal smoothing distance. A higher value for the first variable will allow for less temporal smoothing without much in the way of artifacts at the cost of higher render times, a higher amount for the second variable will decrease render times as the cost of lower texture fidelity.
All in all, I wouldn’t even try hard volumetric shapes with this system, the slice resolution and the amount of bounces needed would send the rendering times into space.
If you want to get the closest resemblance to a true 3D volumetric implementation, then yes, I would go with the cube.
However, it might be possible to optimize everything by removing one or more dimensions which might restrict the viewing angles and/or the incoming light angles. A recent test of mine with a slice resolution of 99 was incredibly slow with three dimensions, perhaps I’ll post a comparison of what you get when you remove one or two of the dimensions later.
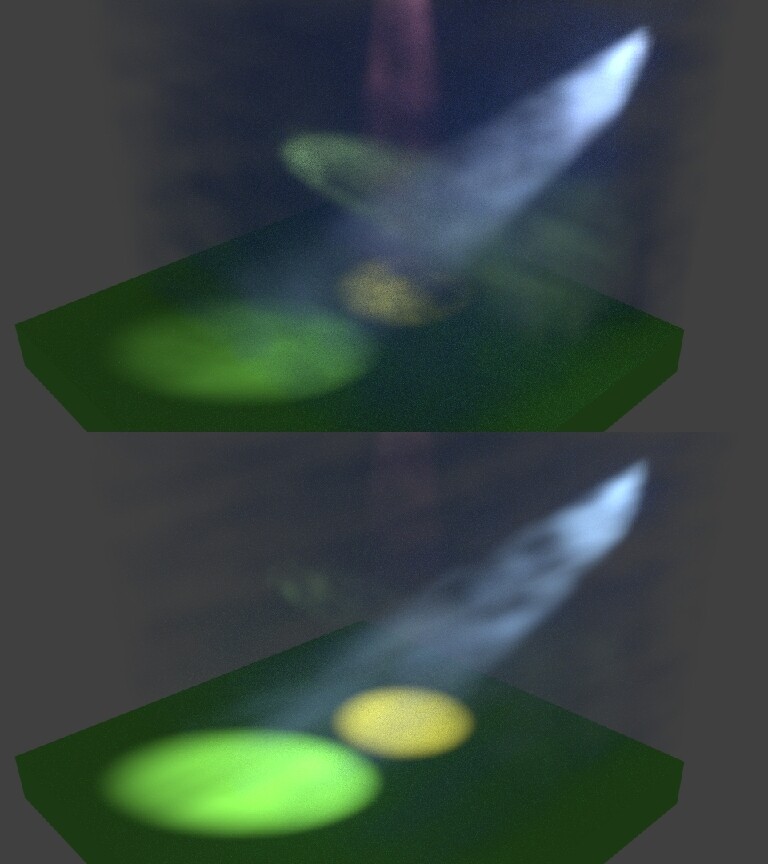
The setup where the calculations are done in all three dimensions means that it will be dead slow when you have a high slice resolution (10 hours for 250 passes in a MingW build), but in turn allows you to use a texture scale small enough to get a decent smoke effect and things will generally have a full look.
The bottom is the same image, but with the slices going in only one dimension, rendering is up to > 5 times faster, but it will restrict the direction in which lights can enter and maintain a full quality and you will need to tweak the density to get something closer to the first image. (and even then you might have a significantly lower quality in the textures used).
In all, I think there’s not going to be a solution that will be an exact match for true volumetrics until we actually have true volumetrics. This is the closest we have right now for solid volumes, but if you want clouds, you’d be better off trying to use camera-aligned billboards (which might be just as slow if you want a high quality).
As you can see, the motion blur technique is no substitute as far as things like smoke and clouds are concerned, this will also take a long time to render, but the effect is quite a bit sharper and more detailed.
Also note that with the particle billboards, I used the volume distribution set to grid along with a degree of randomness to ensure an even coverage of particles, this is coupled with a slight amount of random rotation for a slightly fuller effect in terms of lighting and to allow a somewhat greater ability to get a good result with different light angles.
This may very well not cut it for scenes that require perhaps > 10000 samples to clear up, but if you use it for easy scenes and/or situations where you can really cut down on the billboard count, it may not be that bad.
My billboard clouds used actual cloud photos and therefore fewer of them but they worked really well in cycles. Kirsten that’s so cool, Suzanne road kill! Ace did you try aligning a single plane to camera view?
But if you want true realism, you need to get as close as possible to an actual volume. The disadvantage I would see with real cloud photos is that it would restrict you when it comes to the lighting situations they can be in, a single plane with a handmade cloud stencil might work for distant cases, but you want to do it up close and especially if you want objects inside of it, you need to use a lot more than just one plane.